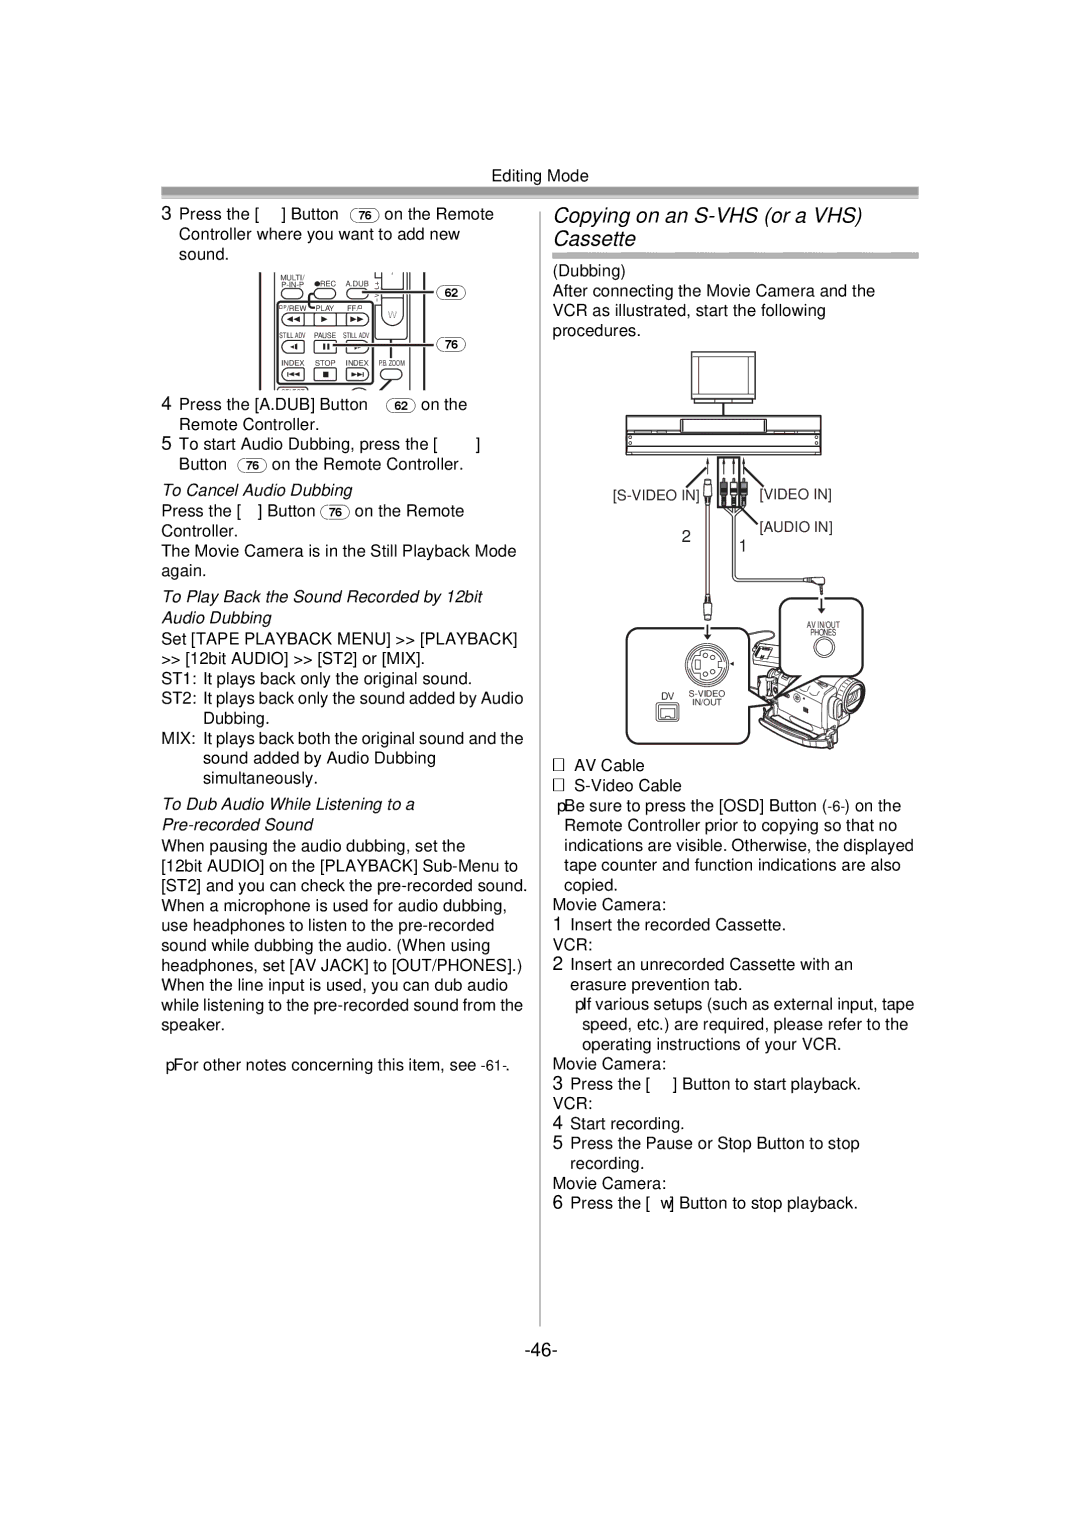
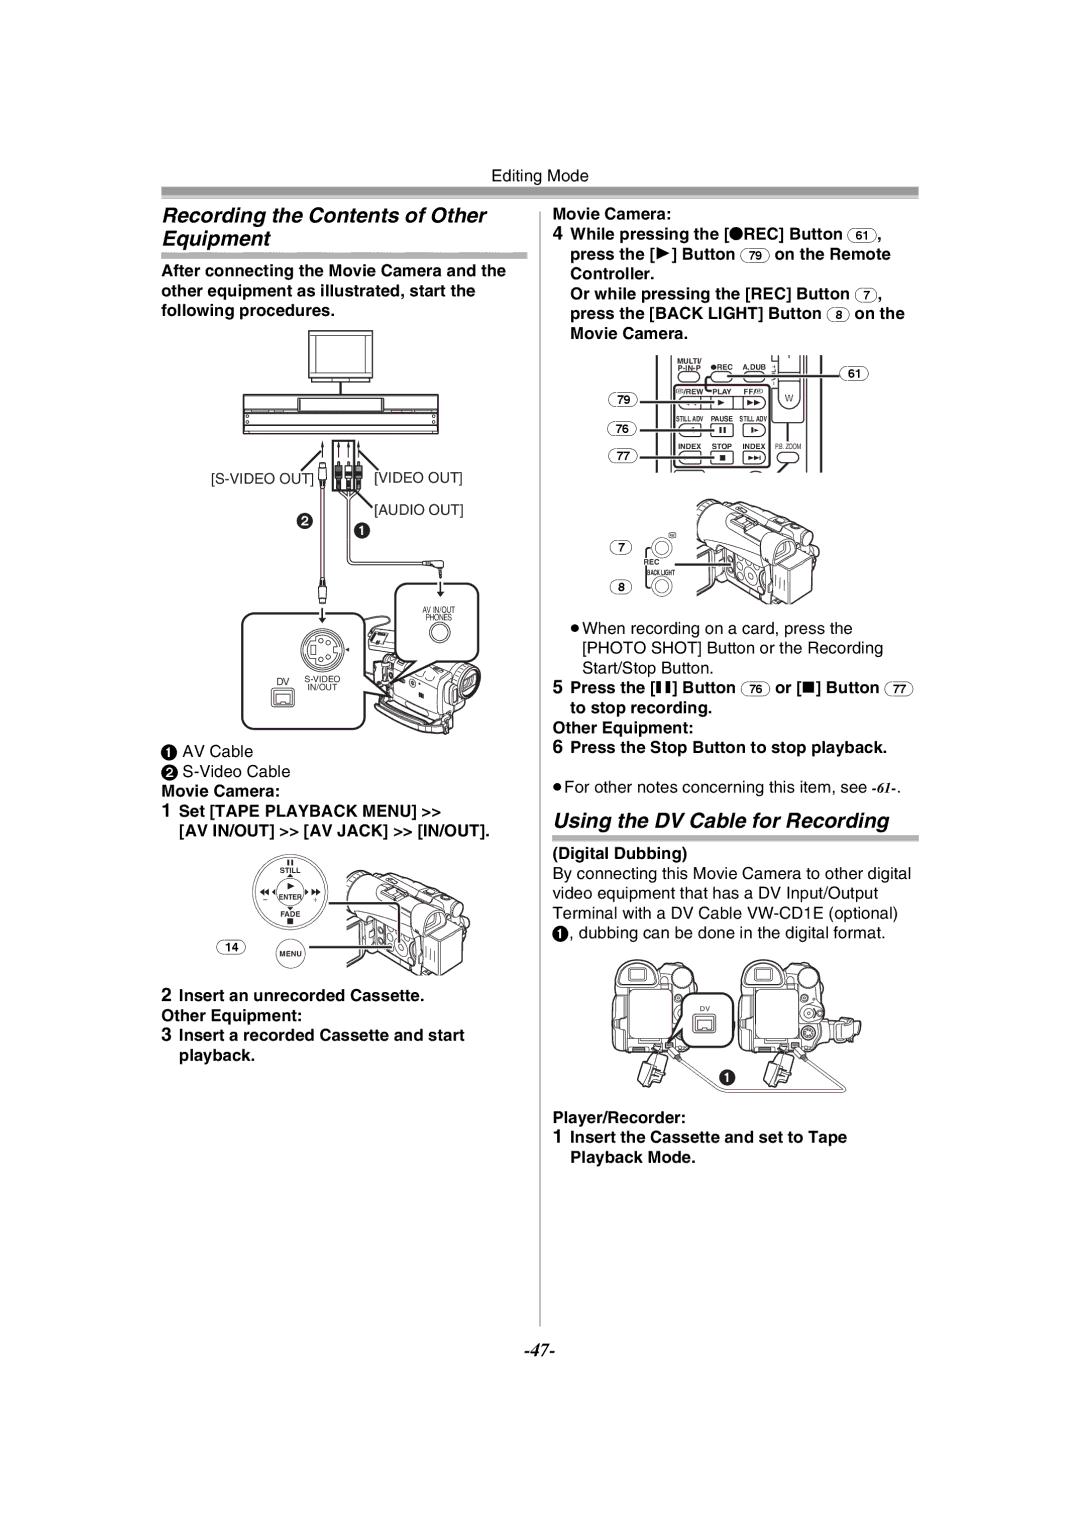
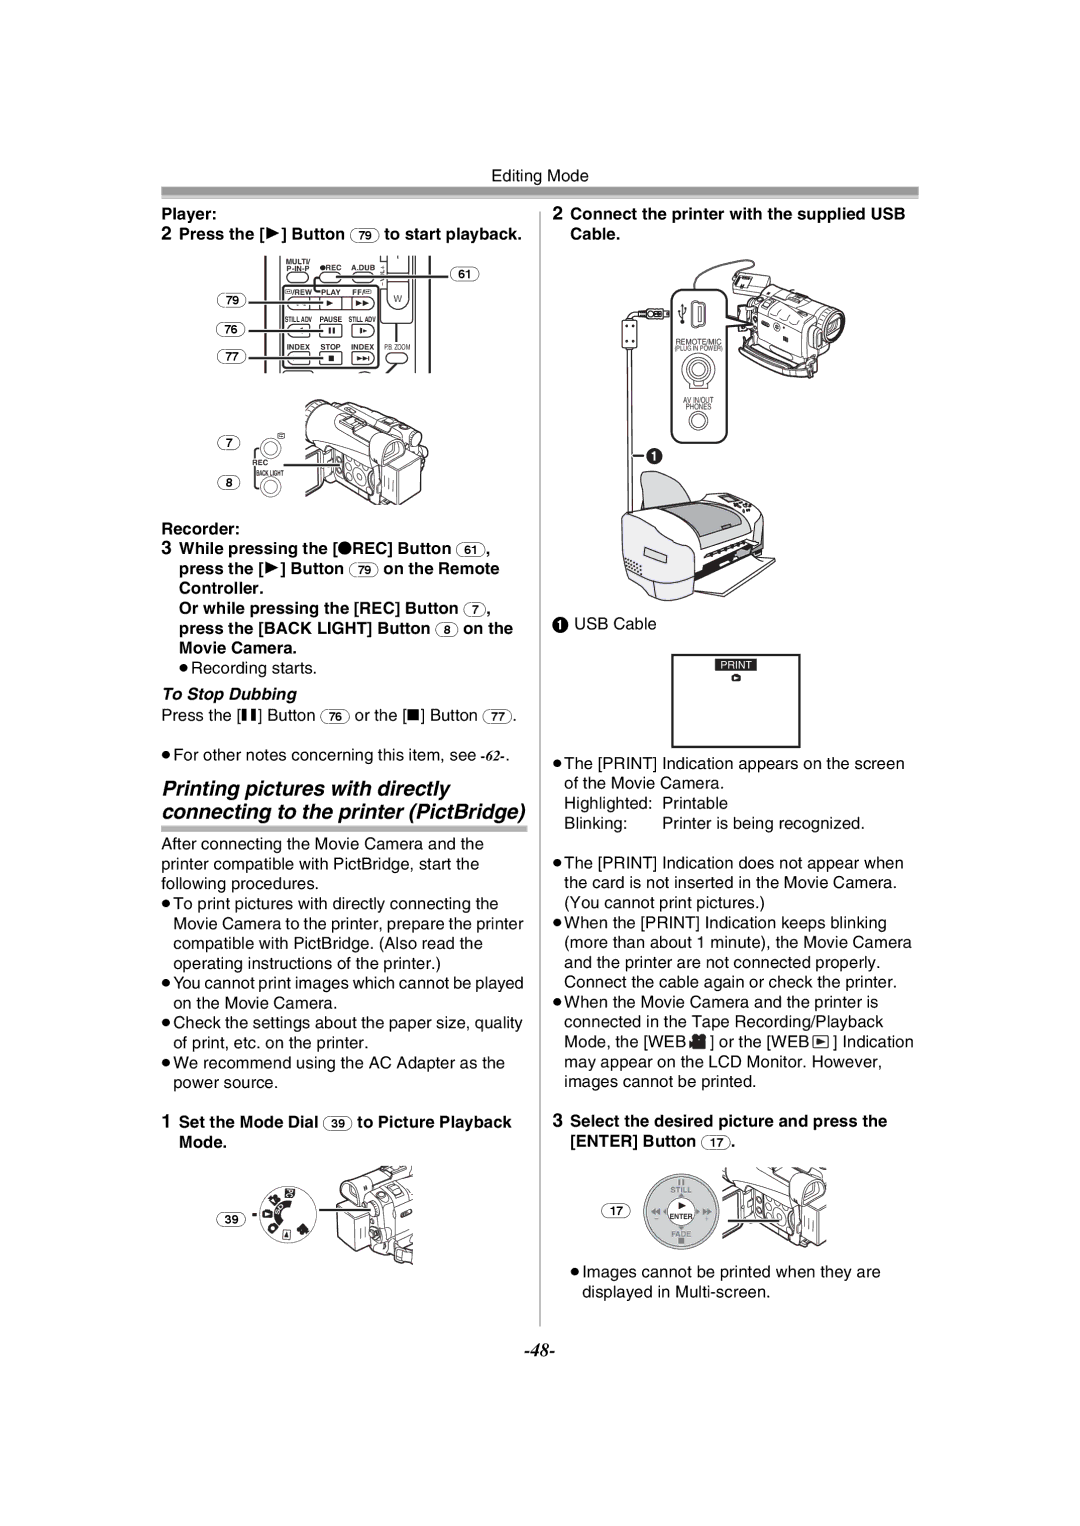
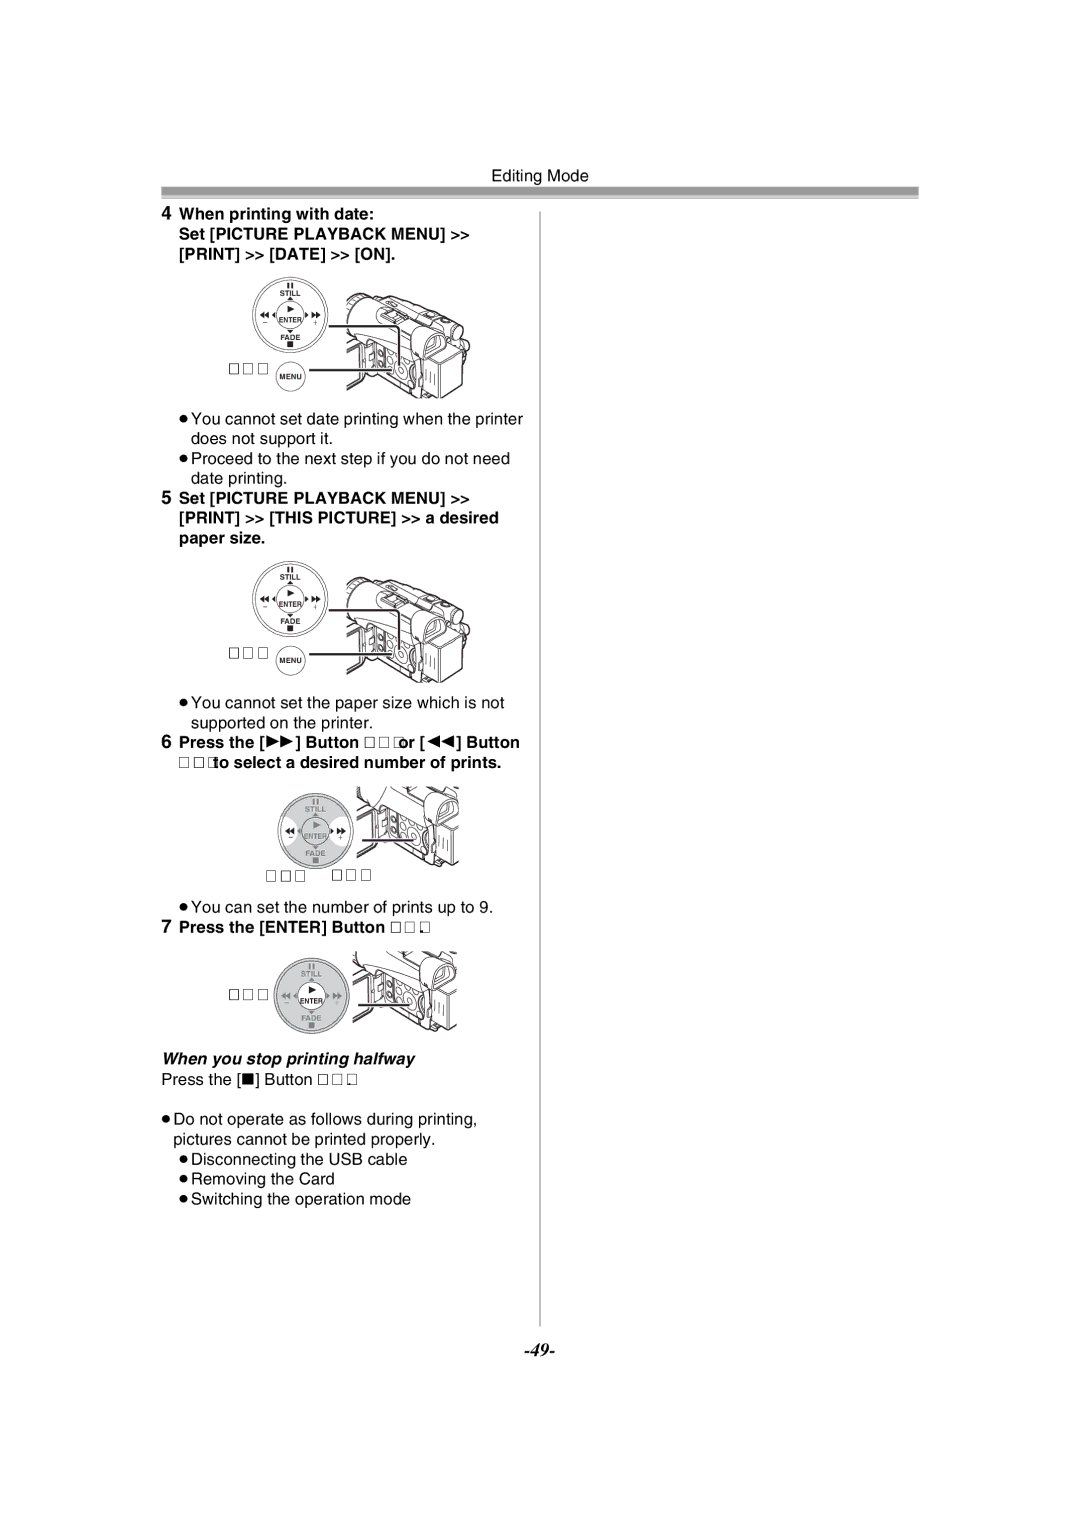
Panasonic NV-GS120GN Playing Back a Tape, Finding a Scene You Want to Play Back

Page 35

Playback Mode

Playback Mode

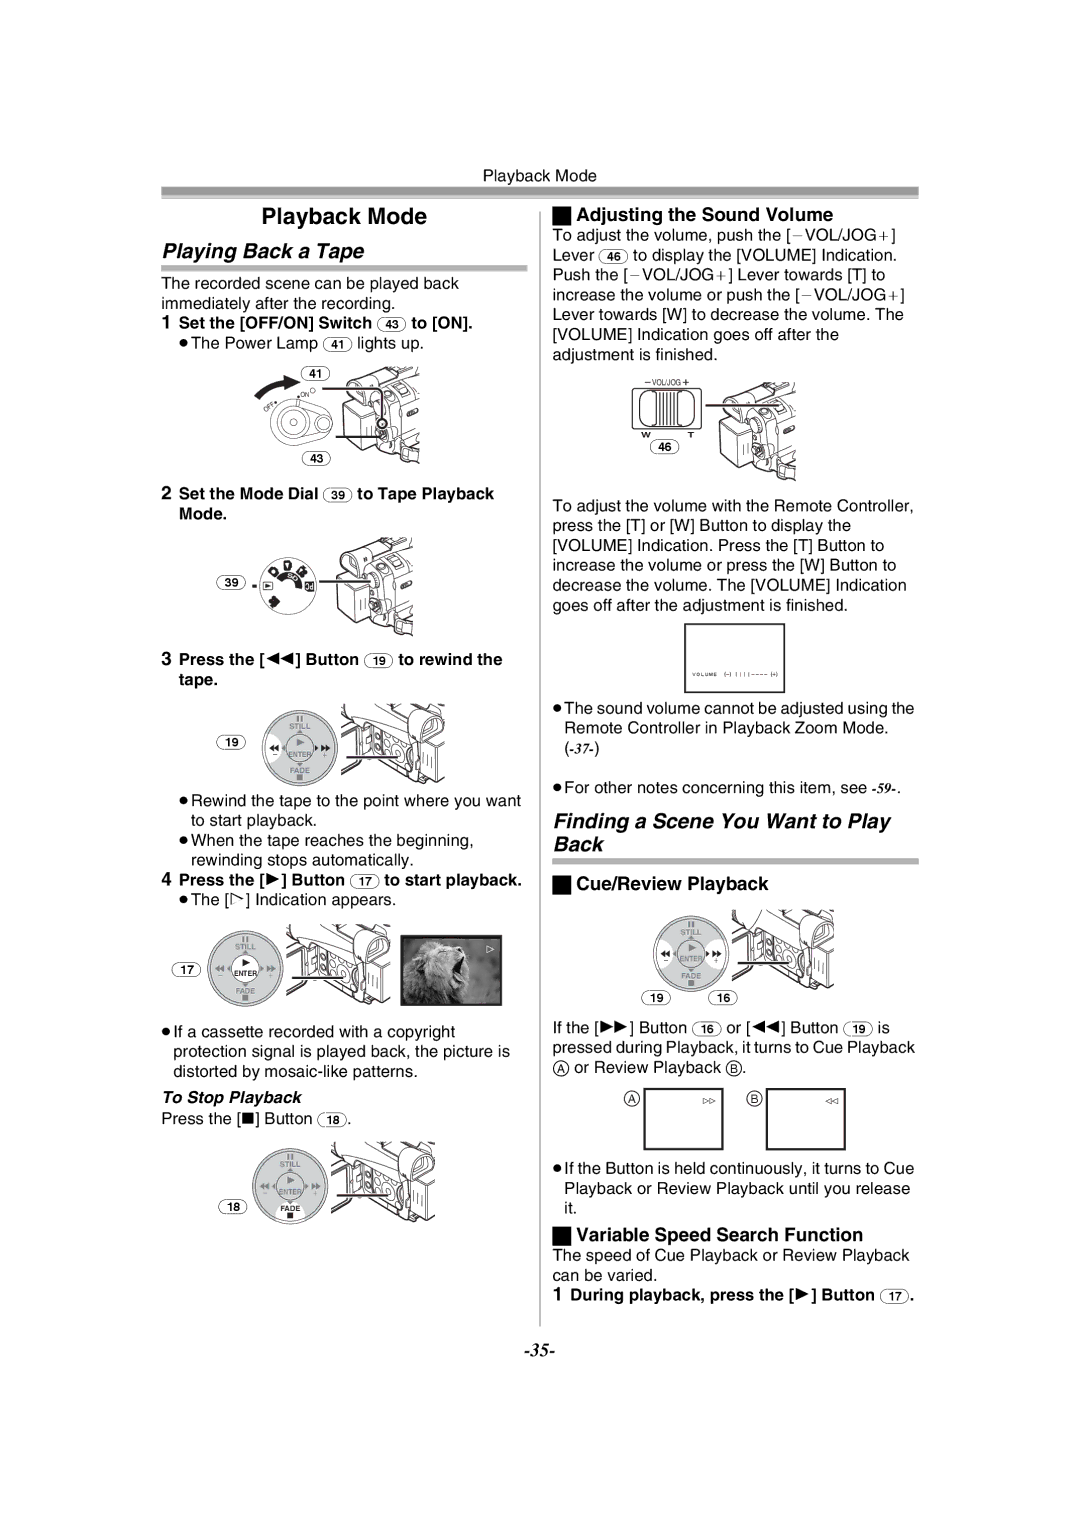
Playing Back a Tape

The recorded scene can be played back immediately after the recording.

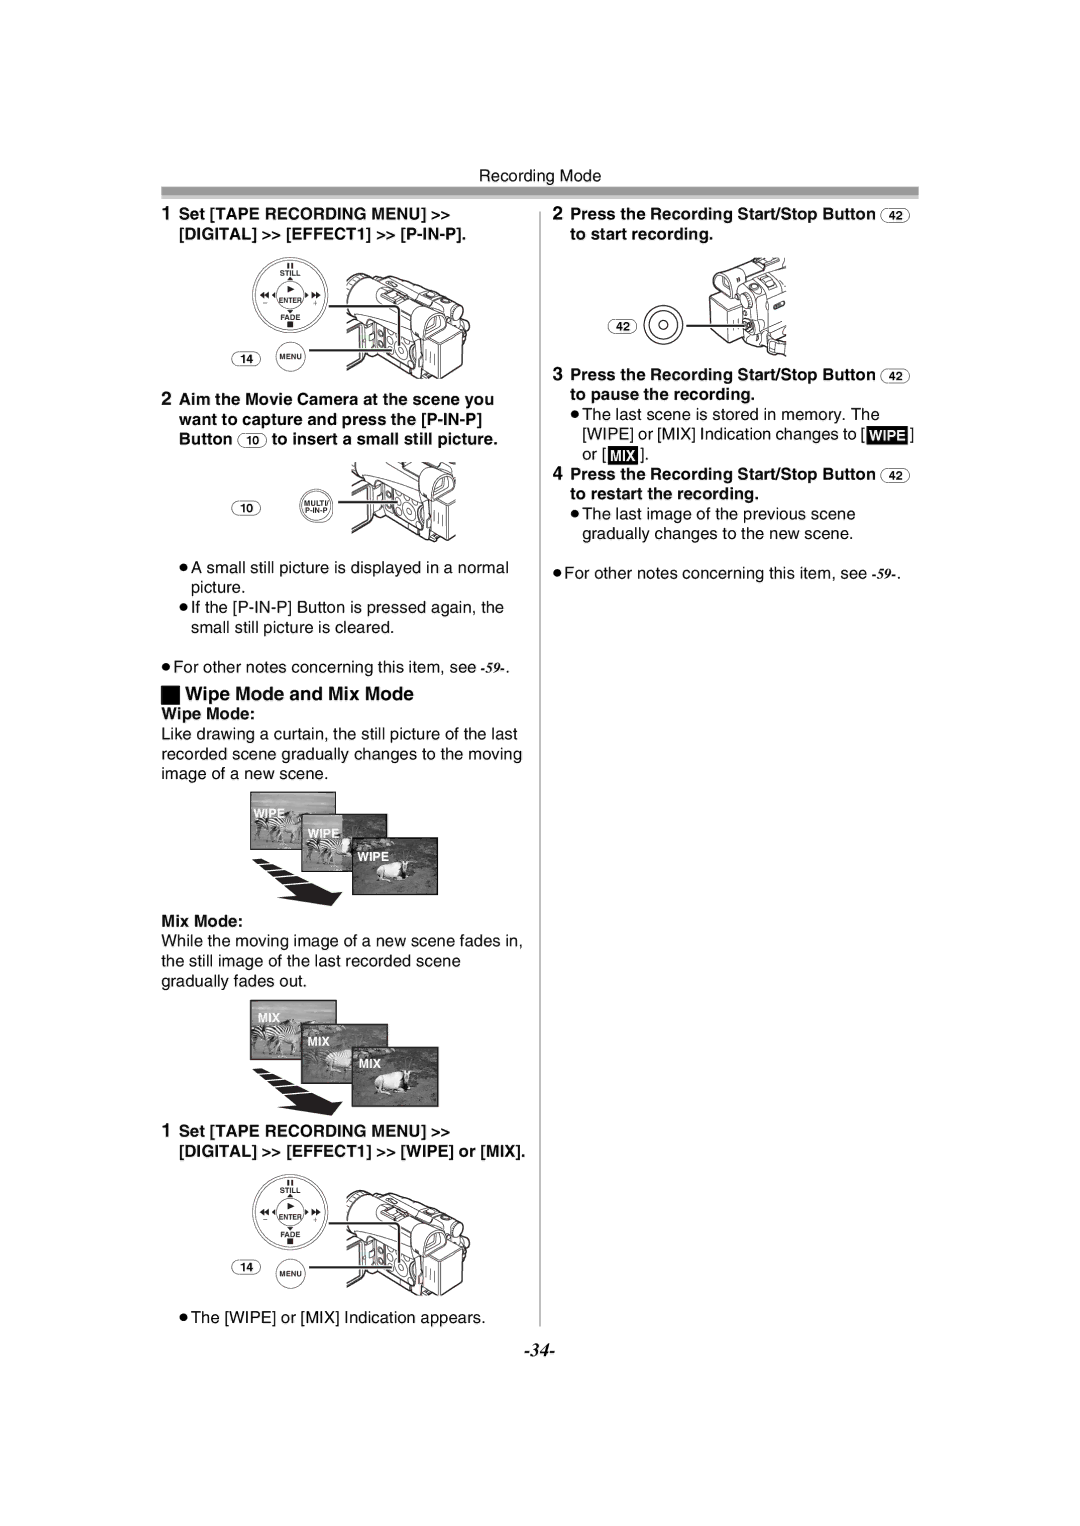
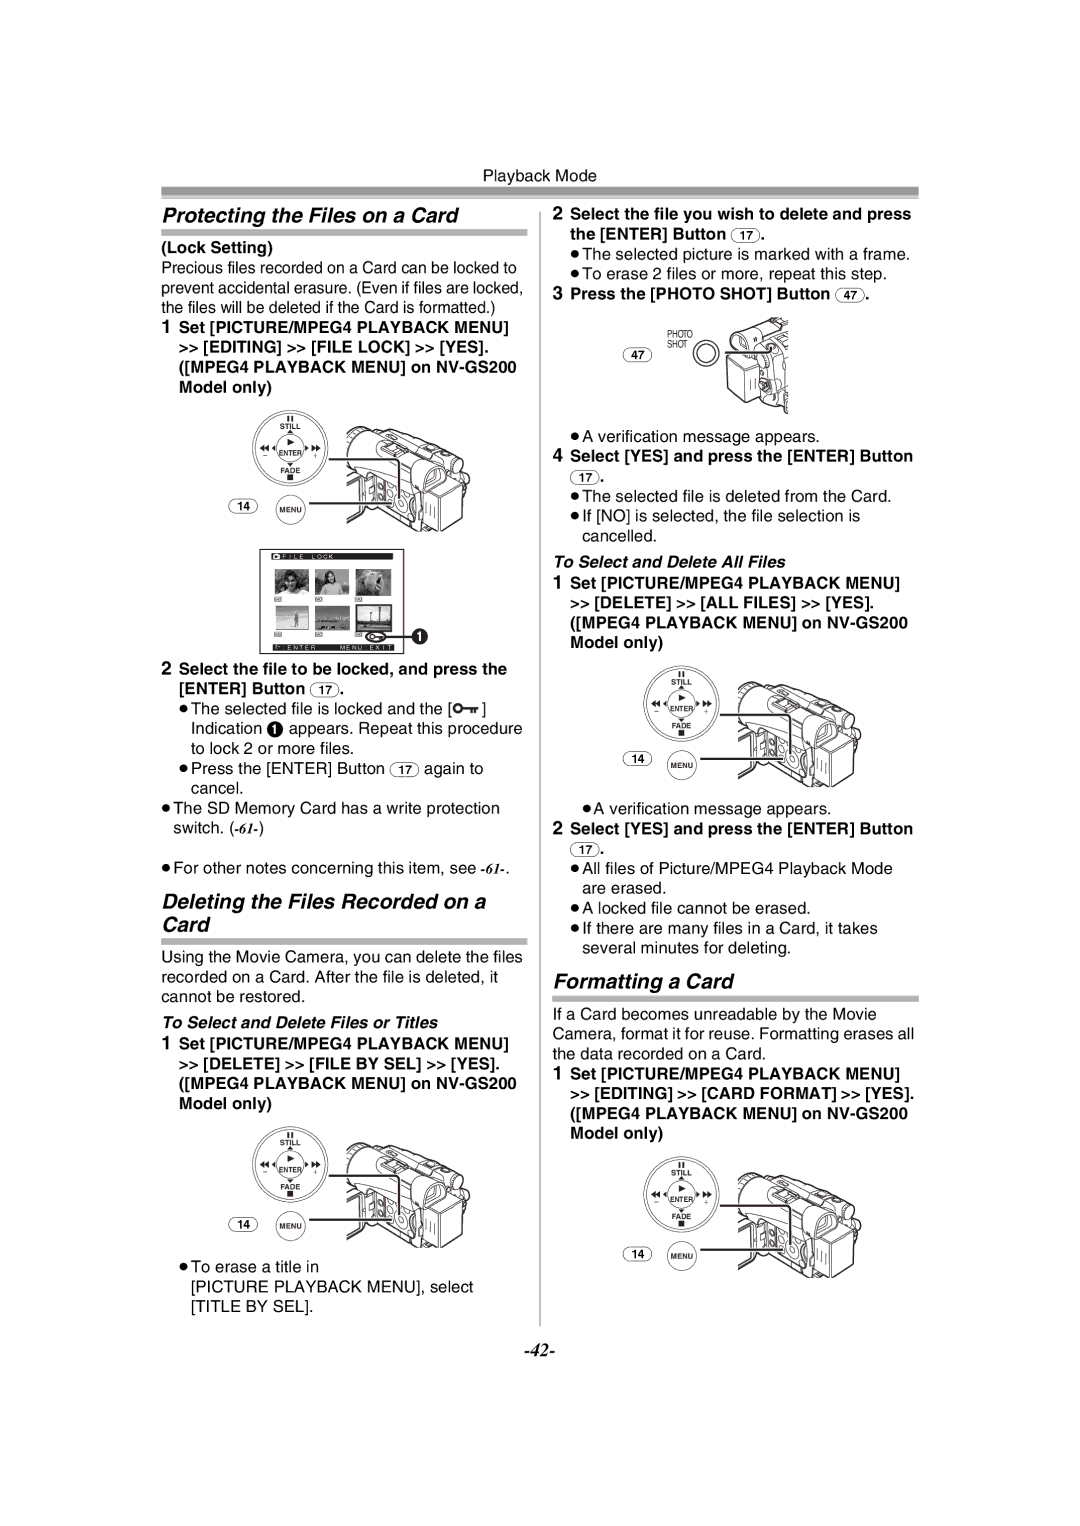
1Set the [OFF/ON] Switch (43) to [ON].

The Power Lamp (41) lights up.

(41)

ON

OFF

(43)

2Set the Mode Dial (39) to Tape Playback

Mode.

(39)

S

PC


D

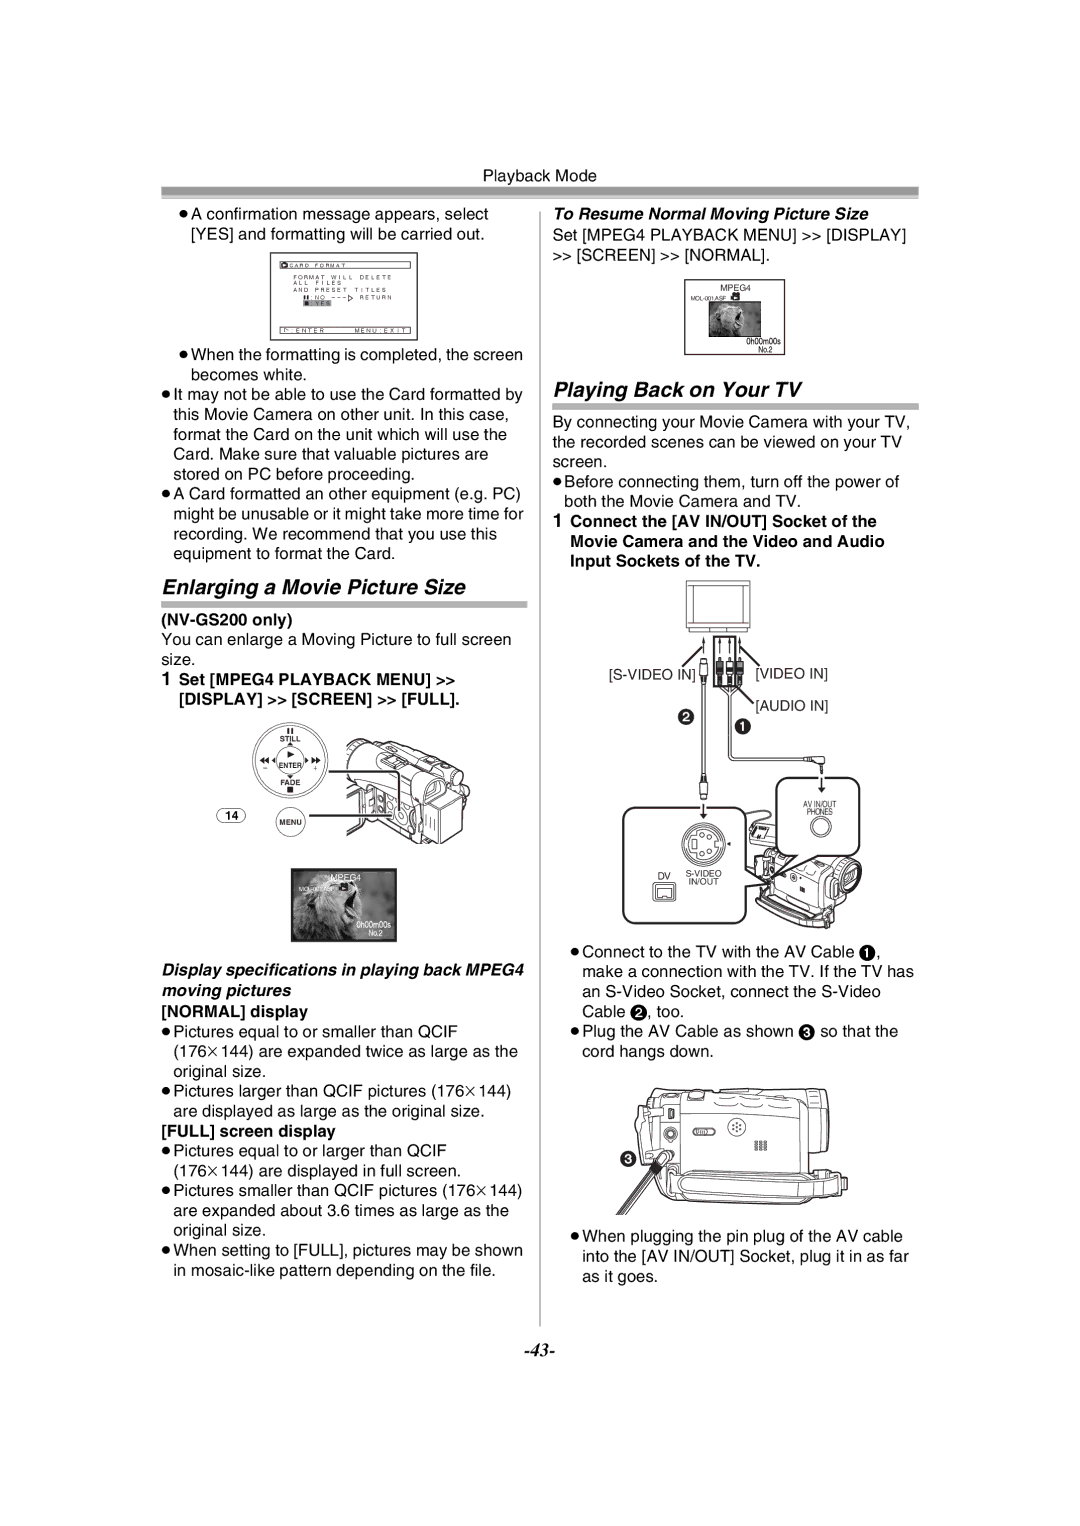
3Press the [6] Button (19) to rewind the tape.

STILL

(19)

s ENTER i

FADE

Rewind the tape to the point where you want to start playback.

When the tape reaches the beginning, rewinding stops automatically.

4Press the [1] Button (17) to start playback.

The [!] Indication appears.

STILL

(17) s ENTER i

FADE

If a cassette recorded with a copyright protection signal is played back, the picture is distorted by mosaic-like patterns.

To Stop Playback

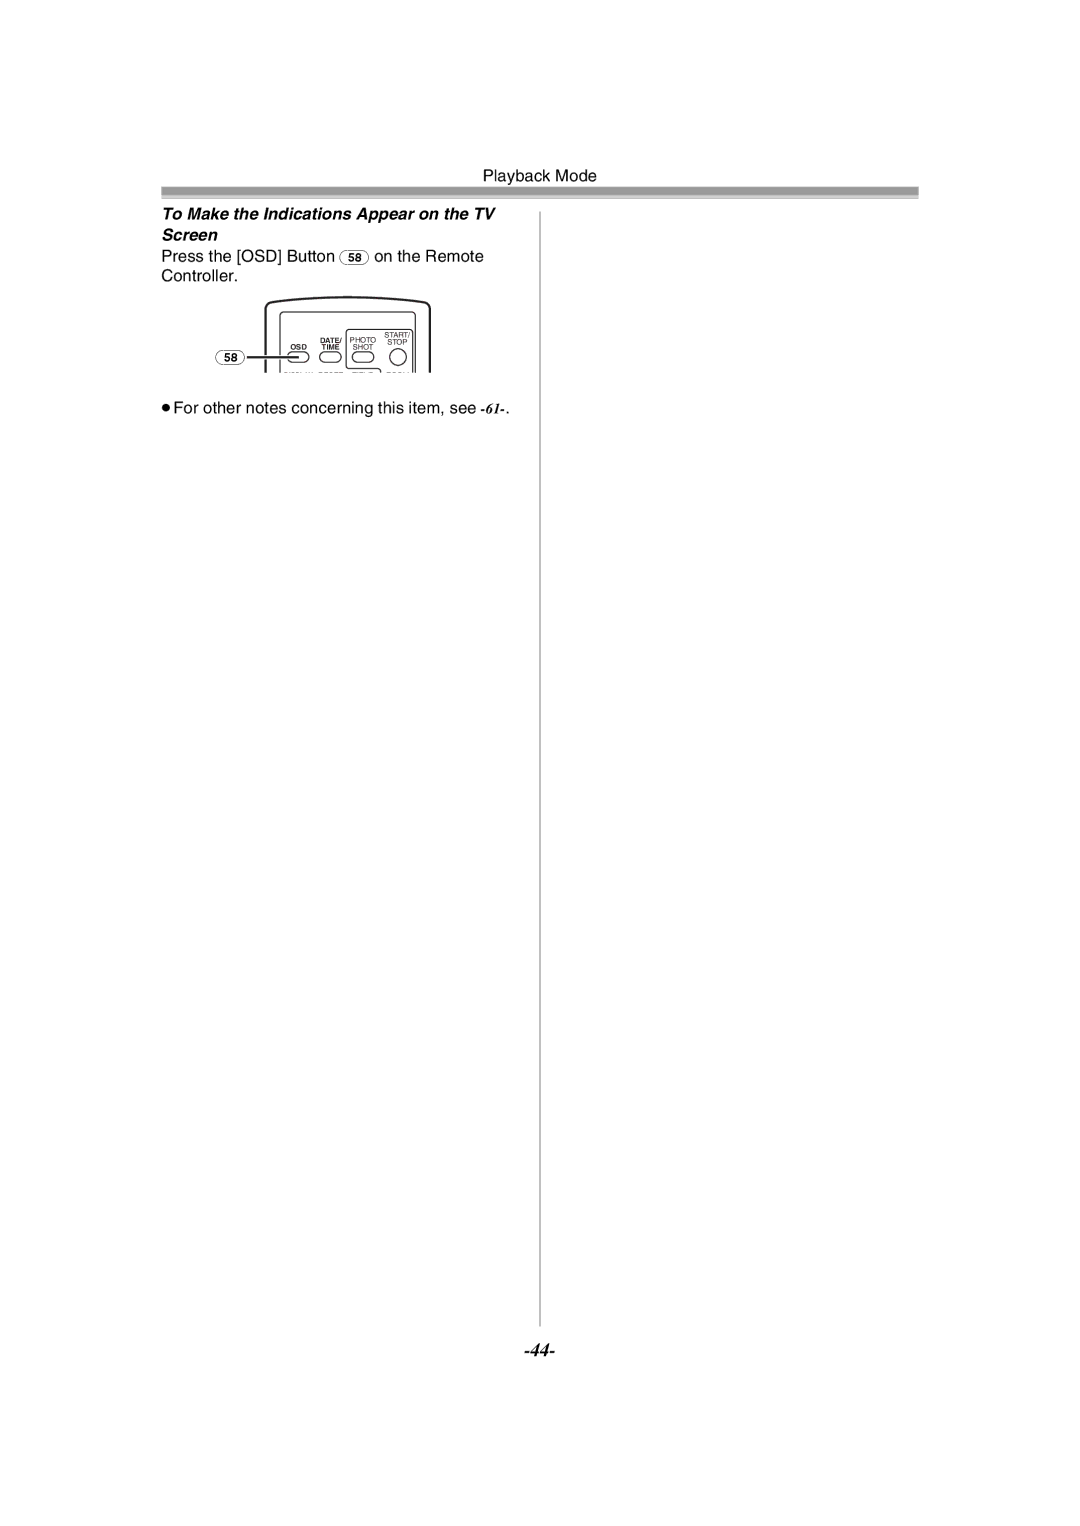
Press the [] Button (18).

STILL

s ENTER i

(18) FADE

ªAdjusting the Sound Volume

To adjust the volume, push the [`VOL/JOG_] Lever (46) to display the [VOLUME] Indication. Push the [`VOL/JOG_] Lever towards [T] to increase the volume or push the [`VOL/JOG_] Lever towards [W] to decrease the volume. The [VOLUME] Indication goes off after the adjustment is finished.

VOL/JOG

WT

(46)

To adjust the volume with the Remote Controller, press the [T] or [W] Button to display the [VOLUME] Indication. Press the [T] Button to increase the volume or press the [W] Button to decrease the volume. The [VOLUME] Indication goes off after the adjustment is finished.

The sound volume cannot be adjusted using the Remote Controller in Playback Zoom Mode. (-37-)

For other notes concerning this item, see -59-.

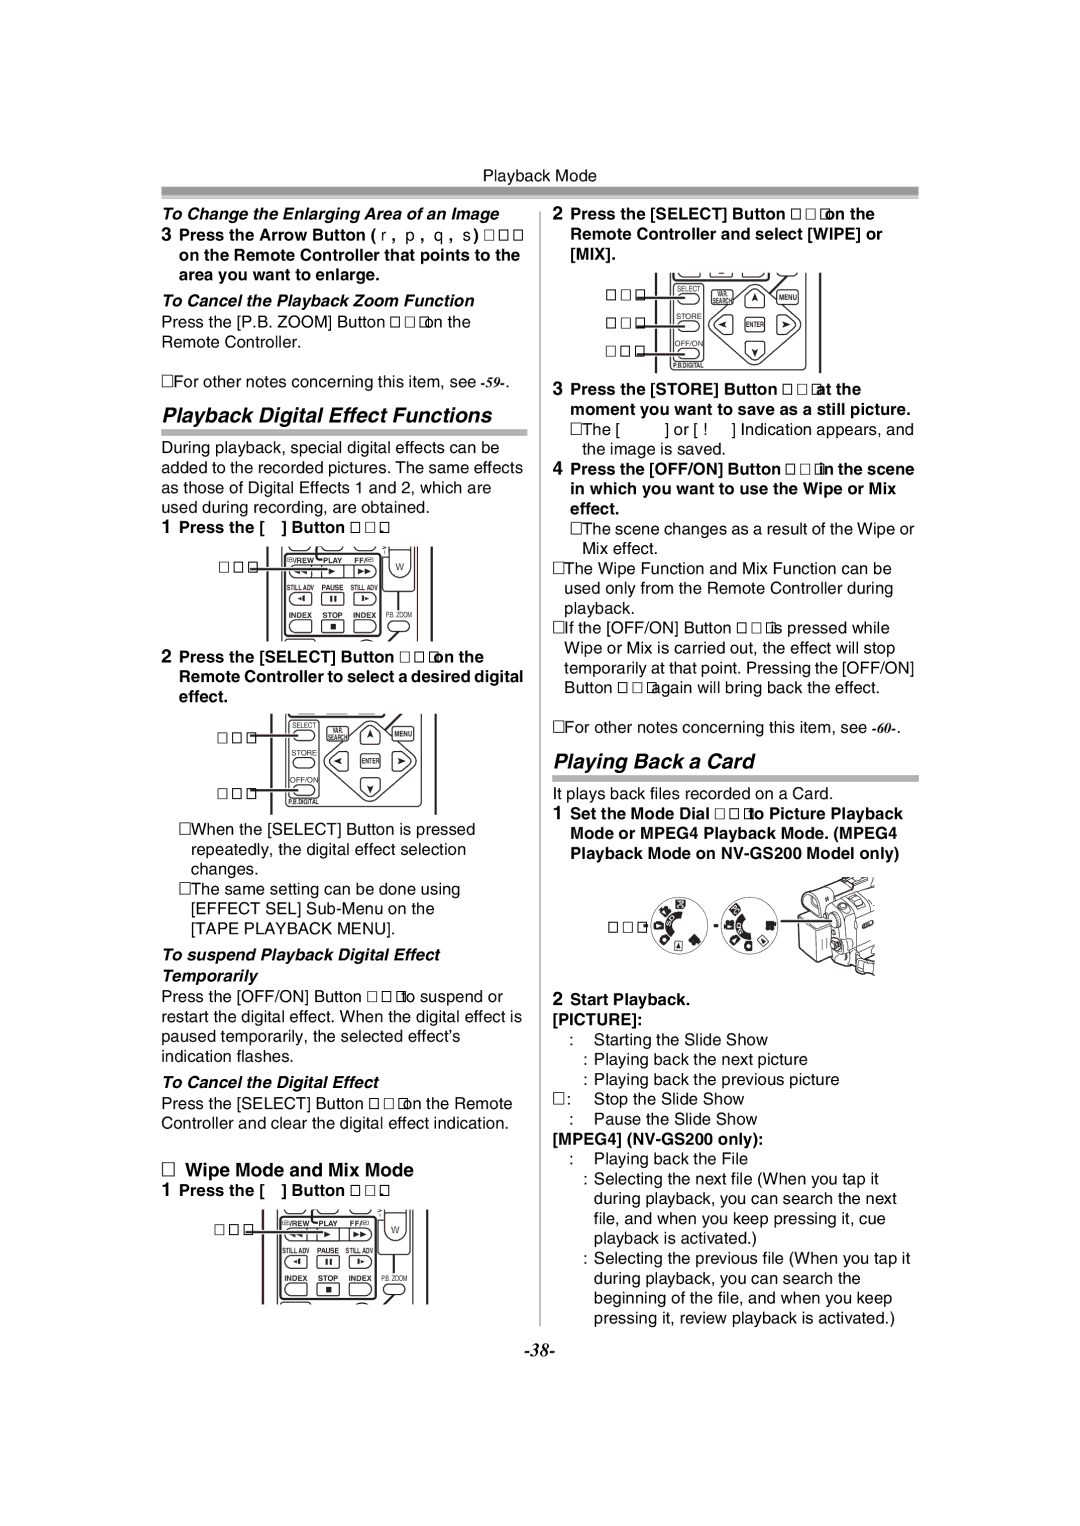
Finding a Scene You Want to Play Back

ªCue/Review Playback

STILL

s ENTER i

FADE

(19)(16)

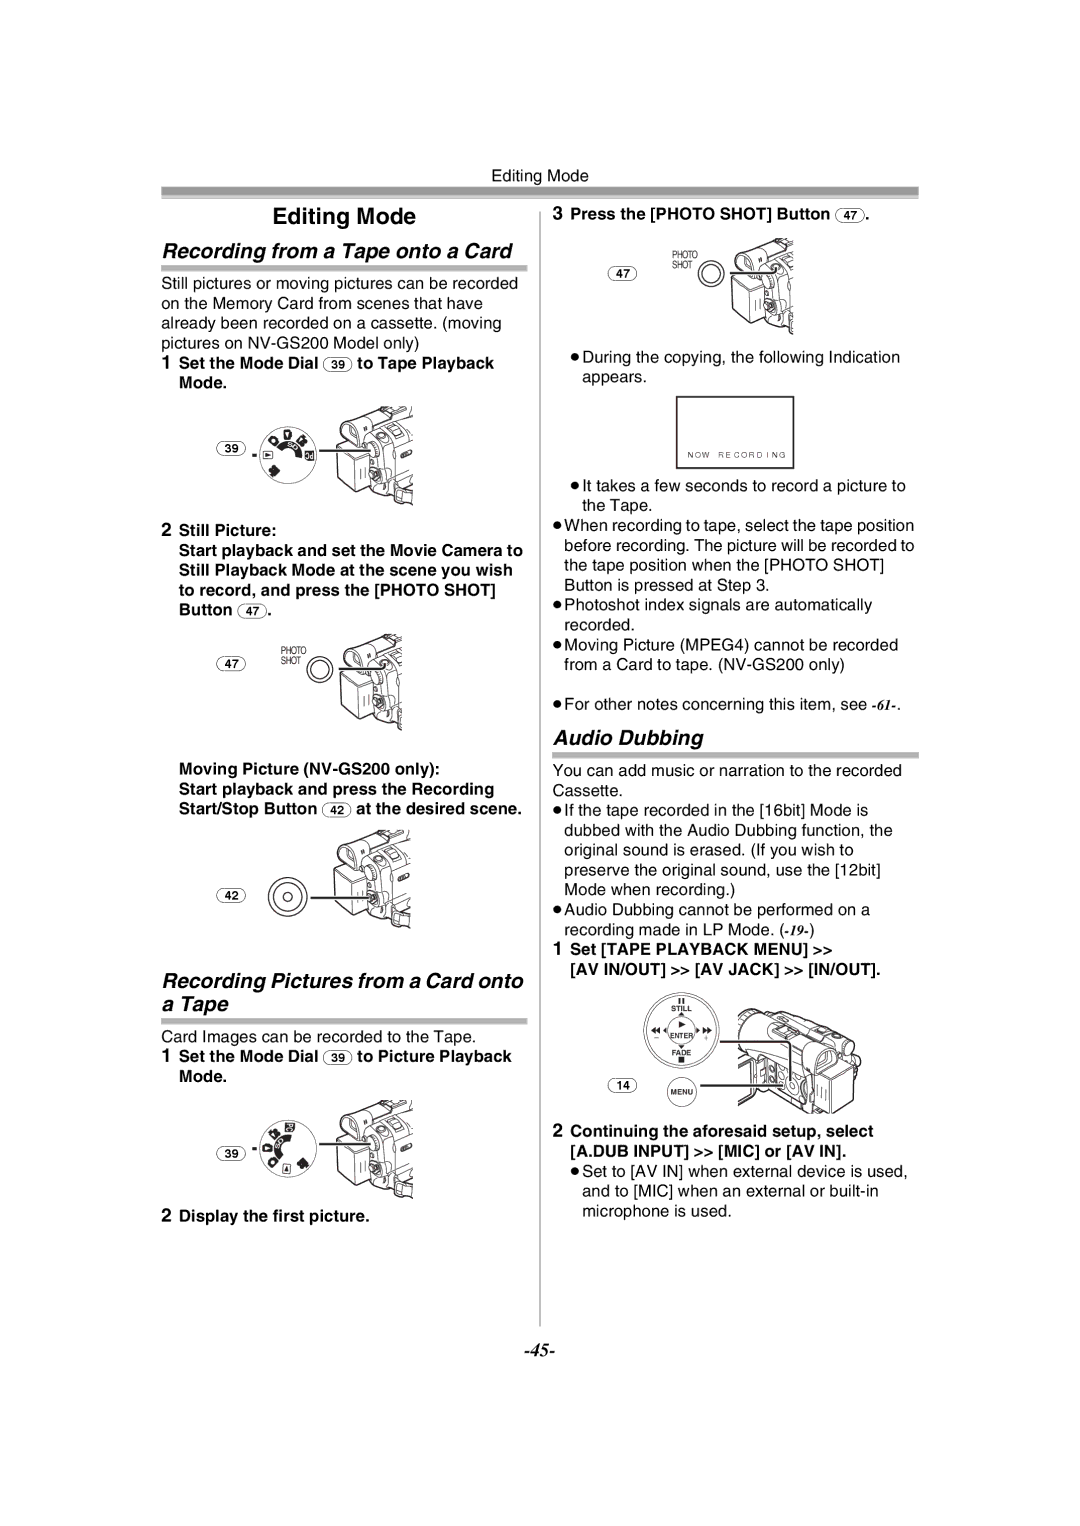
If the [5] Button (16) or [6] Button (19) is pressed during Playback, it turns to Cue Playback

Aor Review Playback B.

A


B


If the Button is held continuously, it turns to Cue Playback or Review Playback until you release it.

ªVariable Speed Search Function

The speed of Cue Playback or Review Playback can be varied.

1During playback, press the [1] Button (17).
-35-

Image 35
Contents NV-GS200GN Information for Your Safety Contents Movie Camera Standard AccessoriesOptional Accessories Controls and ComponentsLock Button Lock Cover Card Slot Card Slot Cover Open Lever OpenVideo Input/Output Socket S-VIDEO IN/OUT Remote ControllerEyepiece Corrector Knob Viewfinder -13 DV Terminal DVPhotoshot Button Photo Shot Microphone Switch Button Talk Remote ControllerFree Style Remote Controller with Mic Inserting a Button-type BatteryUsing the Battery Power SupplyUsing the Remote Controller Using the AC AdaptorNV-GS200 Attach the charged Battery to the Movie CameraDisconnecting the Power Source Charging Time and Available Recording TimeTo Use as a Hand Strap Adjust the length of the Grip Belt to the size of your handOne-touch Free Style Grip Belt To Use as a Grip BeltAccidental Erasure Prevention Attaching the Lens CapAttaching the Shoulder Strap Inserting a CassetteSelecting Modes Using a CardTurning on the Movie Camera Adjusting Brightness and Colour Level Using the Viewfinder/LCD MonitorUsing the Viewfinder Using the LCD MonitorTo Return the Previous Screen Using the Menu ScreenTo Increase the Brightness of the Entire LCD Monitor To Resume Normal BrightnessTape Recording Menu List of MenusTape Playback Menu Picture Playback Menu Card Recording MenuMPEG4 Playback Menu NV-GS200 only Setting Date and TimeAudio Recording Mode Internal Lithium Battery RechargeLP Mode To Check the Recording About RecordingRecording on a Tape Recording LampTo Add a Sound while Recording Recording a Still Picture on a Card PhotoshotFinding the End of Recording Progressive PhotoshotSet Tape Recording MENU, Tape Playback Menu or When the picture size is 1536k1152 NV-GS120Selecting the Size of Photoshot Images Selecting the Quality of Photoshot ImagesNV-GS200 only Set Card Recording Menu Card Burst Mode onRecording a Moving Picture on a Card MPEG4 Continuous PhotoshotZoom In/Out Functions Self-timer RecordingTo Cancel the Quick Start Quick StartTo Use the Tele-Macro Function Digital Zoom FunctionImage Stabilizer Function To Take Close-up Shots of Small SubjectsBacklight Compensation Function To Cancel Image Stabilizer FunctionFade In/Out Functions Wind Noise Reduction Function Night View FunctionsSoft Skin Function Recording in Special Situations To Cancel the Cinema ModeTo Cancel the Programme AE Function Cinema FunctionAbout White Balance Sensor Adjusting White Balance ManuallyAbout Black Balance Adjustment To Resume Automatic AdjustmentUseful for recording fast-moving subjects Manual Shutter Speed AdjustmentSet the AUTO/MANUAL/FOCUS Switch to Auto About the Card Slow Shutter NV-GS200 onlyNumber Manual Iris AdjustmentManual Focus Adjustment Slide the AUTO/MANUAL/FOCUS Switch 35 to FocusDigital Effect Functions Using the Built-in Video FlashRed Eye Reduction Function Picture-in-Picture Mode Multi-Picture ModeSet Tape Recording Menu Digital EFFECT1 P-IN-P Wipe Mode and Mix ModeWipe Mode Mix ModeCue/Review Playback Adjusting the Sound VolumePlaying Back a Tape Finding a Scene You Want to Play BackTo Resume Normal Playback Playback with Volume/Jog LeverSlow Motion Playback Still Playback/Still Advance PlaybackScene Index Search Index Search FunctionsPlayback Zoom Function Photoshot Index SearchTo Change the Enlarging Area of an Image To Cancel the Playback Zoom FunctionPlayback Digital Effect Functions Playing Back a CardTo Select a Desired File and Playing Back When you select MPEG4 Playback Mode at NV-GS200 onlySlide Show Press the //6/5 Button to select a desired fileTo Stop the Slide Show Creating a TitleAdding a Title To Pause the Slide ShowTo Clear the Title Display To Verify Dpof SettingWriting Printing Data on a Card To Select and Delete All Files Protecting the Files on a CardDeleting the Files Recorded on a Card Formatting a CardTo Resume Normal Moving Picture Size Enlarging a Movie Picture SizePlaying Back on Your TV Display Screen FullTo Make the Indications Appear on the TV Screen Press the OSD Button 58 on the Remote ControllerAudio Dubbing Recording from a Tape onto a CardRecording Pictures from a Card onto a Tape To Dub Audio While Listening to a Pre-recorded Sound To Cancel Audio DubbingCopying on an S-VHS or a VHS Cassette To Play Back the Sound Recorded by 12bit Audio DubbingUsing the DV Cable for Recording Recording the Contents of Other EquipmentTo Stop Dubbing Player Press the 1 Button 79 to start playbackConnect the printer with the supplied USB Cable Recorder≥You can set the number of prints up to When you stop printing halfwayConnect the supplied USB Cable to Socket Using as a Web Camera or with DV StudioUsing a Card in a Personal Computer USB Connection KitFolder Configuration when the Card is used with a PC Indications To Display Date/Time Indication To Change the Counter Display ModeTo Change the Display Mode Initializing the ModesThis cassette is incompatible Battery is low. Recharge it Built-in battery is lowVideo heads are dirty Tape came to the end during recordingRecording Check Concerning the Power SupplyAlarm Sounds Inserting/Removing the CassetteQuick Start Self-timer RecordingLines ≥When the scene lacks for contrast Recording Moving Pictures MPEG4 NV-GS200 onlyDigital Zoom Functions Zoom In/Out FunctionsTele-Macro Function Zoom Microphone FunctionWhite Balance Manual Shutter Speed AdjustmentManual Iris Adjustment Using the Built-in Video Flash NV-GS200 onlyIndex Search Functions Red Eye Reduction FunctionDigital Effect Functions Playing BackCreating a Title Playback Digital Effect FunctionsPlaying Back a Card Slide ShowDpof Lock SettingRecording the Contents of Other Equipment Adding a TitleMay be adversely affected Using the DV Cable for Recording Digital DubbingAfter Use To protect the Lens, attach the supplied Lens CapCondensation About AC AdaptorVideo Head Clogging and Care Optimal Use of the BatteryViewfinder LCD Monitor/Viewfinder/Lens HoodCassette LCD MonitorBefore Requesting Repair Problems and Solutions Digital Video System Explanation of TermsMemory Stop Function Auto Focus AdjustmentFocus Time CodeSpecifications SpecificationsFrame rate approximately 6 fps AC Adaptor Picture Size S0204Re0 2300 a