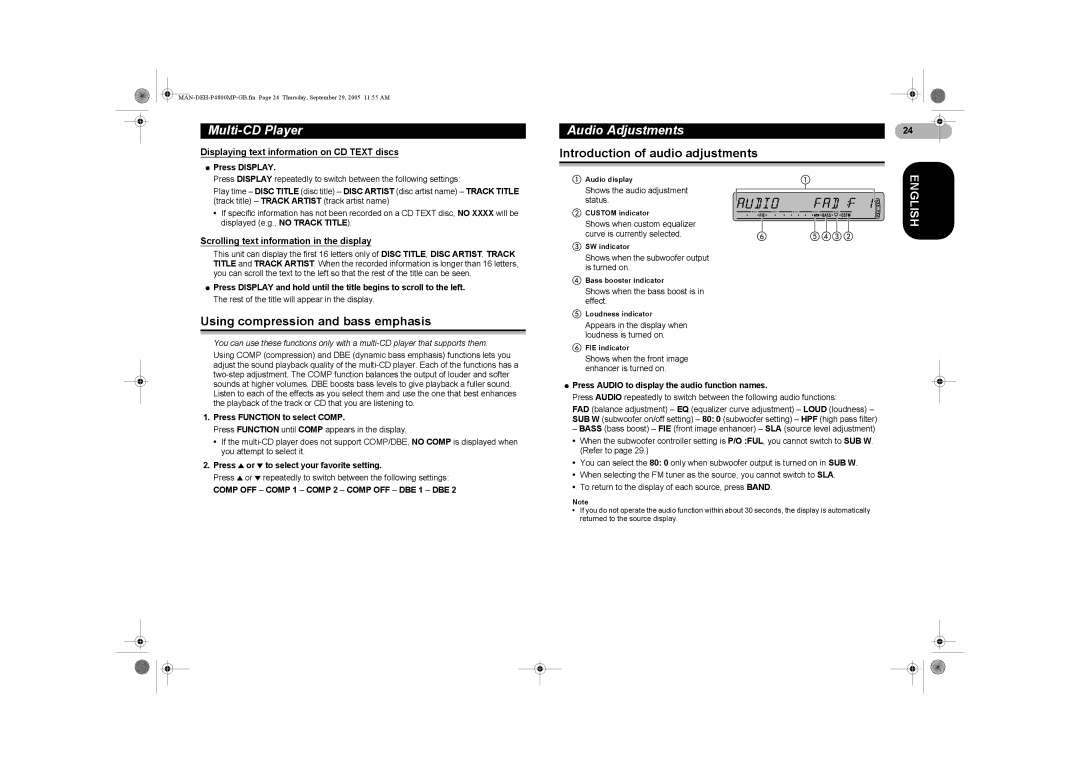
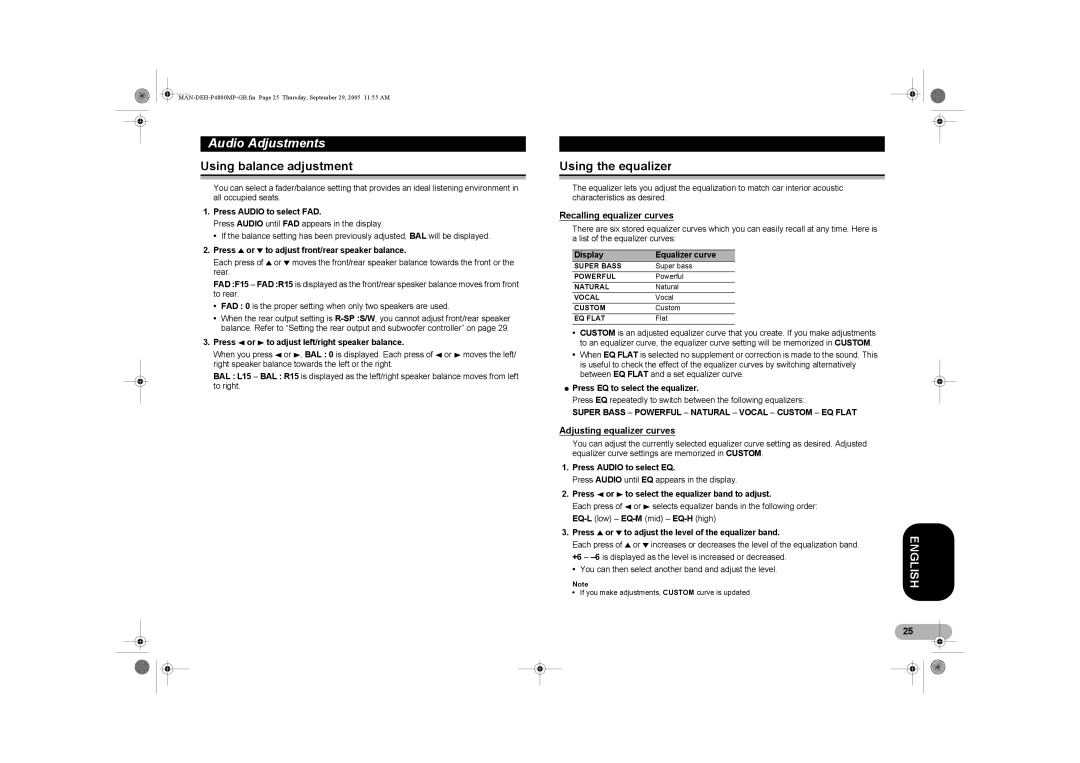
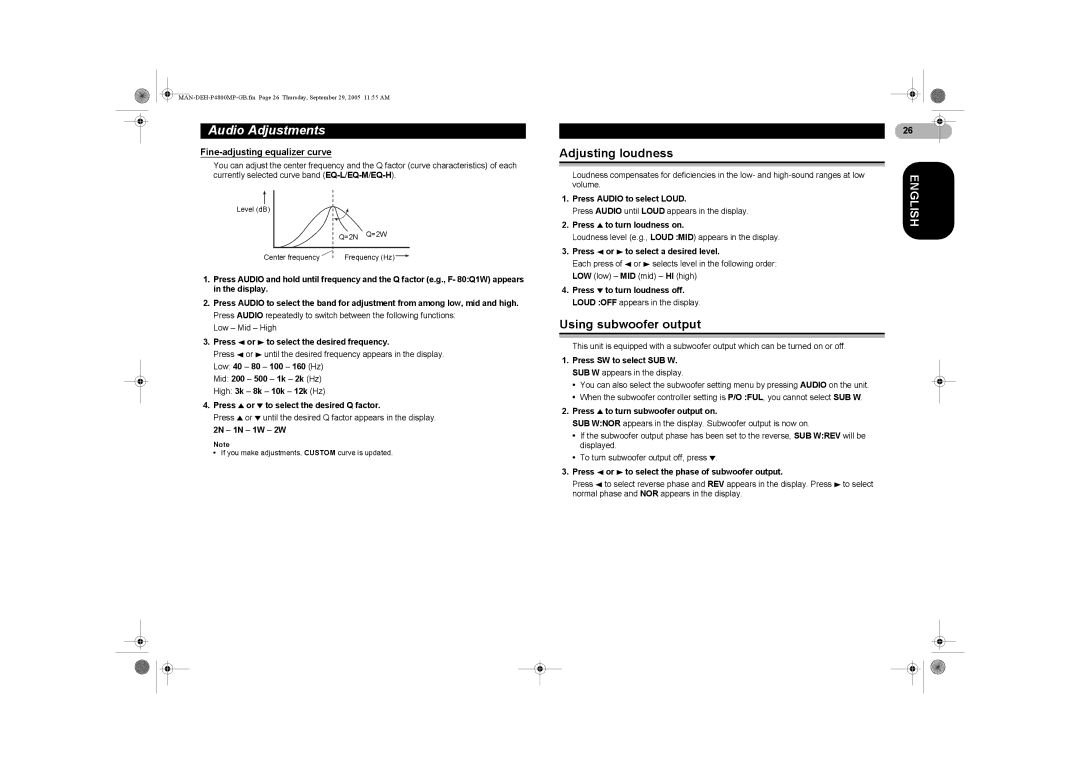
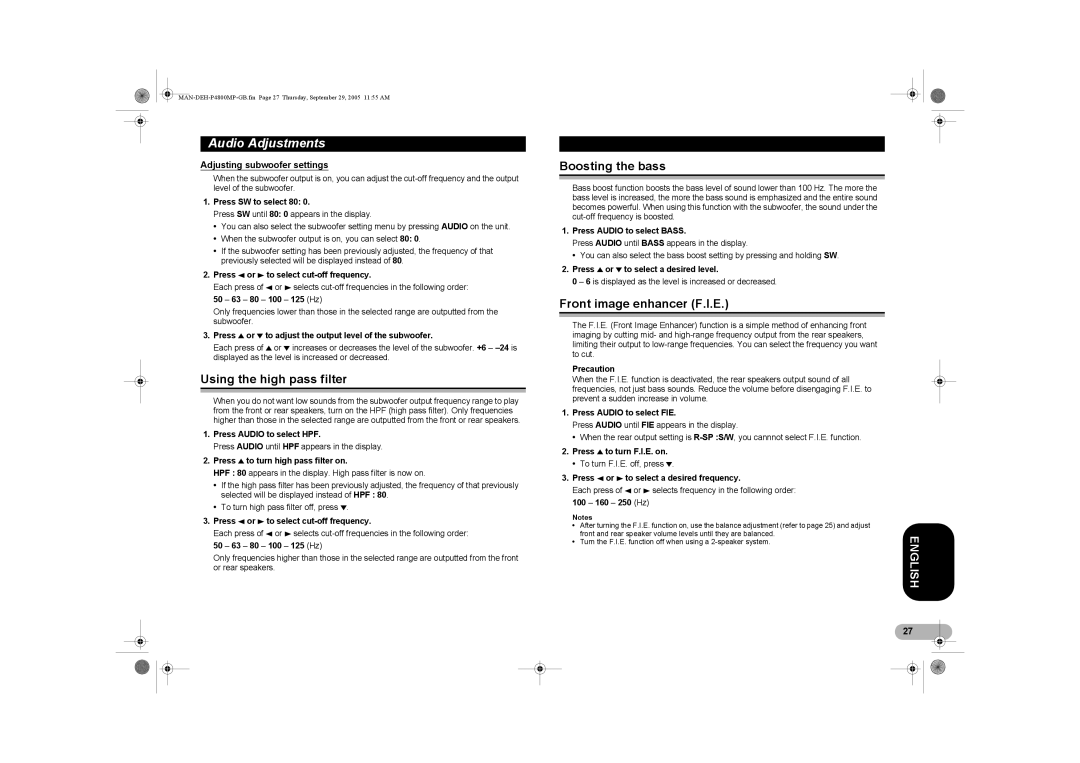
Pioneer P4800MP operation manual Switching Auto PI Seek, Switching the auxiliary setting

Page 29

MAN-DEH-P4800MP-GB.fm Page 29 Thursday, September 29, 2005 11:55 AM

Initial Settings

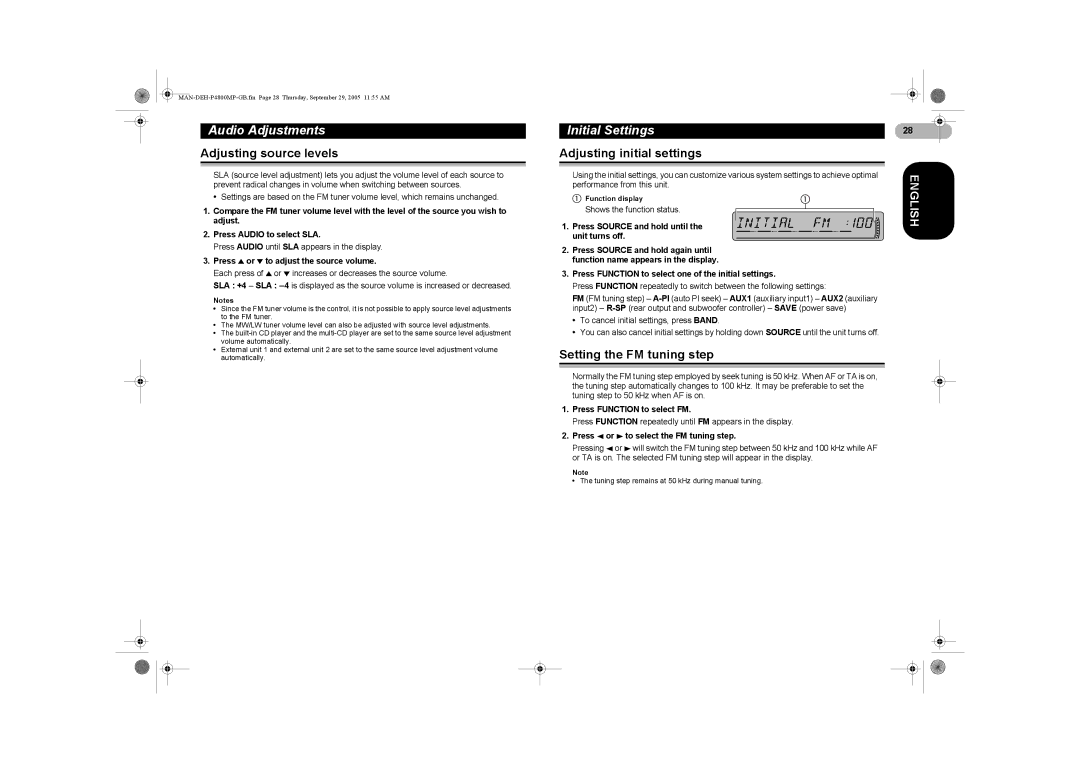
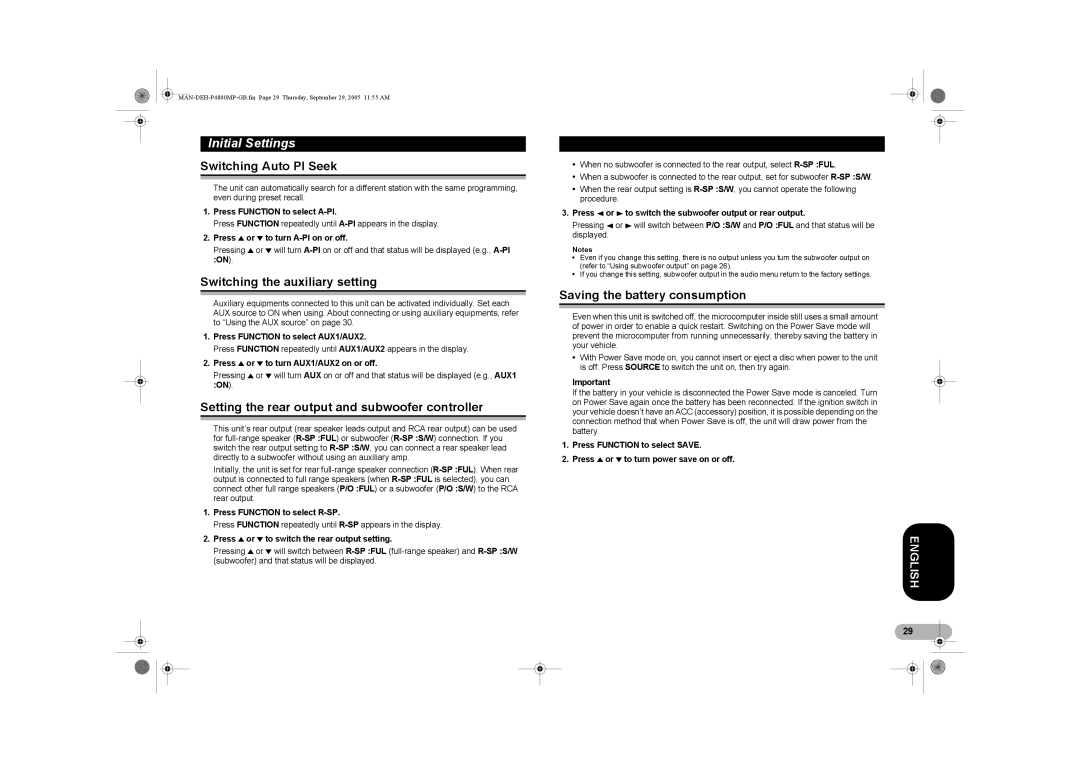
Switching Auto PI Seek

The unit can automatically search for a different station with the same programming, even during preset recall.

1.Press FUNCTION to select A-PI.

Press FUNCTION repeatedly until A-PIappears in the display.

2.Press 8 or 2 to turn A-PI on or off.

Pressing 8 or 2 will turn A-PIon or off and that status will be displayed (e.g., A-PI :ON).

Switching the auxiliary setting

Auxiliary equipments connected to this unit can be activated individually. Set each AUX source to ON when using. About connecting or using auxiliary equipments, refer to “Using the AUX source” on page 30.

1.Press FUNCTION to select AUX1/AUX2.

Press FUNCTION repeatedly until AUX1/AUX2 appears in the display.

2.Press 8 or 2 to turn AUX1/AUX2 on or off.

Pressing 8 or 2 will turn AUX on or off and that status will be displayed (e.g., AUX1 :ON).

Setting the rear output and subwoofer controller

This unit’s rear output (rear speaker leads output and RCA rear output) can be used for full-range speaker (R-SP :FUL) or subwoofer (R-SP :S/W) connection. If you switch the rear output setting to R-SP :S/W, you can connect a rear speaker lead directly to a subwoofer without using an auxiliary amp.

Initially, the unit is set for rear full-range speaker connection (R-SP :FUL). When rear output is connected to full range speakers (when R-SP :FULis selected), you can connect other full range speakers (P/O :FUL) or a subwoofer (P/O :S/W) to the RCA rear output.

1.Press FUNCTION to select R-SP.

Press FUNCTION repeatedly until R-SPappears in the display.

2.Press 8 or 2 to switch the rear output setting.

Pressing 8 or 2 will switch between R-SP :FUL(full-range speaker) and R-SP :S/W(subwoofer) and that status will be displayed.

When no subwoofer is connected to the rear output, select R-SP :FUL.

When a subwoofer is connected to the rear output, set for subwoofer R-SP :S/W.

When the rear output setting is R-SP :S/W, you cannot operate the following procedure.

3.Press 4 or 6 to switch the subwoofer output or rear output.

Pressing 4 or 6 will switch between P/O :S/W and P/O :FUL and that status will be displayed.

Notes

Even if you change this setting, there is no output unless you turn the subwoofer output on (refer to “Using subwoofer output” on page 26).

If you change this setting, subwoofer output in the audio menu return to the factory settings.

Saving the battery consumption

Even when this unit is switched off, the microcomputer inside still uses a small amount of power in order to enable a quick restart. Switching on the Power Save mode will prevent the microcomputer from running unnecessarily, thereby saving the battery in your vehicle.

With Power Save mode on, you cannot insert or eject a disc when power to the unit is off. Press SOURCE to switch the unit on, then try again.

Important

If the battery in your vehicle is disconnected the Power Save mode is canceled. Turn on Power Save again once the battery has been reconnected. If the ignition switch in your vehicle doesn’t have an ACC (accessory) position, it is possible depending on the connection method that when Power Save is off, the unit will draw power from the battery.

1.Press FUNCTION to select SAVE.

2.Press 8 or 2 to turn power save on or off.

ENGLISH

29
Image 29
Contents To register your product DEH-P4800MPContents Connecting the Units Type of vehicle, never connect 6 * Ignition switch 12 V DC ON/OFF Blue/whiteDIN Front/Rear-mount InstallationDIN Front-mount DIN Rear-mountFixing the front panel Fix the front panel to the unit using fixing screwsBefore You Start About this unitAbout this manual FeaturesCase of trouble About WMAWhat’s What Protecting your unit from theftHead unit Removing the front panelPower ON/OFF Optional remote controlTurning the unit on Selecting a sourceListening to the radio TunerIntroduction of advanced tuner operation Storing and recalling broadcast frequenciesIntroduction of RDS operation Tuning in strong signalsStoring the strongest broadcast frequencies Receiving traffic announcements Switching the RDS displaySelecting alternative frequencies PTY list Receiving PTY alarm broadcastsPlaying a CD Built-in CD PlayerIntroduction of advanced built-in CD player operation Repeating playUsing compression and BMX Pausing CD playbackPlaying tracks in random order Scanning tracks of a CDUsing CD Text functions Using disc title functionsWMA indicator Folder number indicatorMP3 indicator MP3/WMA/WAV PlayerScanning folders and tracks Pausing MP3/WMA/WAV playbackPress 4 or 6 to select the repeat range Select the repeat rangeDisplaying text information on MP3/WMA/WAV disc When playing back an MP3/WMA discSearching every 10 tracks in the current folder Disc number indicator When playing back a WAV discScrolling text information in the display Multi-CD PlayerScanning CDs and tracks Disc multi-CD playerIntroduction of advanced multi-CD player operation Creating a playlist with ITS programming Using ITS playlistsPlayback from your ITS playlist Erasing a track from your ITS playlistErasing a CD from your ITS playlist Introduction of audio adjustments Using compression and bass emphasisAudio Adjustments Using the equalizer Using balance adjustmentAdjusting equalizer curves Recalling equalizer curves Fine-adjusting equalizer curve Adjusting loudness Using subwoofer output Adjusting subwoofer settings Using the high pass filterBoosting the bass Front image enhancer F.I.EInitial Settings Adjusting source levelsAdjusting initial settings Setting the FM tuning stepSwitching the auxiliary setting Switching Auto PI SeekSetting the rear output and subwoofer controller Saving the battery consumptionOther Functions Using the AUX sourceAdditional Information Understanding built-in CD player error messagesSound muting CD player and careWMA additional information MP3, WMA and WAV filesMP3 additional information Terms About folders and MP3/WMA/WAV filesSpecifications Page GB-P4800MP-DEH-MAN