JLWM1202, JLWM1403 specifications
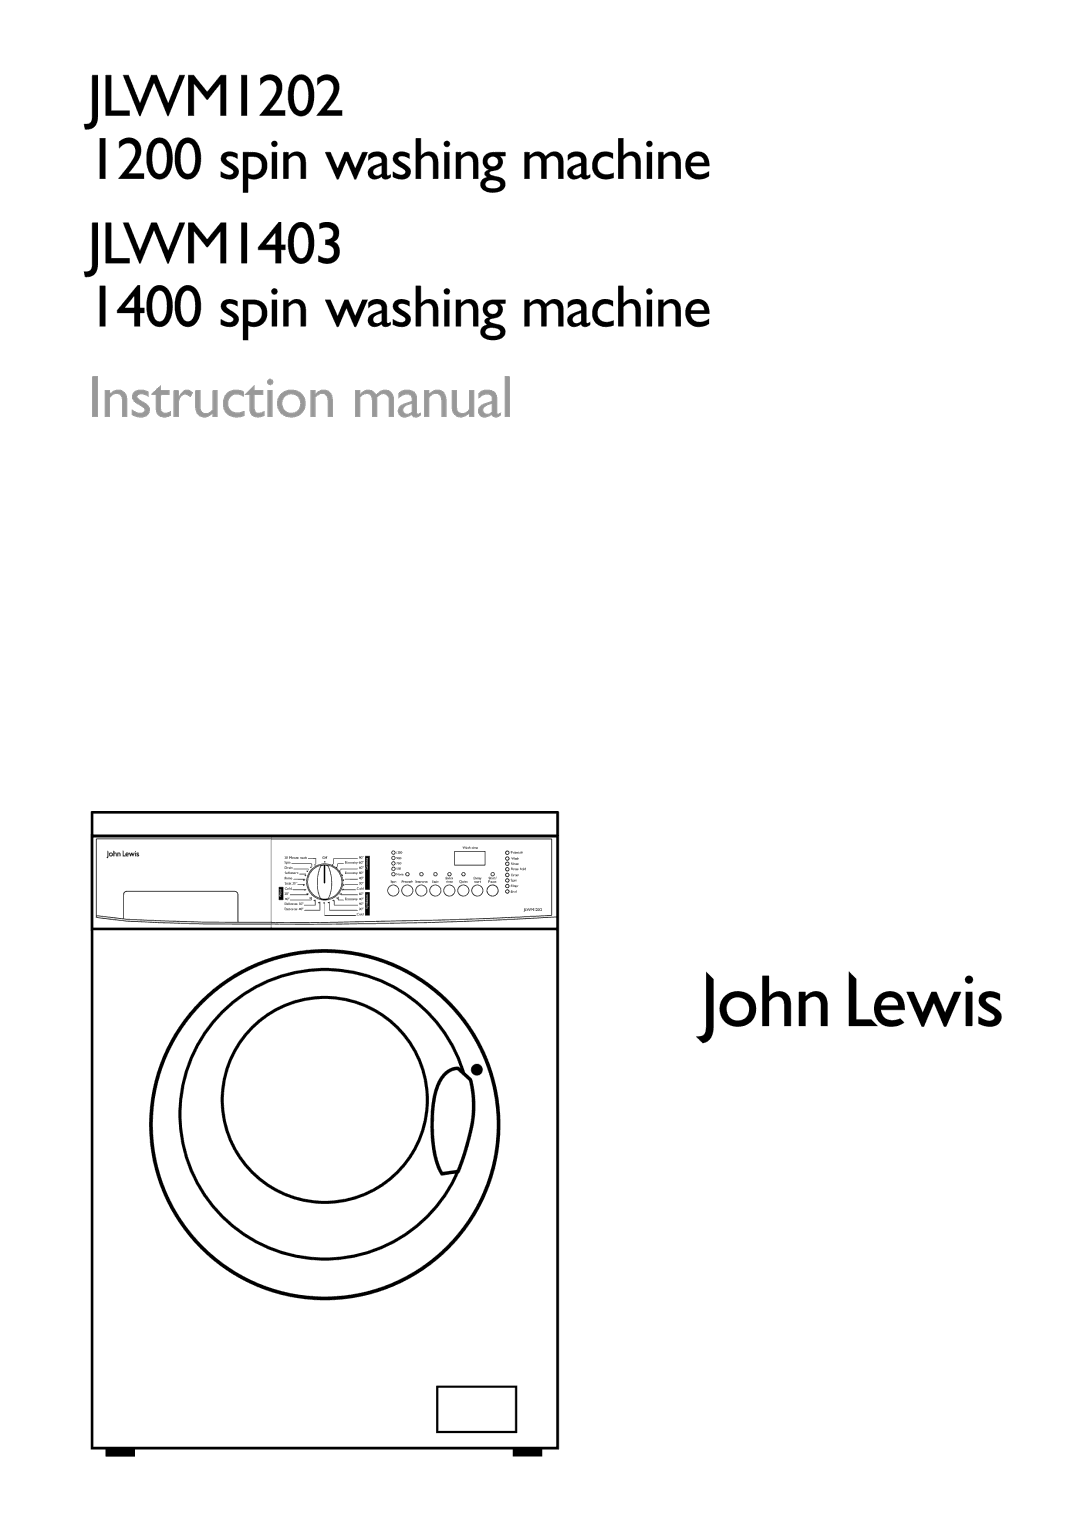
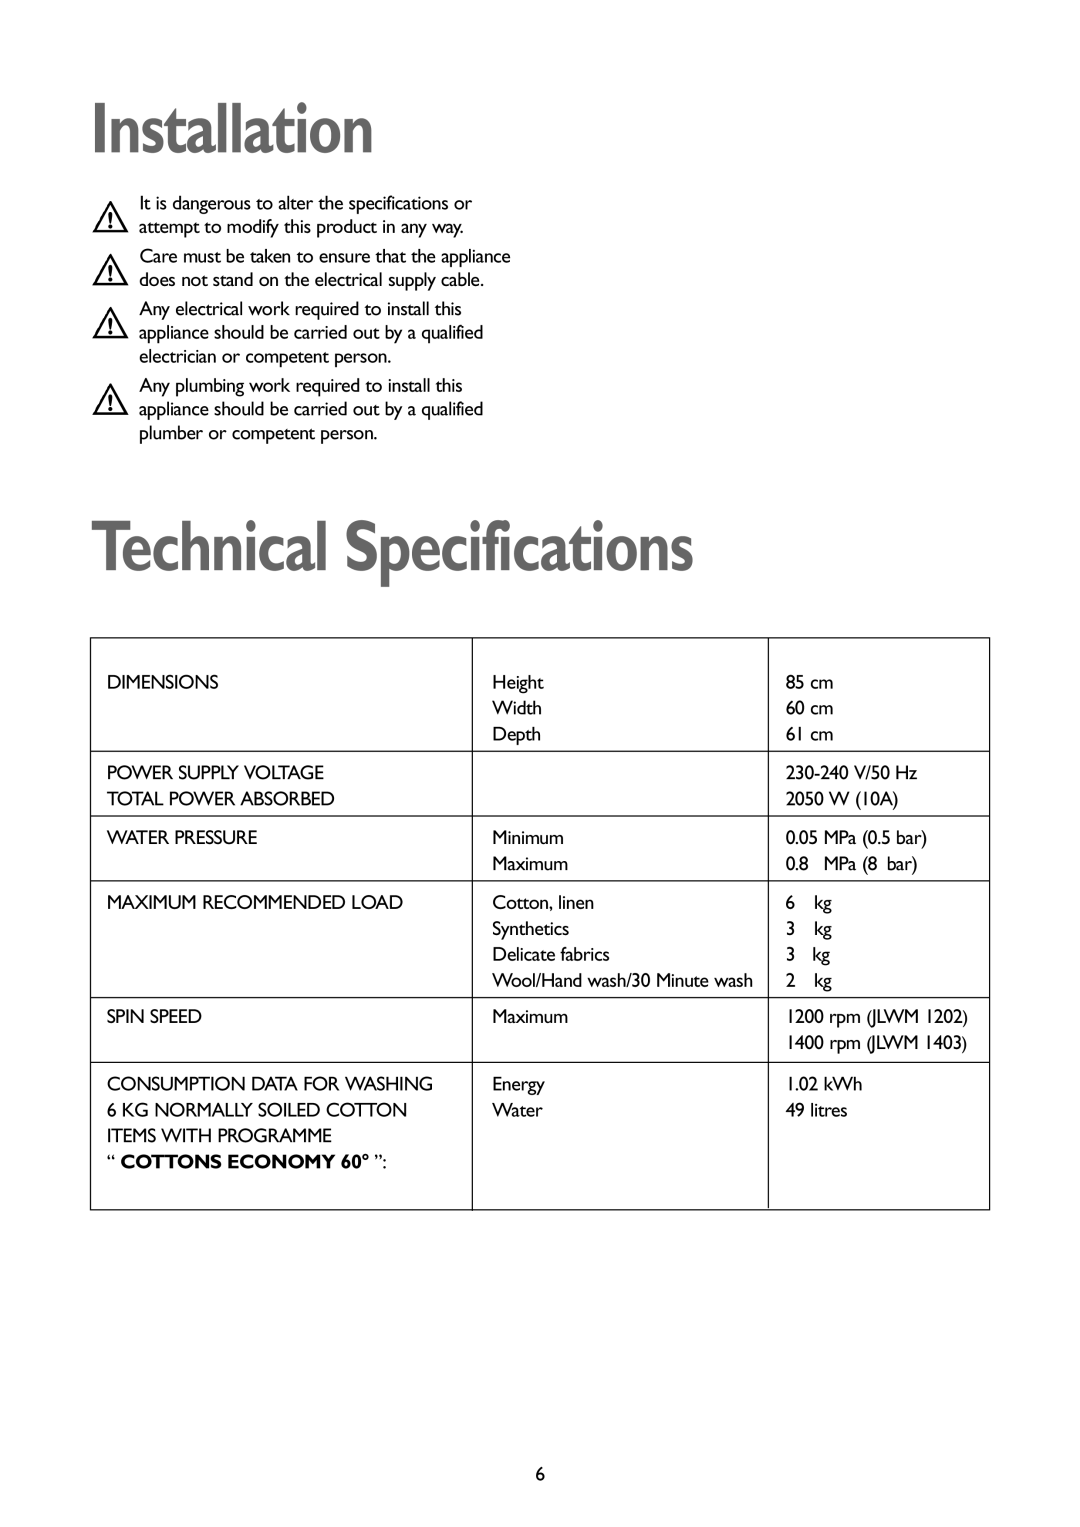
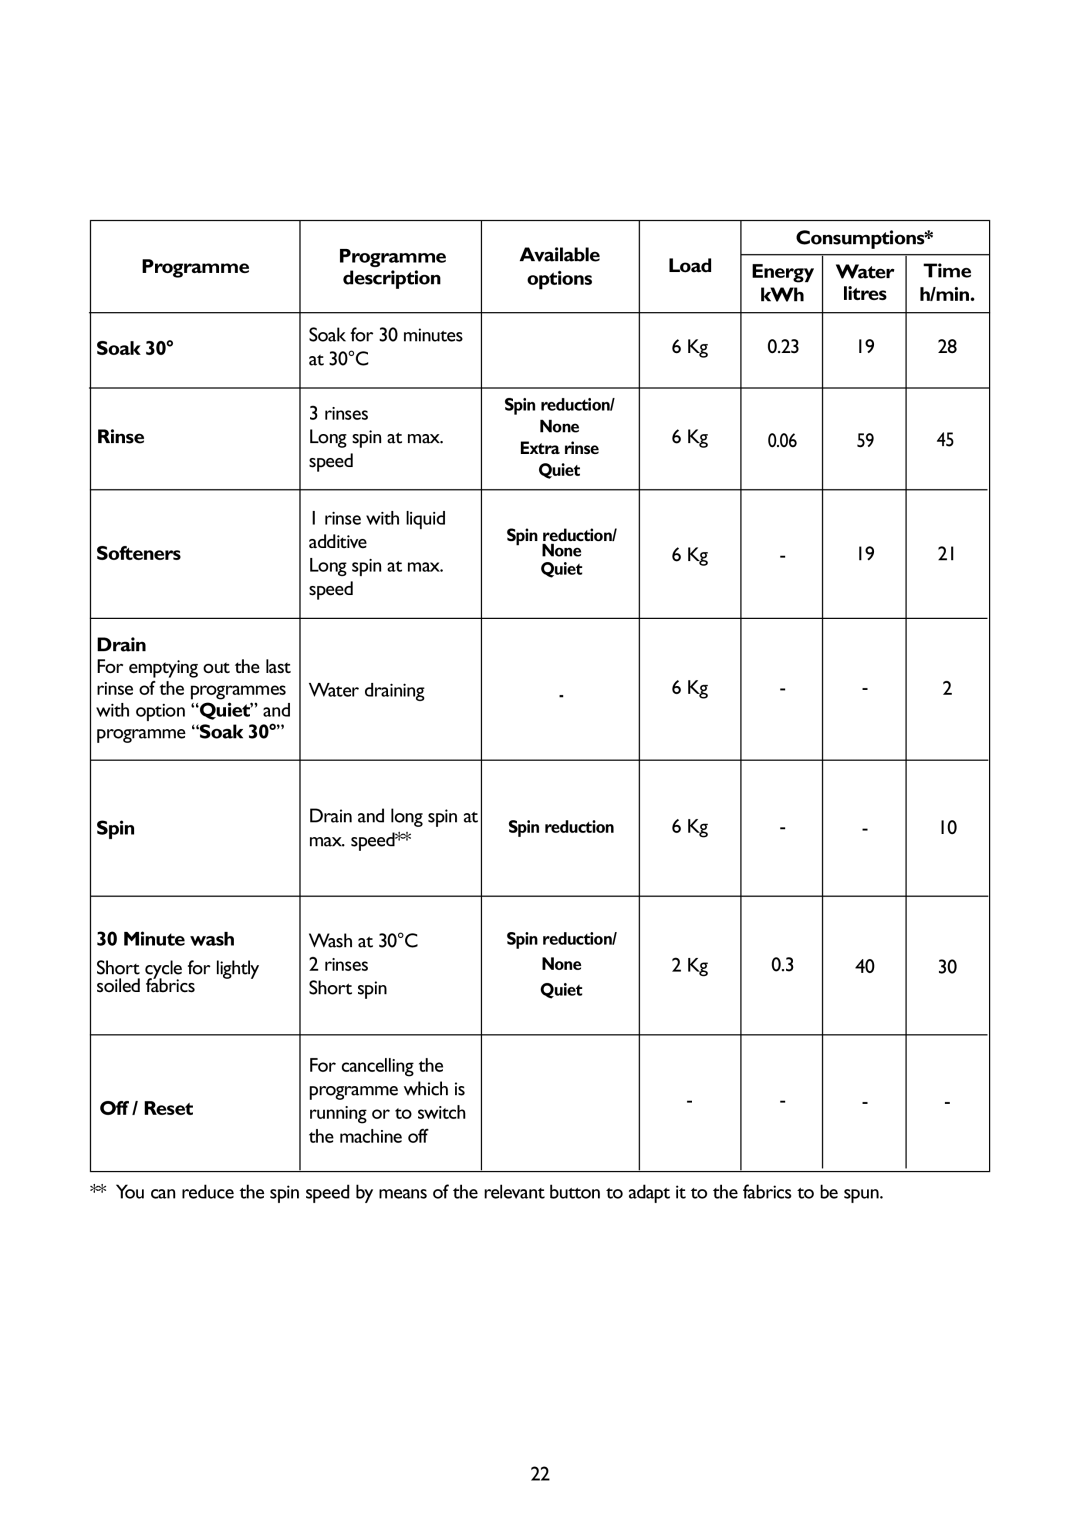
John Lewis has long been synonymous with quality and reliability in the home appliance market, and the John Lewis JLWM1403 and JLWM1202 washing machines are prime examples of this commitment. Both models combine efficiency, advanced technologies, and user-friendly features, making them excellent choices for modern households.The JLWM1403 is designed to accommodate larger loads with its 8kg capacity, which is ideal for families or individuals who frequently wash larger items such as bedding. It offers a maximum spin speed of 1400 RPM, ensuring that clothes come out dryer and require less time in the dryer, ultimately saving energy and reducing drying time. This model features a variety of wash programs, including a quick wash option that allows users to clean lightly soiled clothes in just 30 minutes, providing convenience when time is of the essence.
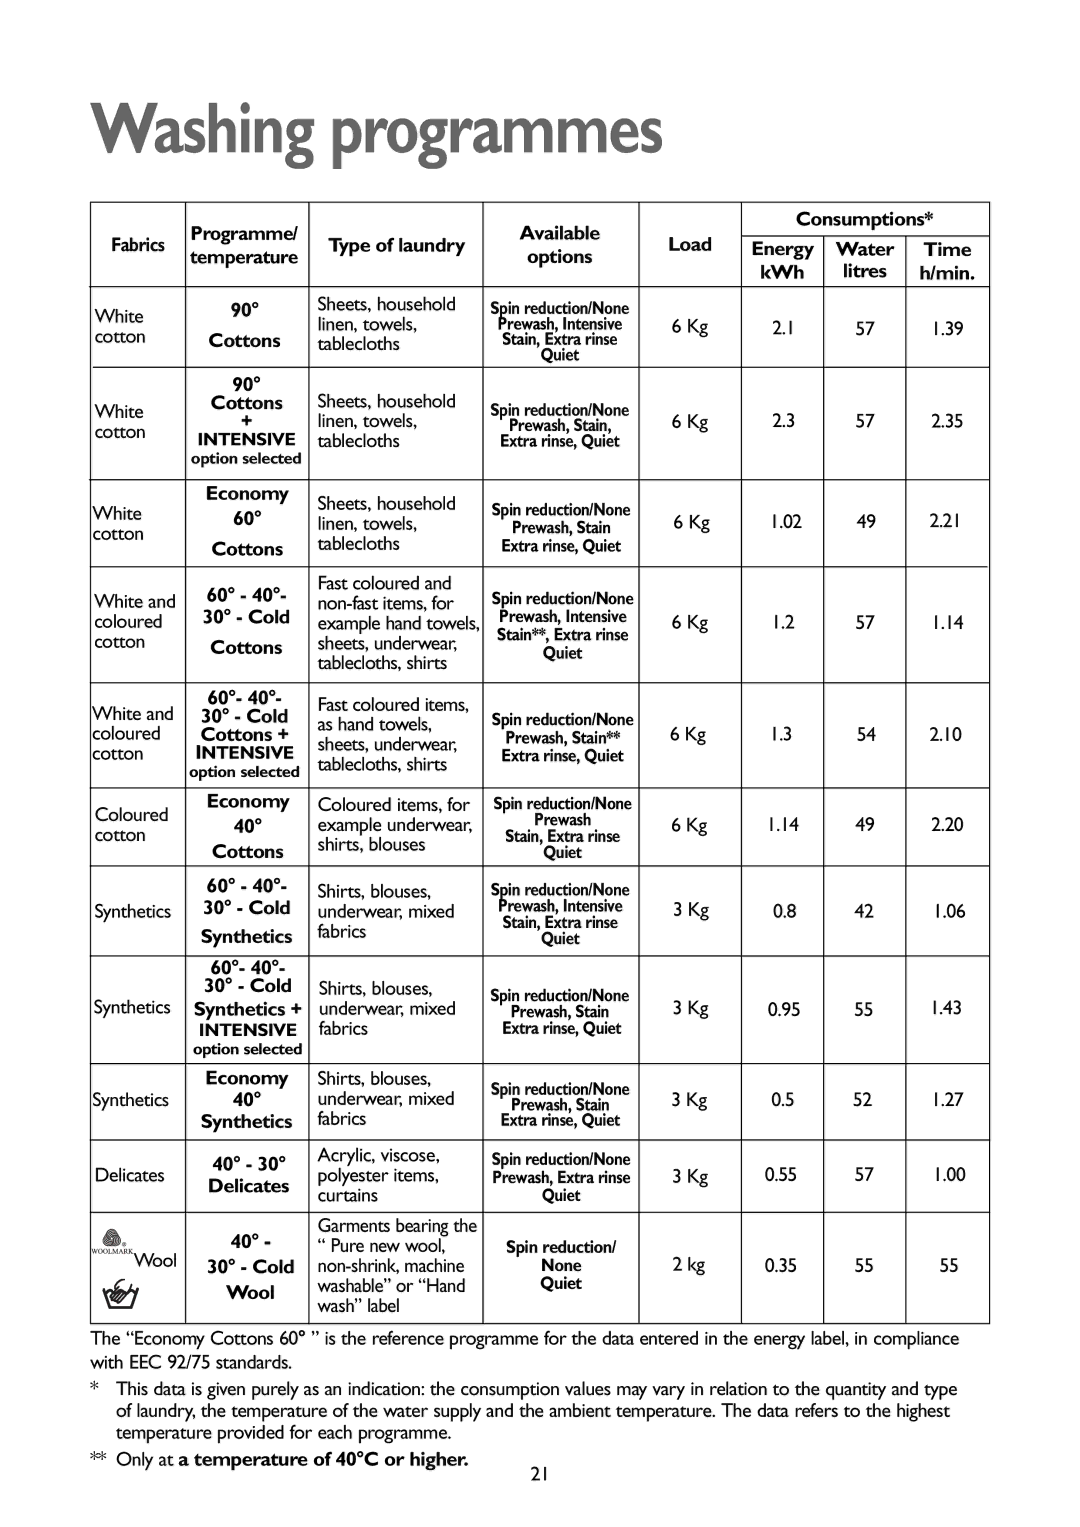
On the other hand, the JLWM1202 is more suitable for smaller spaces or those with lighter laundry needs, featuring a 6kg capacity. Despite its compact size, it does not compromise on performance and also provides a maximum spin speed of 1200 RPM. The JLWM1202 also comes equipped with an array of wash programs, ensuring that every fabric type and dirt level can be addressed efficiently. Its eco setting is particularly noteworthy, optimizing water and energy usage for environmentally conscious consumers.
Both models benefit from the latest washing technologies, including inverter motors that promote quiet and efficient operation. This technology not only reduces noise levels during washing cycles but also contributes to improved energy efficiency. Furthermore, both washing machines come with an A+++ energy rating, which assures users of low running costs and minimal environmental impact, making them both economical and eco-friendly choices.
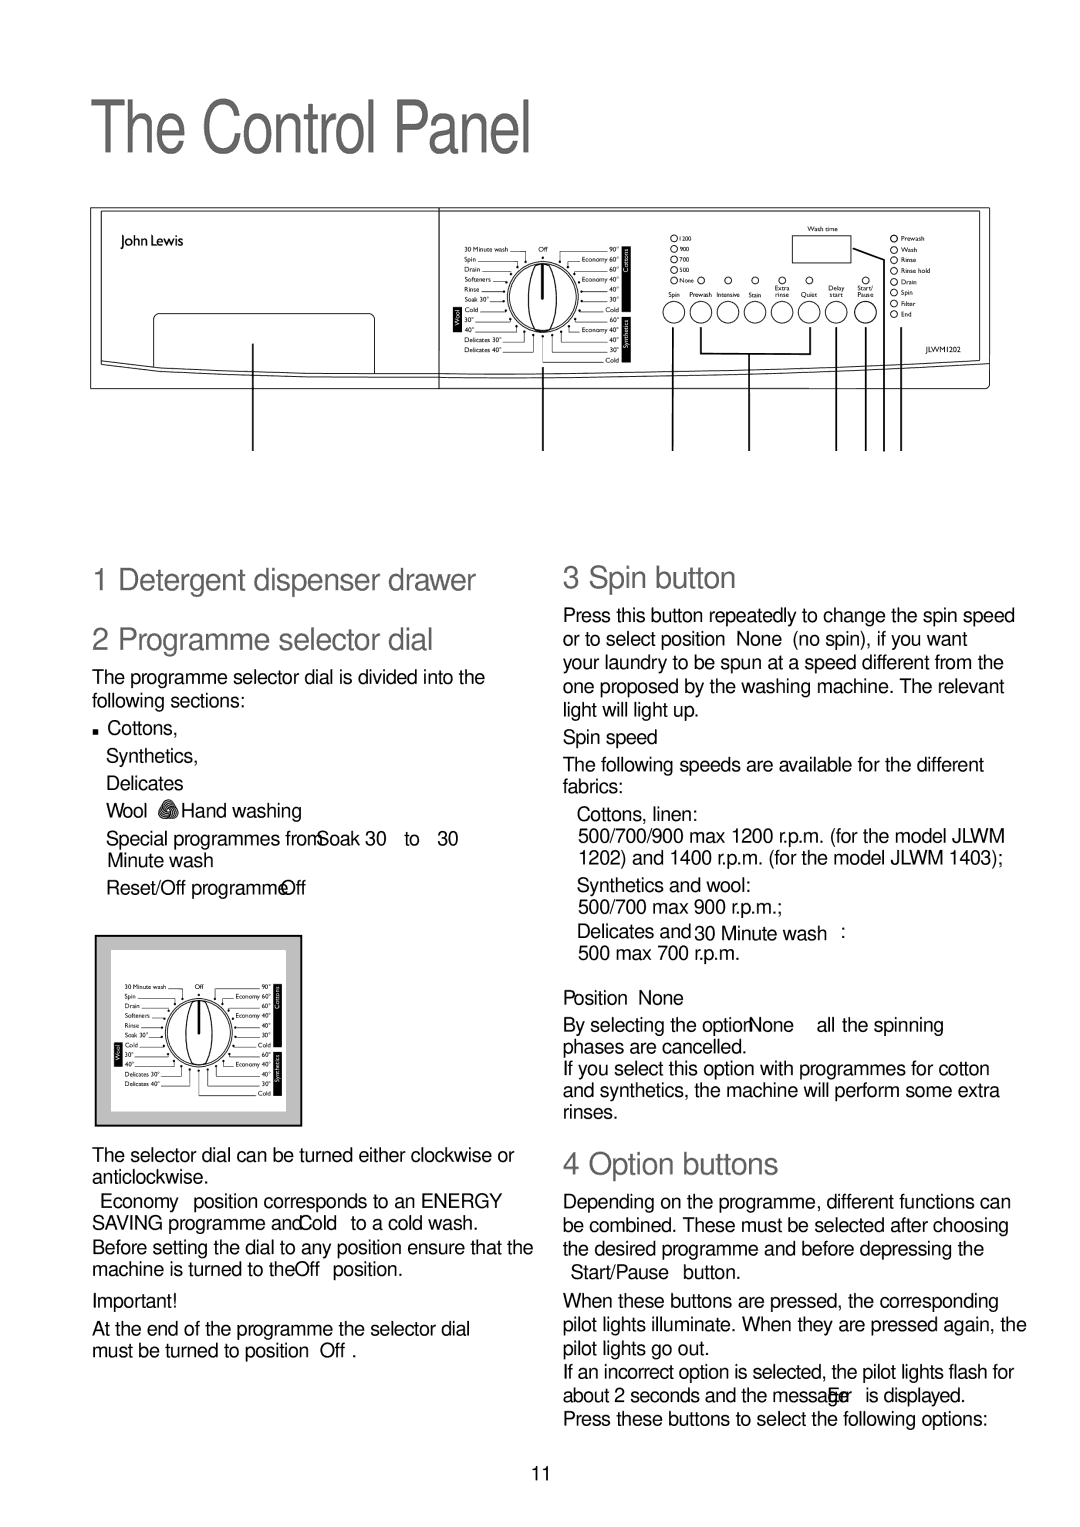
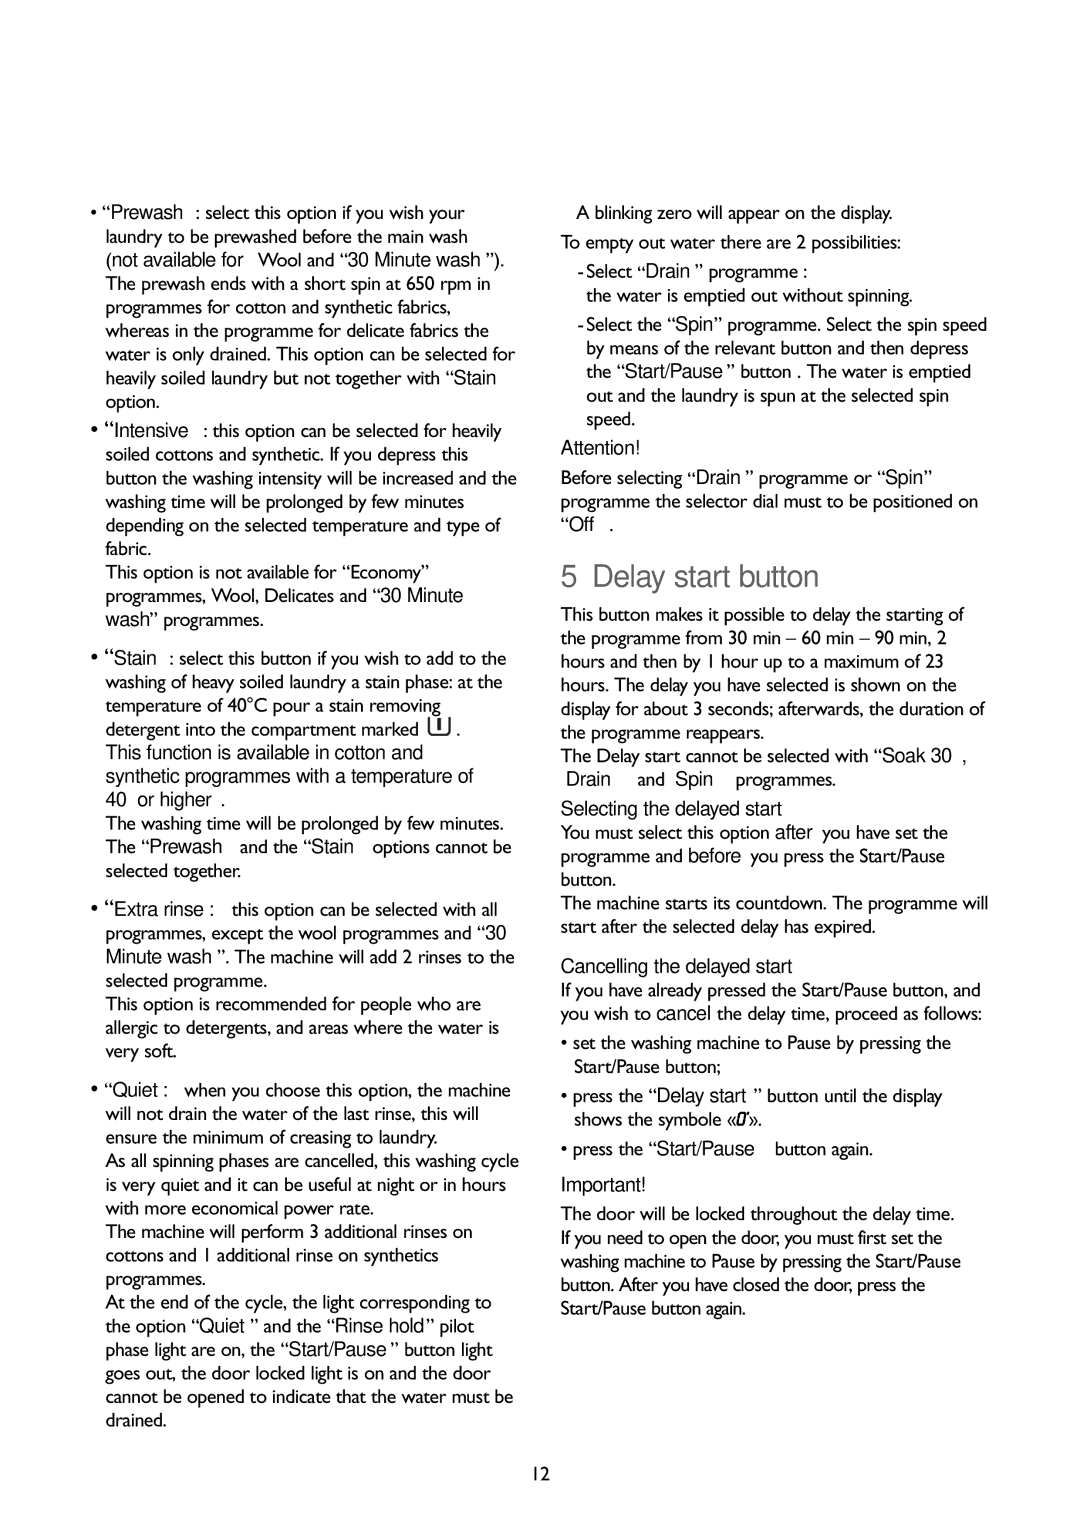
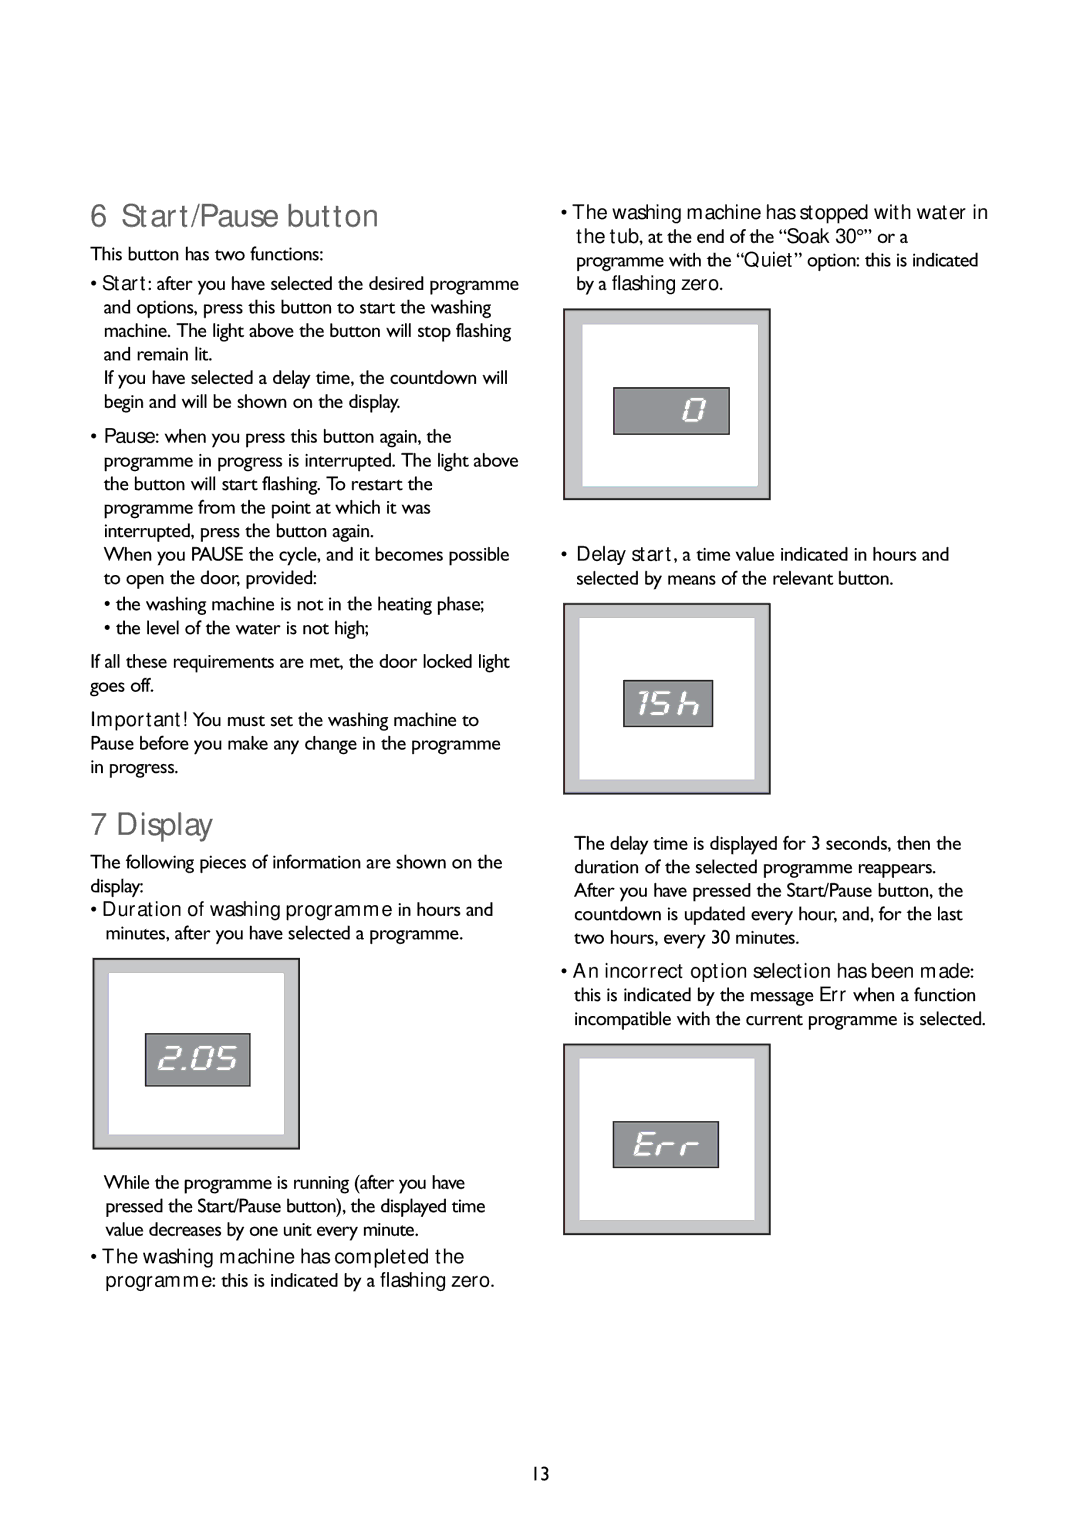
Another key feature common to both models is their user-friendly interface. The LED display and intuitive controls make selecting wash programs and adjusting settings a straightforward task. Additionally, the delay start function allows users to schedule wash cycles at their convenience.
With excellent build quality and a selection of smart features, the John Lewis JLWM1403 and JLWM1202 washing machines stand out as reliable appliances that cater to different household needs, ensuring laundry day is as efficient and hassle-free as possible.
