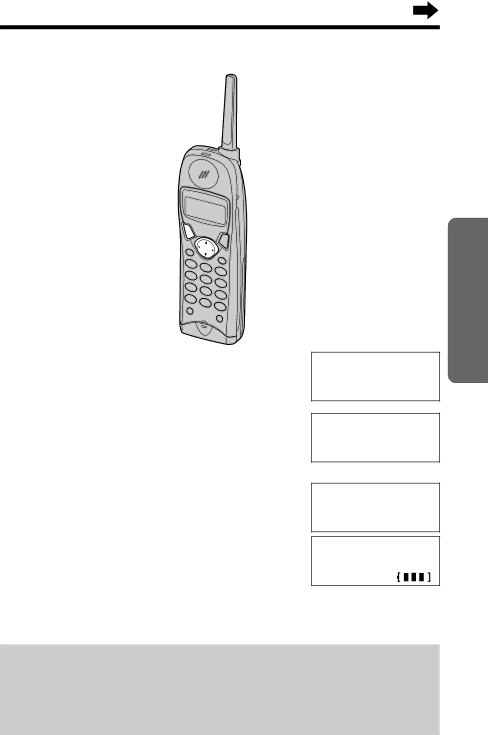
Calling Back from the Caller List
(TALK)![]()
![]()
![]()
![]()
![]()
![]()
Basic Operation
| Lift the handset off the base unit and |
1 press Ö or Ñ to enter the Caller List. | |
| Press Ö or Ñ repeatedly to find the |
2 desired caller. | |
3 | Press (TALK). |
•The displayed phone number is dialled | |
automatically.
3 new calls GF H=Directory
0355566677 11:20A JAN12 ✕3
Talk
0355566677
Talk
•In some cases, you may have to edit the number before dialling (p. 26).
•If a phone number is not displayed in the caller information, you cannot call back that caller.
For New Zealand Users:
Your telephone company may charge you for a local call if the number dialled has the area code prefix included. If the charge for local call is unacceptable, only the
25