DVD CD
MARKING DESIRED SCENES
The unit stores the points that you want to watch again up to 3 points. You can resume playback from each scene.
1, 4
2
3
Marking the Scenes
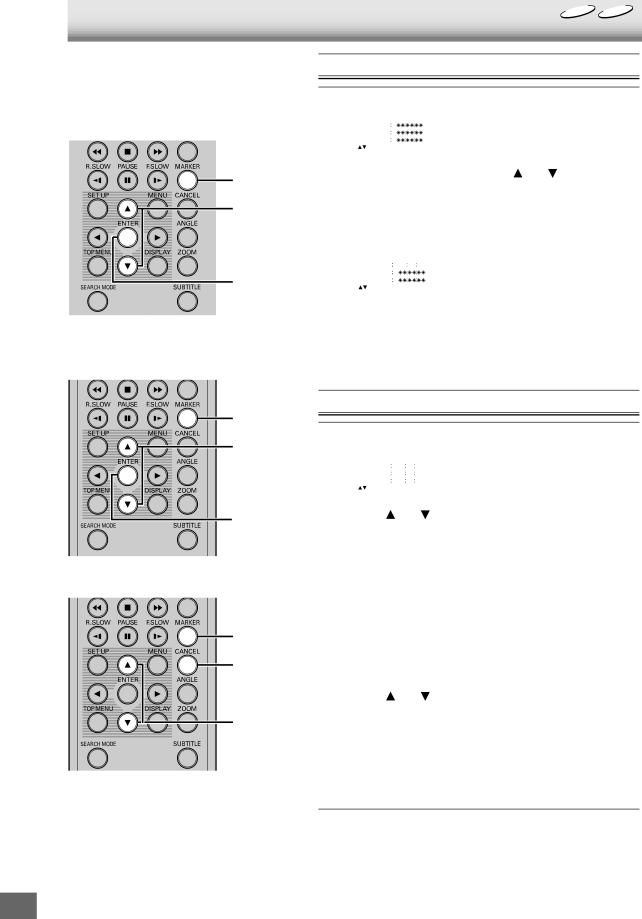
1 | Press [MARKER] during playback. | |||||||||
| Marker | 1 |
|
|
|
|
|
| ||
|
|
|
|
|
|
|
|
| ||
|
|
| Marker | 2 |
|
|
|
|
|
|
|
|
| Marker | 3 |
|
|
|
|
|
|
|
|
| /Enter/Cancel/Marker |
| ||||||
|
|
| ||||||||
2 | Select the blank Marker using [ ] or [ ]. | |||||||||
|
|
| ||||||||
3 | Press [ENTER] at the desired scene. | |||||||||
The time when you press [ENTER] is set. | ||||||||||
|
|
|
|
|
|
|
|
|
|
|
|
|
| Marker | 1 |
|
|
|
|
|
|
|
|
| 00 27 54 |
|
|
| ||||
|
|
| Marker | 2 |
|
|
|
|
|
|
|
|
| Marker | 3 |
|
|
|
|
|
|
|
|
| /Enter/Cancel/Marker |
| ||||||
|
| |||||||||
| 4 | Press [MARKER] again to close the “Marker” screen. | ||||||||
•The unit stores the points that you want to watch again up to 3 points.
1
2
3
1, 4
3
2
Returning to the Scenes
1 | Press [MARKER] during playback or stop mode. | |||||||
|
|
| Marker | 1 |
|
|
|
|
|
|
| 00 27 54 |
|
| |||
|
|
| Marker | 2 | 01 16 25 |
|
| |
|
|
| Marker | 3 | 02 08 31 |
|
| |
|
|
| /Enter/Cancel/Marker |
| ||||
|
|
| ||||||
| 2 | Press [ | ] or [ ] to select the Marker 1 ~ 3. | |||||
|
|
| ||||||
3 | Press [ENTER]. | |||||||
Playback starts from the marked scene. | ||||||||
|
| |||||||
To Cancel the Mark | ||||||||
|
|
|
|
|
|
|
|
|
|
|
|
|
|
|
|
|
|
1 | Press [MARKER] during playback or stop mode. | |||||||
2 | Press [ |
| ] or [ ] to select the Marker 1 ~ 3. | |||||
3 | Press [CANCEL]. | |||||||
4 | Press [MARKER] again to close the “Marker” screen. | |||||||
Notes:
•Some discs may not work with the marking operation.
•The marking is canceled when you open the disc tray or turn the power off.
•Some subtitles recorded around the marker may fail to appear.
•You cannot do marking operations with MP3/WMA/JPEG CDs.