 +/- button
ISO : You can select the ISO sensitivity when taking pictures.
The speed or specific
Selecting an ISO Sensitivity |
| |
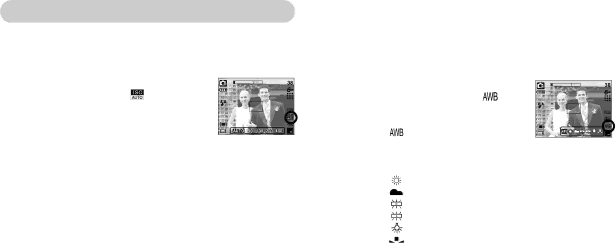
1. Press the +/- button, and then use the UP and DOWN | ||
buttons to select the ISO icon ( | ). | |
2. Use the LEFT and RIGHT buttons to select the desired | ||
ISO sensitivity value. |
| |
- AUTO | : The camera's sensitivity is | |
| automatically changed by | |
| variables such as lighting value or subject brightness. | |
-50, 100, 200, 400 : The higher the ISO value, the higher the camera’s sensitivity to light is and therefore the greater its capacity to take pictures in low light. However, the noise level in the image will increase as the ISO value increases, making the image appear coarser.
3.When you press the +/- button again, the value you set will be saved and ISO setup mode will end.
White balance : The white balance control allows you to adjust the colours to appear more natural.
Selecting a White Balance |
| |
1. Press the +/- button, and then use the UP and DOWN | ||
buttons to select the white balance icon ( | ). | |
2. Use the LEFT and RIGHT buttons to set the white | ||
balance to the desired value. |
| |
AUTO | : The camera automatically | |
| selects the appropriate white | |
| balance settings, depending on the prevailing lighting | |
| conditions. |
|
DAYLIGHT | : For taking images outside. | |
CLOUDY | : For taking images under a cloudy and overcast sky. | |
Fluorescent H | : For shooting under daylight fluorescent lighting. | |
Fluorescent L | : Shooting under white fluorescent lighting. | |
TUNGSTEN | : For shooting under tungsten (standard light bulb) lighting. | |
CUSTOM | : Allows the user to set the white balance according to the | |
shooting condition.
Different lighting conditions may cause a colour cast on your images.
3.Press the +/- button again. The value you set will be saved and White Balance setup mode will end.
24