STEP 3. CONFIGURING FOR INTERNET ACCESS

4

Before You Start the Configuration, have the following information ready:

Your analog telephone number or numbers

ISP telephone number

ISP account user ID

ISP account password (including ISP DNS server address if required)

(Optional) Call Waiting Disable Command (your telephone company can provide this value)

To Configure for Internet Access:

1Launch the Web browser on the computer that you connected to the LAN Modem. A welcome message appears. (If it does not, refer to “Troubleshooting,” page 6.)

2Click Continue.

The Dual 56K LAN Modem clock synchronizes itself to the date and time on your computer. The Set Password window appears.

3(Optional) Enter a password in the Password field and in the Password (repeat) field to confirm. (Be sure to record this for future use.) A password guards access to the LAN Modem, and is recommended if you will set up dial-in access. If you do not want to set a password, leave blank.

4Click Submit.

The Set Country and Telephone Numbers window opens.

5Choose your country from the drop-down list.

6Enter your analog telephone number(s) including area code and click Continue.

If you chose any country other than the United States, the LAN Modem resets and then returns you to the initial Welcome screen. Continue from Step 2, above.

The ISP Wizard window appears.

7Enter your ISP information. Choose any name for the ISP Name field. If you are not sure about the DNS server address, leave this field blank.

8In the Dial Out Prefix field, enter the number you must dial to reach an outside line from your location, if applicable (for example, “9” for use with a PBX).

9(Optional) In the Call Waiting Disable Command field, enter the value provided by your telephone company. This is used to prevent incoming calls from interfering with data calls.

10Click Continue.

A call is launched to your ISP, and a message confirming proper configuration appears.

If the call to your ISP does not go through, refer to the troubleshooting section in the User Guide, located on the OfficeConnect Dual 56K LAN Modem Companion CD-ROM.

11Click Continue.

This completes the initial setup and will verify your configuration by placing a test call to the LAN Modem Support page on 3Com’s World Wide Web site.

12Click Register to register your product.

The ISP Wizard sets your LAN Modem configuration parameters to a typical default. If necessary, you can change these settings by returning to the LAN Modem’s configuration pages. To do so, enter http://3com.oc.lanmodem or http://192.168.1.1 in your browser.

The connection made as a result of the ISP Wizard will automatically disconnect after seven minutes of inactivity. If you want to manually disconnect the call, access the LAN Modem configuration page and click Manual Calling.

You can now connect up to three more computers (and/or printers) to your new LAN. If you wish to add more than four users, see “Connecting More Than Four Users,” page 5. To set up a connection to a Private Network or second ISP, refer to Chapters 6 and 7, respectively, in the User Guide.

For documentation, firmware upgrades, and updated information about your LAN Modem, visit the LAN Modem Support page at any time at http://www.3com.com/support/docs/lanmodem/.

Page 4
Image 4
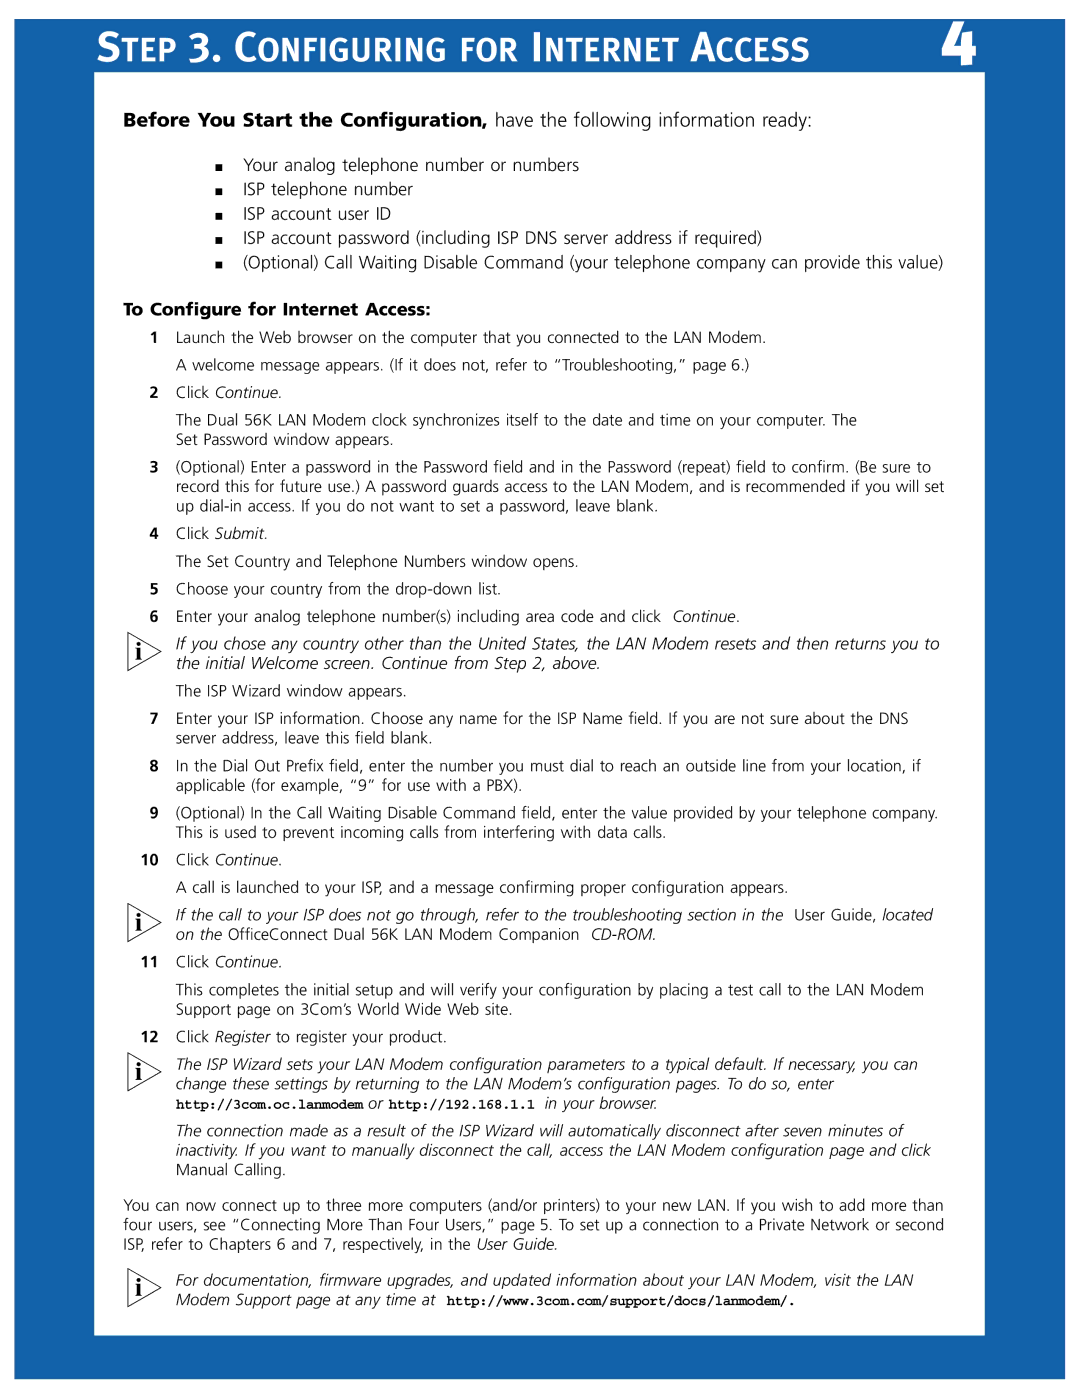
3Com 3C888 manual Configuring for Internet Access, To Configure for Internet Access, Click Continue

3C888 specifications

The 3Com 3C888 is a versatile networking device that was part of the company's innovative range of network interface cards (NICs) aimed at enhancing computer connectivity. These devices were integral to the evolution of networking in both consumer and enterprise environments during the late 1990s and early 2000s.

One of the standout features of the 3C888 is its dual functionality. It combines both Ethernet and Token Ring capabilities, allowing users to connect to different network types without needing separate cards. This integration made it a particularly attractive option for businesses transitioning from Token Ring to Ethernet networks, as it provided a seamless upgrade path.

The 3C888 utilizes a PCI interface, which offers a wide bandwidth that significantly reduces latency compared to its predecessors. This technological advancement ensures fast and reliable data transfer rates, making it suitable for data-intensive applications. The card also supports a 10/100 Mbps auto-sensing feature, enabling it to adapt to varying network speeds without the need for manual configuration.

Additionally, the card included built-in memory and processing capabilities, allowing it to offload network processing tasks from the main CPU. This feature reduced the overall system load and improved the performance of other applications running on the host machine.

In terms of compatibility, the 3C888 was designed to work with multiple operating systems, including Windows, Linux, and various network protocols. This level of compatibility made it an easy choice for IT departments that managed heterogeneous computing environments.

Another defining characteristic of the 3C888 is its robust diagnostic capabilities. The card comes equipped with advanced tools that facilitate troubleshooting and network monitoring. These tools help network administrators quickly identify and resolve connectivity issues, minimizing downtime and enhancing overall productivity.

Security features were also a key consideration in the design of the 3C888. It supported various encryption protocols, providing secure data transmission over networks, which was crucial during an era when data breaches were beginning to attract significant attention.

In summary, the 3Com 3C888 stands out as a pioneering device that combines multiple networking standards, advanced processing capabilities, and robust security features. Its design not only facilitated the transition between network technologies but also played a crucial role in the growth of enterprise networking solutions during its time. With its blend of features and reliability, the 3C888 has left a lasting mark in the history of networking devices.