17
Sensor alignment
Sensor Alignment
RH Sensor Alignment
Sensor Alignment
For highly accurate measurement readings, you should align your QUESTempº 44/46 prior to data logging. For the RH sensor, it is recommended to align with a High concentration level using the 75% sensor salt, NaCl (sodium chloride), or a Low concentration level using the, the 33% sensor salt, MgCl (magnesium chloride). (See ColePalmer.com to order sensor
alignment salts.)
RH Sensor Alignment
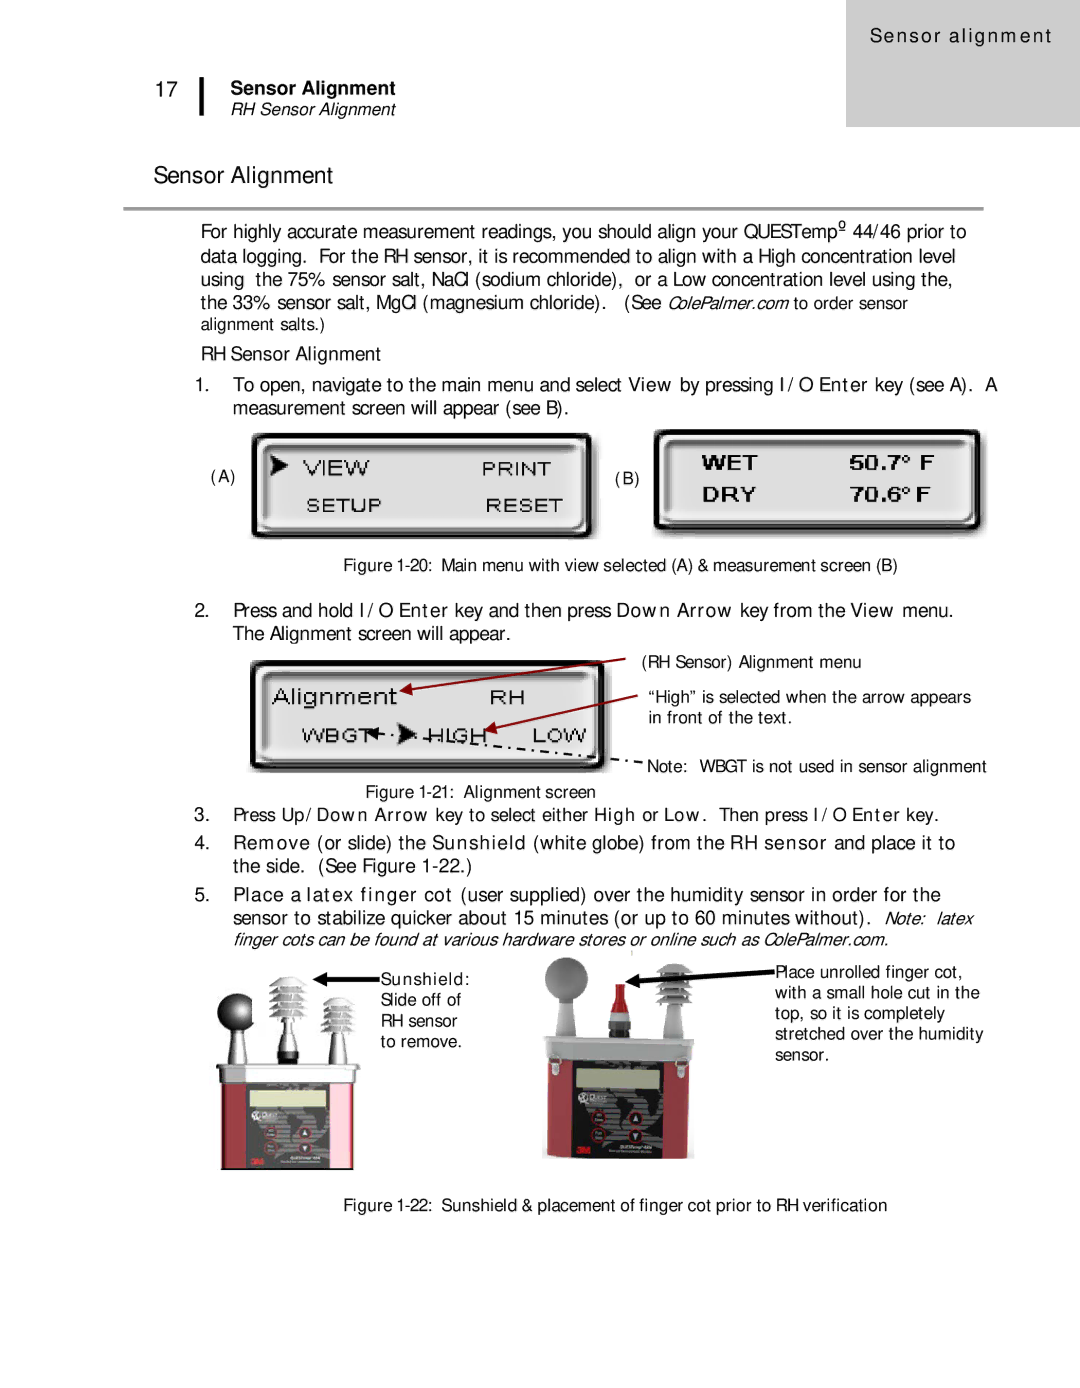
1.To open, navigate to the main menu and select View by pressing I/O Enter key (see A). A measurement screen will appear (see B).
(A) | (B) |
|
|
Figure 1-20: Main menu with view selected (A) & measurement screen (B)
2.Press and hold I/O Enter key and then press Down Arrow key from the View menu. The Alignment screen will appear.
(RH Sensor) Alignment menu
“High” is selected when the arrow appears in front of the text.
Note: WBGT is not used in sensor alignment
Figure 1-21: Alignment screen
3.Press Up/Down Arrow key to select either High or Low. Then press I/O Enter key.
4.Remove (or slide) the Sunshield (white globe) from the RH sensor and place it to the side. (See Figure
5.Place a latex finger cot (user supplied) over the humidity sensor in order for the sensor to stabilize quicker about 15 minutes (or up to 60 minutes without). Note: latex finger cots can be found at various hardware stores or online such as ColePalmer.com.
Sunshield: Slide off of RH sensor to remove.
Place unrolled finger cot, with a small hole cut in the top, so it is completely stretched over the humidity sensor.