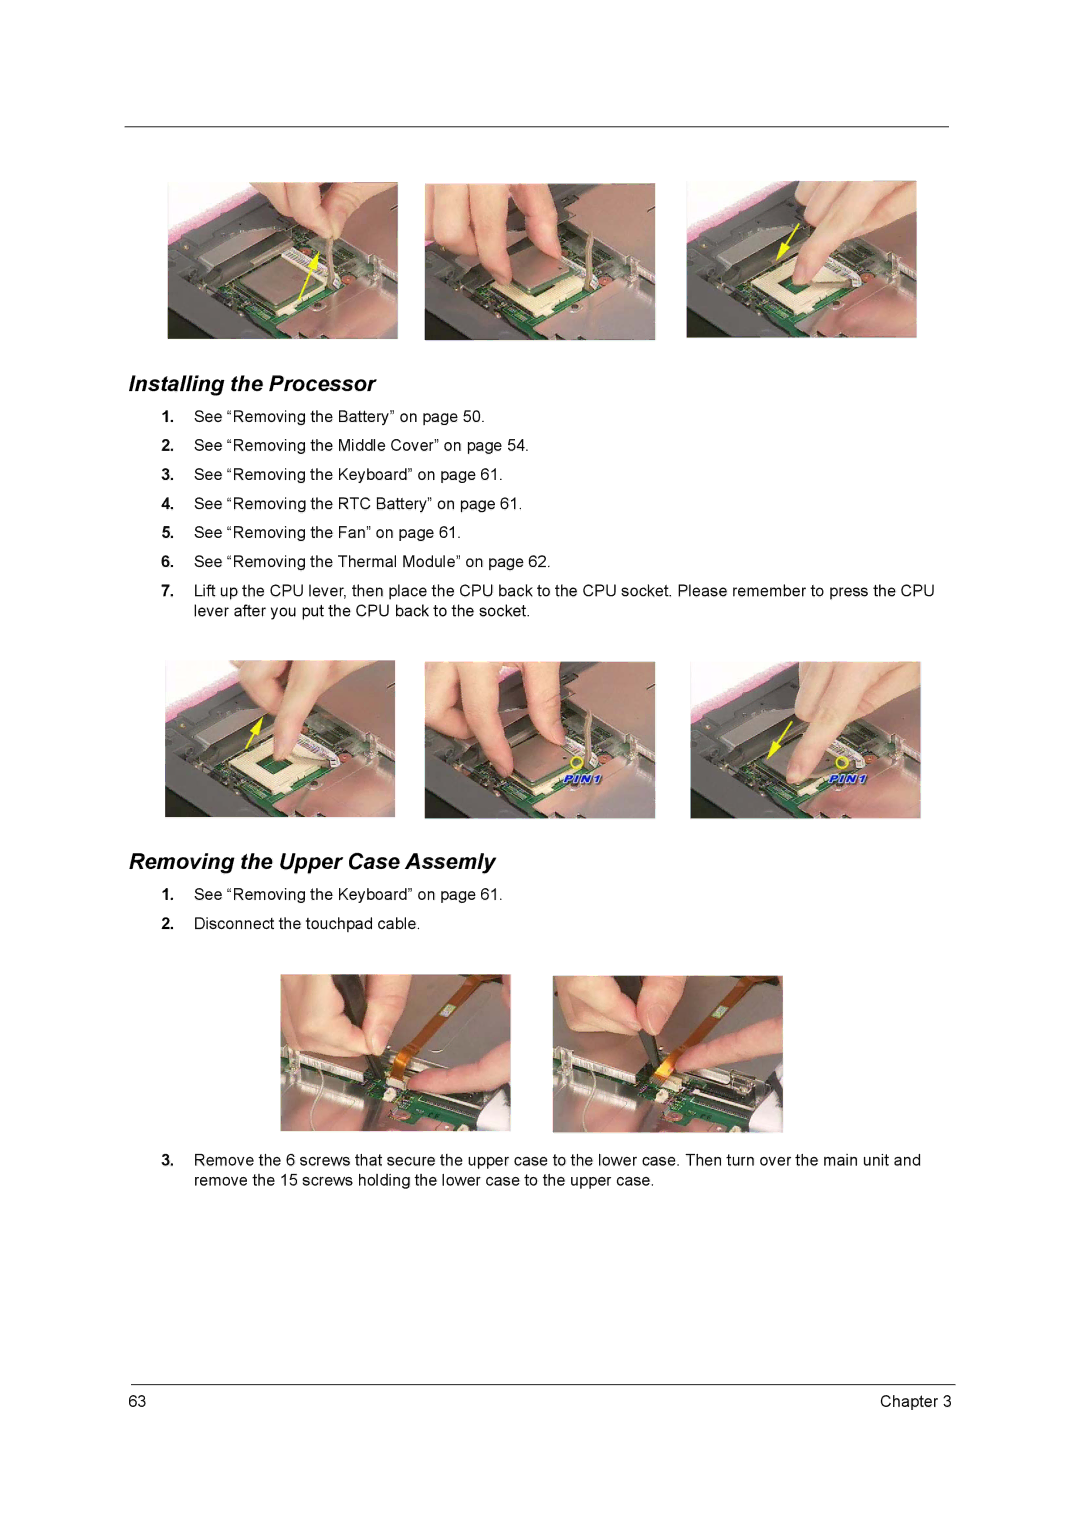
Installing the Processor
1.See “Removing the Battery” on page 50.
2.See “Removing the Middle Cover” on page 54.
3.See “Removing the Keyboard” on page 61.
4.See “Removing the RTC Battery” on page 61.
5.See “Removing the Fan” on page 61.
6.See “Removing the Thermal Module” on page 62.
7.Lift up the CPU lever, then place the CPU back to the CPU socket. Please remember to press the CPU lever after you put the CPU back to the socket.
Removing the Upper Case Assemly
1.See “Removing the Keyboard” on page 61.
2.Disconnect the touchpad cable.
3.Remove the 6 screws that secure the upper case to the lower case. Then turn over the main unit and remove the 15 screws holding the lower case to the upper case.
63 | Chapter 3 |