GTP-880 specifications
The Adcom GTP-880 is a high-performance home theater preamp and processor that has garnered attention for its impressive features and audio quality. Designed for audiophiles and home theater enthusiasts alike, the GTP-880 stands out due to its versatile functionality and advanced technology.One of the main features of the Adcom GTP-880 is its multi-channel audio processing capability. Supporting formats such as DTS, Dolby Digital, and several others, this preamp ensures that users experience immersive sound in their home theater systems. This cinematic audio experience is complemented by a well-executed surround sound setup, allowing users to achieve the kind of high-fidelity output traditionally found in professional environments.
The GTP-880 is also equipped with a range of inputs and outputs that enhance its versatility. It includes multiple digital inputs - including coaxial and optical options - alongside standard analog inputs. This extensive connectivity makes it easy to integrate various devices from CD players to gaming consoles, ensuring flexibility in how users configure their systems. Moreover, the inclusion of balanced XLR outputs aids in minimizing noise for clearer sound reproduction.
Technologically, the Adcom GTP-880 employs advanced circuitry designs that contribute to its high-performance audio. The use of high-quality components offers not only durability but also superior sound fidelity. It also features a sophisticated user interface that makes navigating options effortless, including customizing sound settings and adjusting levels.
In terms of build quality, the GTP-880 showcases an elegant design that fits seamlessly into most home entertainment setups. Its sturdy construction ensures reliability and longevity, while the sleek appearance makes it a visually appealing component in any audio setup.
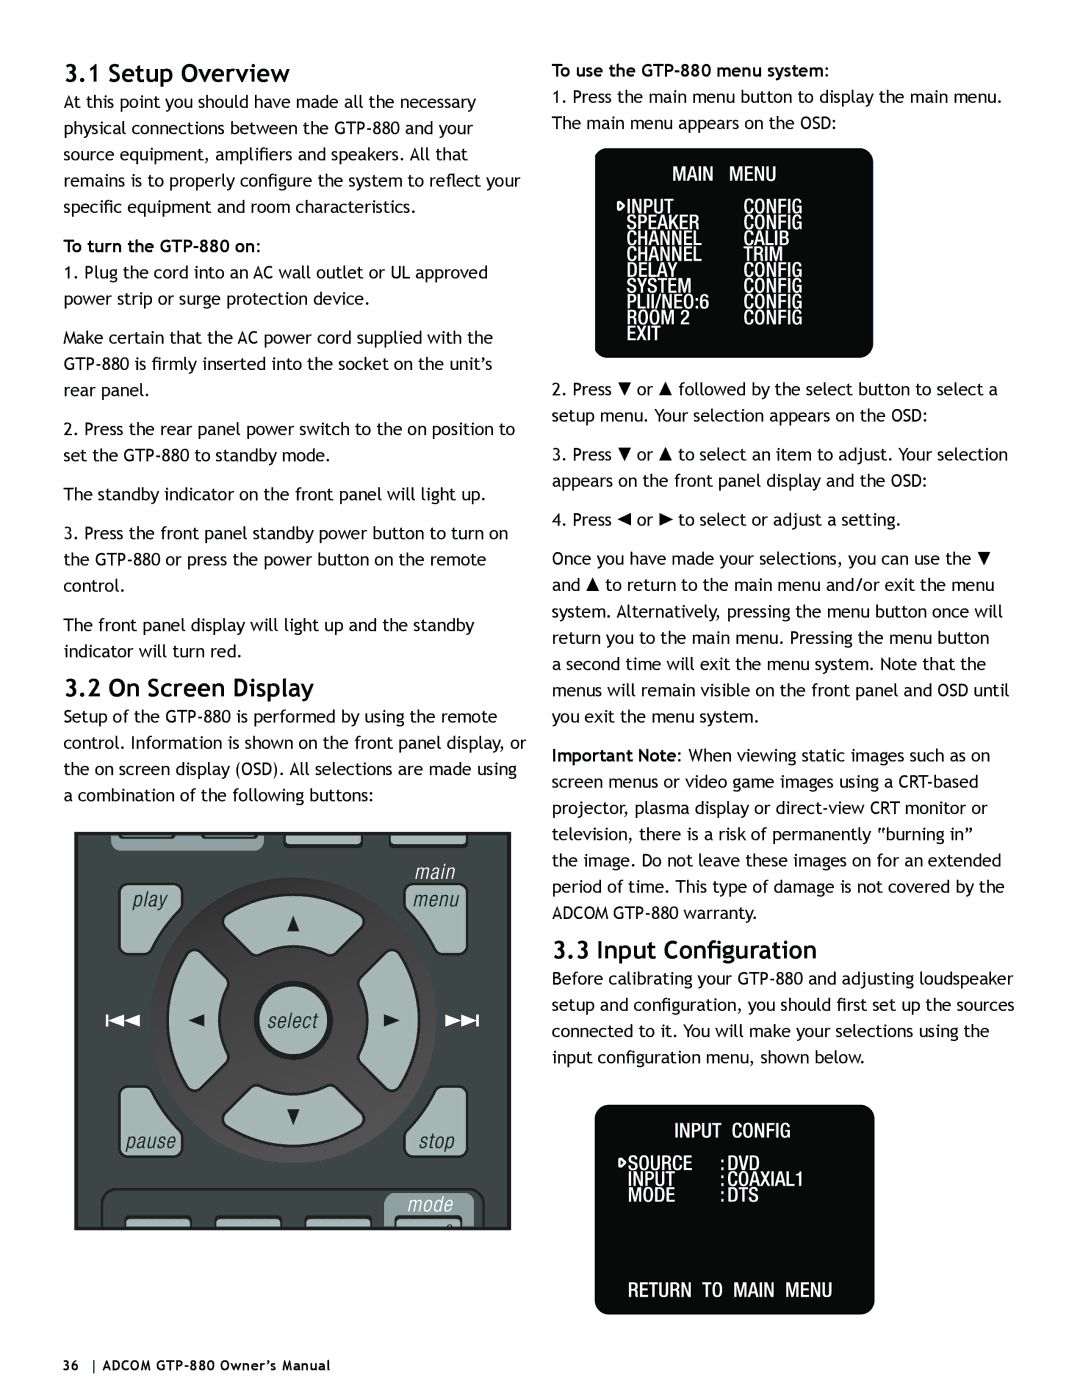
Another notable characteristic is the remote control functionality, which adds convenience for users looking to manage their home theater system from a distance. Additionally, the unit provides multiple setup options, catering to different room acoustics and personal preferences.
In summary, the Adcom GTP-880 is a remarkable preamp and processor, marrying advanced audio processing technologies with excellent build quality and flexibility. Its blend of features allows for an unparalleled audio experience, making it an ideal choice for home theater aficionados seeking to elevate their audio experience. Whether it’s for movies, music, or gaming, the GTP-880 stands as a formidable choice in the landscape of home audio equipment.