Switch specifications
Adder Technology is a leading provider of high-performance video and audio equipment, specializing in KVM (Keyboard, Video, Mouse) solutions. Among its array of advanced products, the Adder Technology Switch stands out for its unique features and cutting-edge technologies that cater to the needs of various industries, especially for those engaged in broadcast, media, and IT applications.One of the main features of the Adder Technology Switch is its ability to enable seamless switching between multiple computers using a single keyboard and monitor. This functionality not only enhances productivity but also simplifies workspace management by reducing the clutter caused by multiple peripherals. Users can easily toggle between different sources, allowing for greater efficiency when handling multiple tasks.
The Adder Technology Switch employs high-performance video technologies, ensuring that the image quality remains pristine, even at high resolutions. It supports various video standards, including 4K and HD, providing crystal-clear visuals that are vital for applications requiring critical monitoring, such as video editing and live broadcasting. The low latency performance of this switch guarantees real-time interaction, an essential feature when working in fast-paced environments.
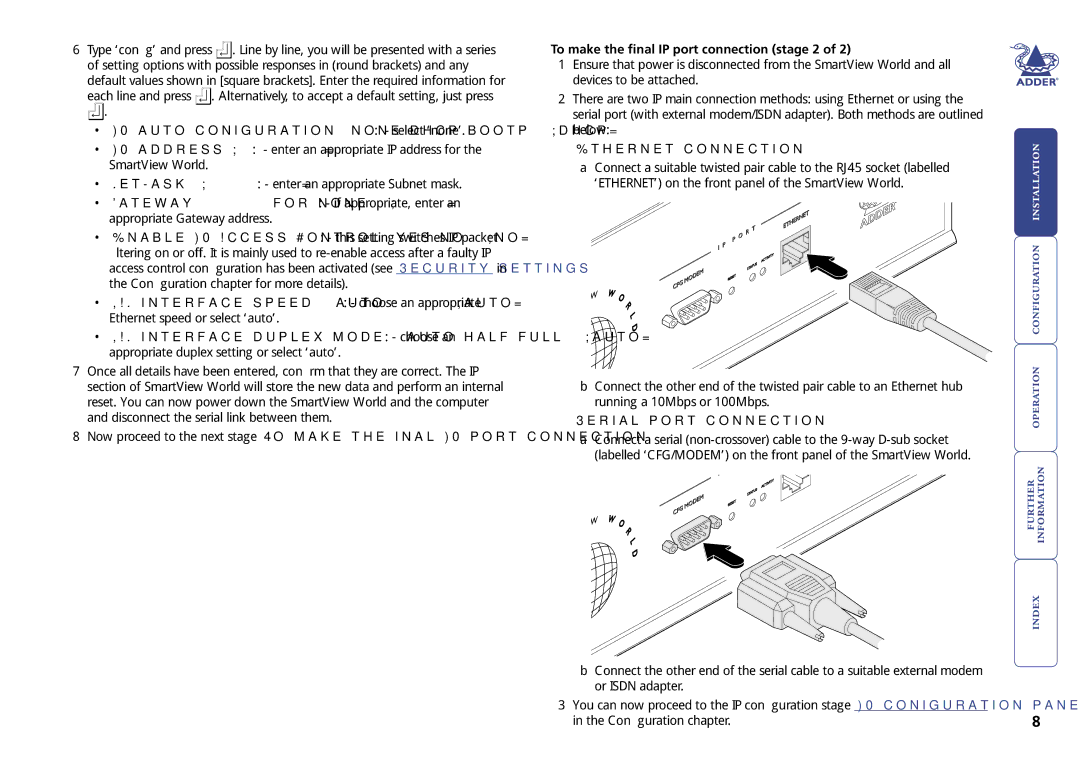
In terms of connectivity, the Adder Technology Switch offers a versatile range of input and output options. It supports various interfaces, including HDMI, DisplayPort, and USB, which means it is compatible with a wide variety of devices and setups. This flexibility allows users to integrate the switch into existing workflows with ease.
Another critical characteristic of the Adder Technology Switch is its robust build quality. Designed for heavy-duty use, it is engineered to withstand the demanding conditions often found in professional environments. Additionally, the switch often features advanced remote access capabilities, allowing users to operate and control their systems from different locations, further enhancing flexibility.
Security is also a focal point with the Adder Technology Switch. It incorporates the latest security protocols to safeguard sensitive data while ensuring that users can maintain productivity without compromising information integrity.
In summary, the Adder Technology Switch combines advanced switching technology with high-quality video performance and robust connectivity options. Its features cater specifically to professional users who require reliable, efficient, and secure solutions for managing multiple computer systems in various demanding environments. Whether in a broadcast studio, control room, or a corporate IT setting, the Adder Technology Switch stands as a pivotal tool for enhancing operational efficiency and performance.

