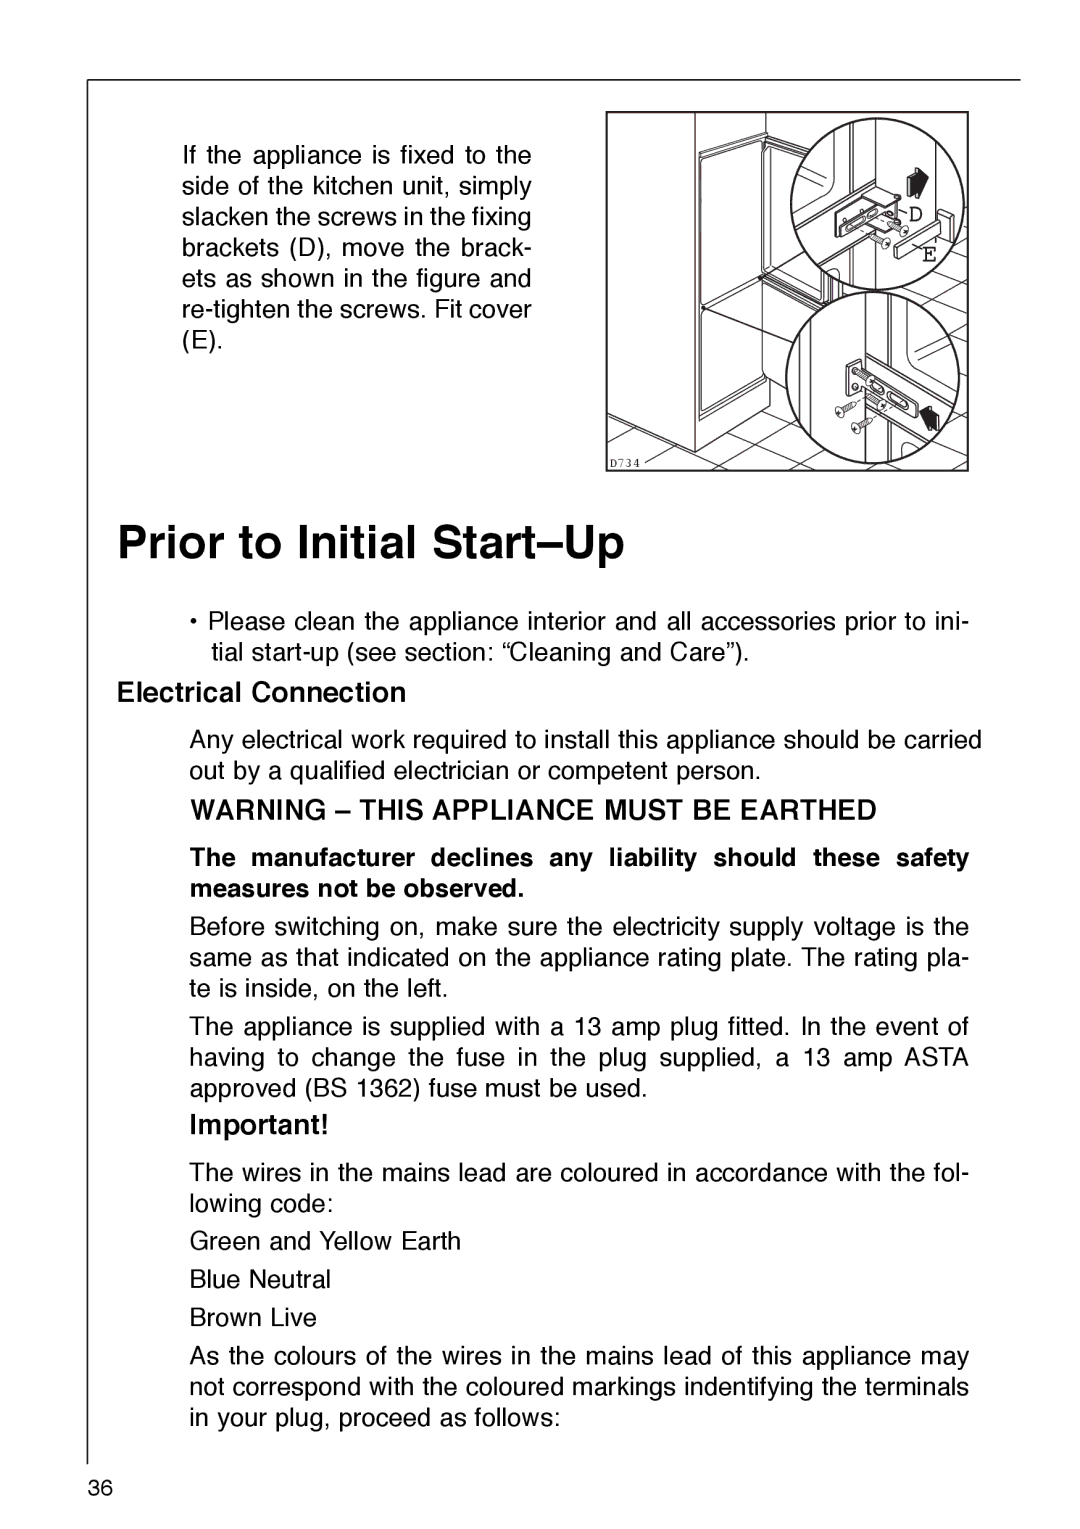
If the appliance is fixed to the side of the kitchen unit, simply slacken the screws in the fixing brackets (D), move the brack- ets as shown in the figure and
(E).
D |
E |
D734 |
Prior to Initial StartÐUp
¥Please clean the appliance interior and all accessories prior to ini- tial
Electrical Connection
Any electrical work required to install this appliance should be carried out by a qualified electrician or competent person.
WARNING Ð THIS APPLIANCE MUST BE EARTHED
The manufacturer declines any liability should these safety measures not be observed.
Before switching on, make sure the electricity supply voltage is the same as that indicated on the appliance rating plate. The rating pla- te is inside, on the left.
The appliance is supplied with a 13 amp plug fitted. In the event of having to change the fuse in the plug supplied, a 13 amp ASTA approved (BS 1362) fuse must be used.
Important!
The wires in the mains lead are coloured in accordance with the fol- lowing code:
Green and Yellow Earth
Blue Neutral
Brown Live
As the colours of the wires in the mains lead of this appliance may not correspond with the coloured markings indentifying the terminals in your plug, proceed as follows:
36
