If you want to use the AP421W as an Access Point with minimal configuration, just connect it to your existing router or switch with a Cat. 5 network cable and then power it on. The Access Point is ready to use with its default settings:
SSID: default
Channel: 6
Encryptions: disabled
If you want to configure the Access Point’s settings or set it to other operating modes, please follow the rest of this guide.
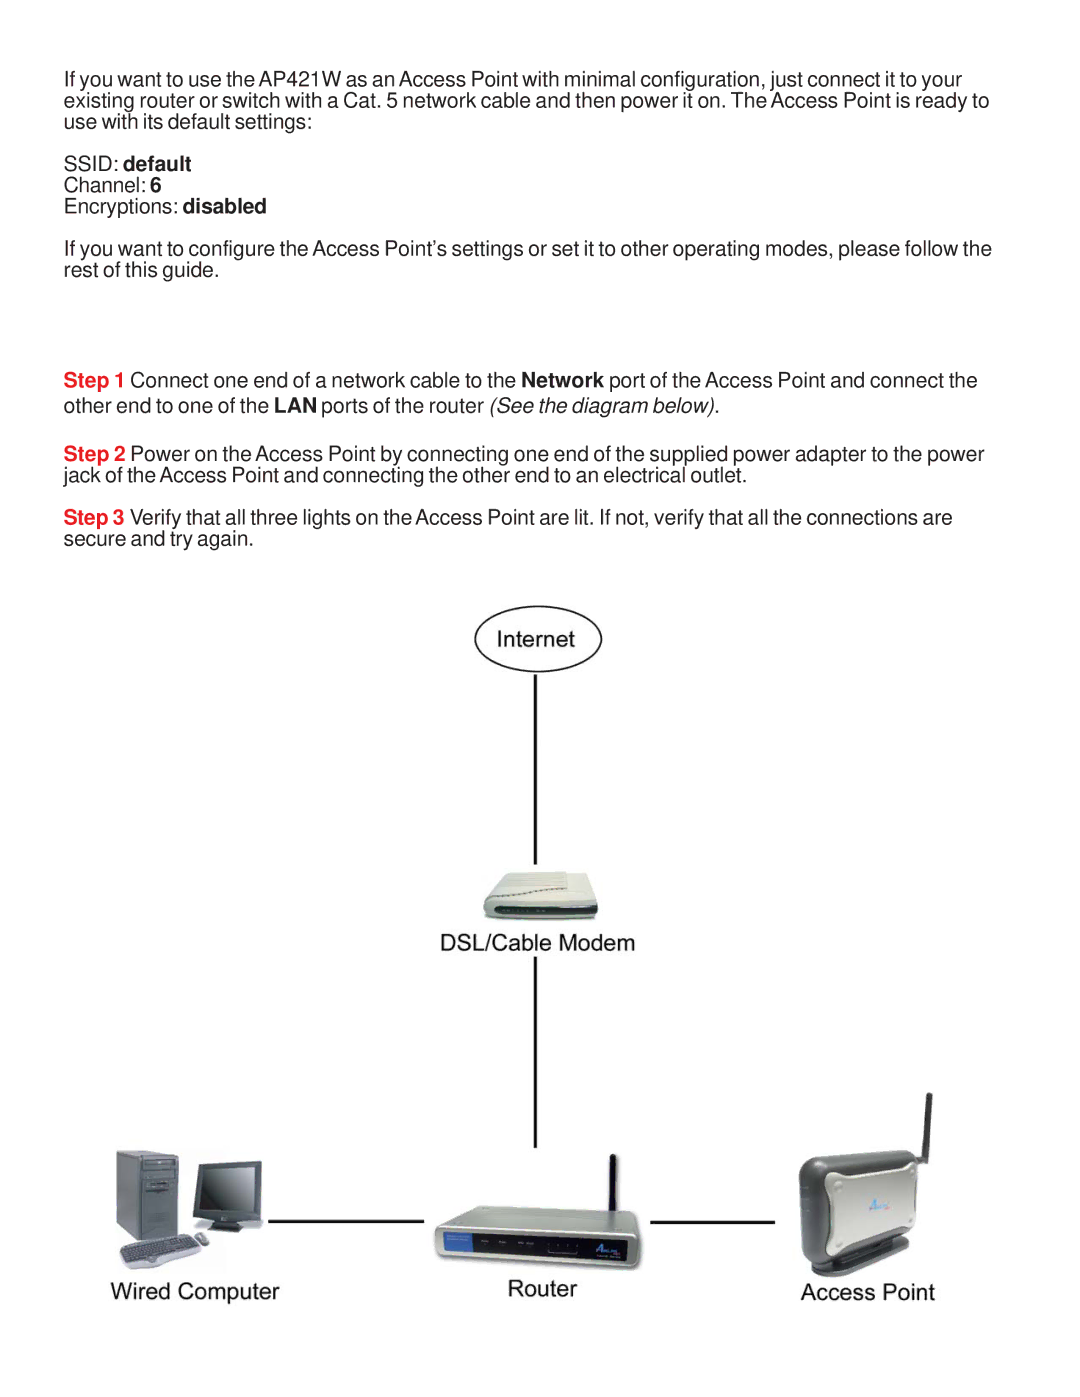
Step 1 Connect one end of a network cable to the Network port of the Access Point and connect the other end to one of the LAN ports of the router (See the diagram below).
Step 2 Power on the Access Point by connecting one end of the supplied power adapter to the power jack of the Access Point and connecting the other end to an electrical outlet.
Step 3 Verify that all three lights on the Access Point are lit. If not, verify that all the connections are secure and try again.