AV-NW50 specifications
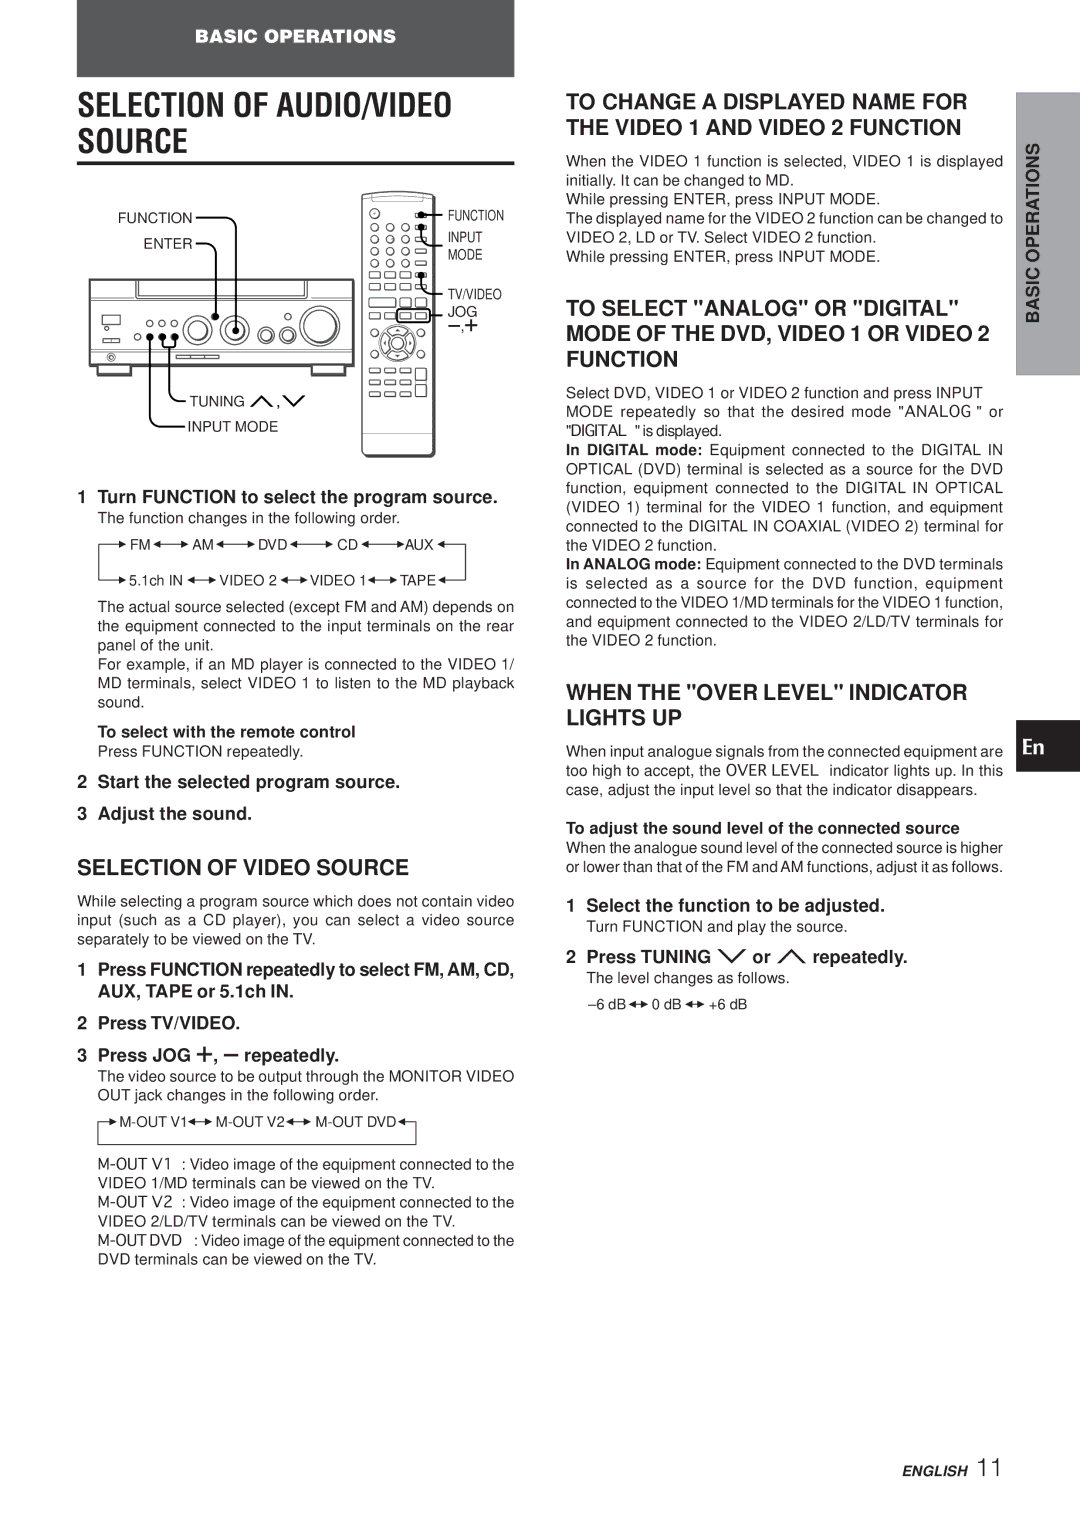
The Aiwa AV-NW50 is a remarkable compact disc player that embodies the essence of modern audio technology combined with retro charm. Launched as part of Aiwa's dedication to quality sound and user-friendly design, the AV-NW50 serves as a bridge between traditional audio methods and contemporary digital sound reproduction.At the heart of the AV-NW50 is its impressive playback capabilities. This device supports a wide range of audio formats, including standard CDs, CD-Rs, and CD-RWs, making it versatile for users with diverse music collections. The unit is equipped with a high-quality digital-to-analog converter (DAC) that ensures each note is delivered with precision, enhancing the listening experience whether you’re enjoying classical symphonies or modern pop tracks.
One of the standout features of the Aiwa AV-NW50 is its user-friendly interface. The front-loading CD player includes an easy-to-read LCD display, allowing users to navigate their music effortlessly. The intuitive controls offer functions such as track repeat, random play, and program play, enabling a customizable listening experience. Additionally, the AV-NW50 is designed with a durable build, ensuring longevity and resistance to wear over time.
The audio performance of the Aiwa AV-NW50 is complemented by its innovative noise-cancellation technology. This feature minimizes unwanted background noise, allowing for a more immersive audio experience, especially in environments where external sounds could disrupt listening. Furthermore, the device is compatible with various external audio sources, facilitating connections with headphones, speakers, and mobile devices through auxiliary inputs, making it ideal for home use or on-the-go listening.
Portability is another key characteristic of the AV-NW50. Its lightweight design can easily fit into a backpack or carry-on, making it perfect for travel. The robust battery life also ensures hours of uninterrupted music playback, catering to users who appreciate functionality along with high-quality sound.
In summary, the Aiwa AV-NW50 embodies a perfect blend of nostalgia and modernity, appealing to both audiophiles and casual listeners alike. With its array of playback features, superior sound technology, and user-centric design, it stands out as an excellent choice for anyone looking to enhance their audio experience while enjoying the convenience of portable, high-quality music playback.

