STEP 8
Now you are ready to start recording your Pattern. Press and hold the REC button, then press PLAY to begin recording. The REC LED will illuminate to let you know that you are recording.
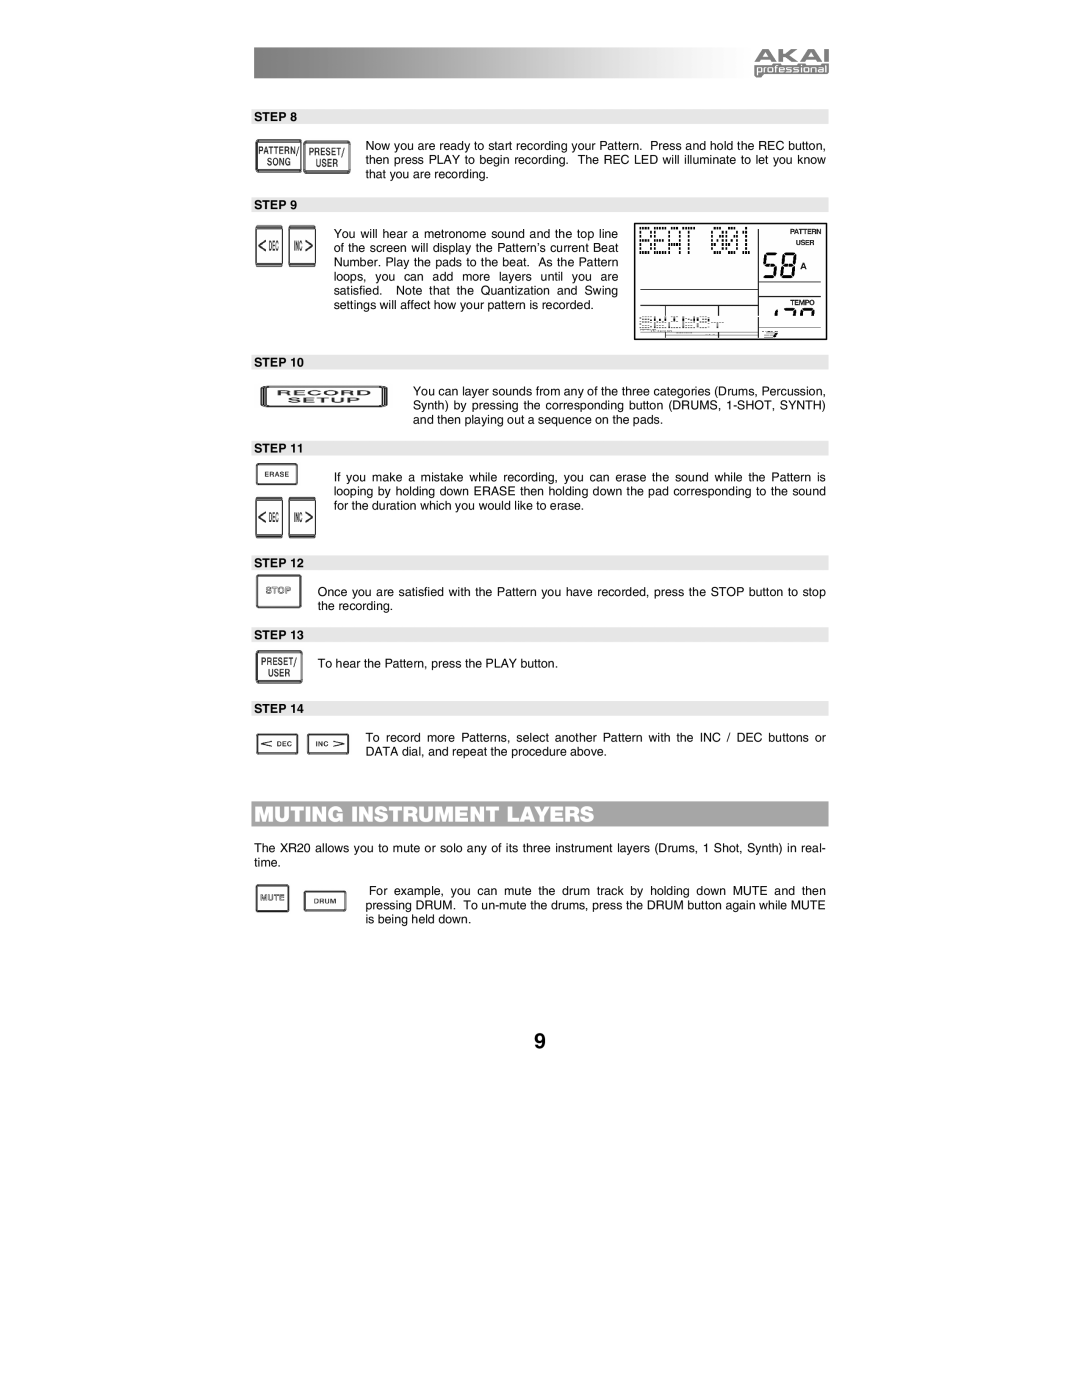
STEP 9
You will hear a metronome sound and the top line of the screen will display the Pattern’s current Beat Number. Play the pads to the beat. As the Pattern loops, you can add more layers until you are satisfied. Note that the Quantization and Swing settings will affect how your pattern is recorded.
STEP 10
You can layer sounds from any of the three categories (Drums, Percussion, Synth) by pressing the corresponding button (DRUMS,
STEP 11
If you make a mistake while recording, you can erase the sound while the Pattern is looping by holding down ERASE then holding down the pad corresponding to the sound for the duration which you would like to erase.
STEP 12
Once you are satisfied with the Pattern you have recorded, press the STOP button to stop the recording.
STEP 13
To hear the Pattern, press the PLAY button.
STEP 14
To record more Patterns, select another Pattern with the INC / DEC buttons or DATA dial, and repeat the procedure above.
MUTING INSTRUMENT LAYERS
The XR20 allows you to mute or solo any of its three instrument layers (Drums, 1 Shot, Synth) in real- time.
For example, you can mute the drum track by holding down MUTE and then pressing DRUM. To
9