5.Click on “ OK” to validate your change (the “ Properties” window will close). The Property list will be different between different types/brands of gigabit Ethernet interface cards. If "Jumbo Frames" does not appear in this list, then your card probably does not support it. If your card does not support Jumbo Frames, then your CPU usage will be higher.
6.
7.In the "Windows Firewall" section, select "Settings". In the Settings dialog choose "Off" to turn off the Windows firewall. The camera will not work if the firewall is active. If you installed the AVT/Prosilica GigE filter driver, this step is not required.
8.Perform Steps 1 – 8 for the other Ethernet adapter port that will be dedicated to the GX camera network.
9.The next section will provide instructions for configuring the Link Aggregate Group (LAG) to combine the two ports dedicated to the GX network.
Open your “ Network Connections” (Start
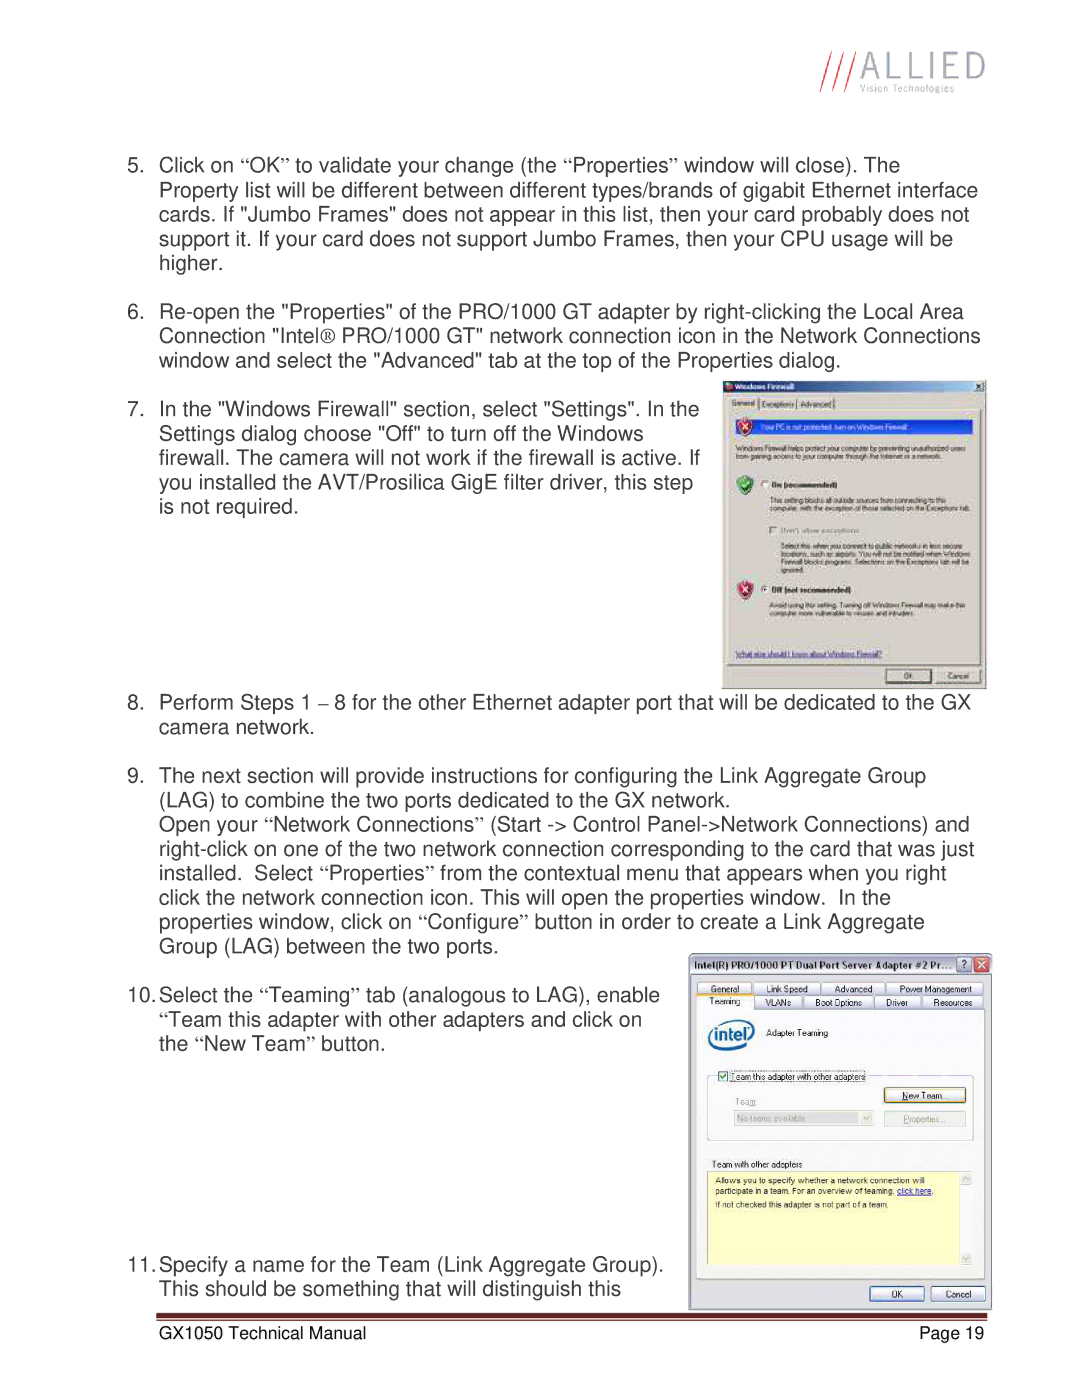
10.Select the “ Teaming” tab (analogous to LAG), enable
“Team this adapter with other adapters and click on the “ New Team” button.
11.Specify a name for the Team (Link Aggregate Group). This should be something that will distinguish this
GX1050 Technical Manual | Page 19 |
