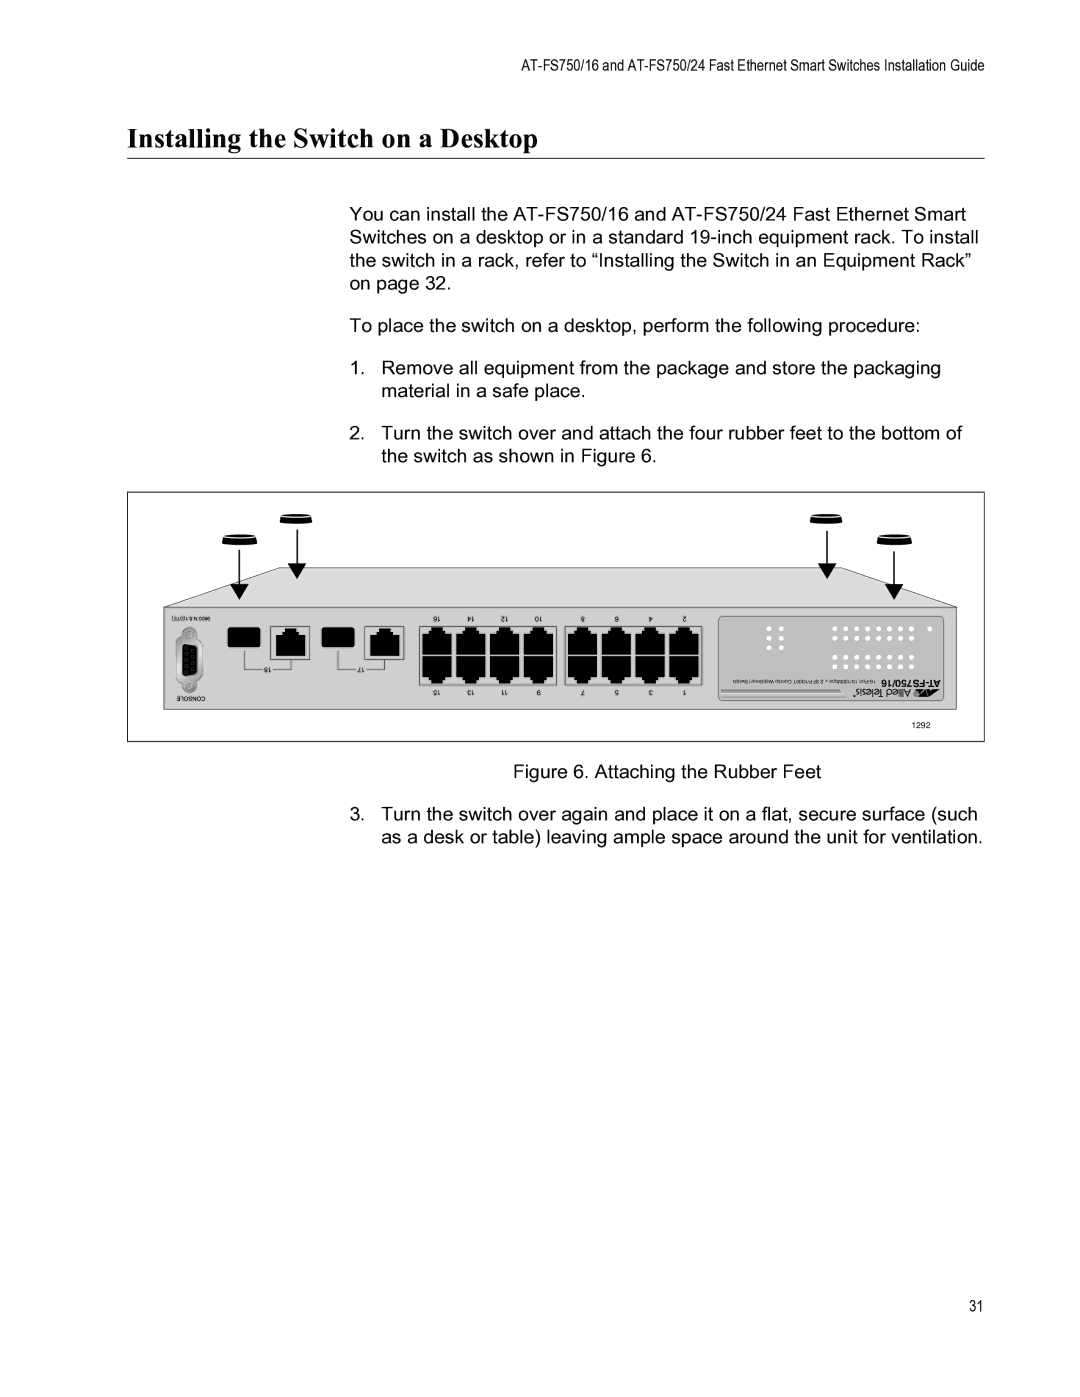
AT-FS750/24, AT-FS750/16, FS750/24, FS750/16 specifications
The Allied Telesis AT-FS750 series is a robust line of Fast Ethernet switches designed for efficient networking in both small and medium-sized business environments. This series includes models such as the AT-FS750/24 and AT-FS750/16, as well as the FS750/16 and FS750/24, each offering unique features tailored to specific network requirements.One of the main features of the AT-FS750 series is its high port density, with models like the FS750/24 providing 24 Fast Ethernet ports and models like the FS750/16 offering 16 ports. This extensive port availability allows organizations to expand their networks seamlessly, accommodating various devices from computers to printers without the need for additional switches.
The switches support a range of Ethernet technologies, including auto-negotiation, which automatically adjusts the speed and duplex settings efficiently, ensuring optimal performance. This feature is particularly beneficial in dynamic network environments where devices of varying speeds may be connected.
Reliability is a hallmark of the AT-FS750 series, as these switches are designed with enhanced power supply features that allow for redundancy and minimize downtime. The devices also come equipped with advanced network management features, enabling administrators to efficiently monitor and control network traffic. All models in the AT-FS750 series support VLAN (Virtual Local Area Network) configuration, allowing for network segmentation and improved security.
Moreover, the AT-FS750 series switches implement Quality of Service (QoS) mechanisms that prioritize critical network traffic, ensuring that key applications, such as voice over IP and video conferencing, receive the bandwidth they need for uninterrupted service. This capability is crucial for businesses that rely on consistent communication channels.
Additionally, the switches offer a compact form factor, making them suitable for installation in a variety of environments, including smaller server rooms and office spaces. Their fanless design contributes to quiet operation, ideal for workspaces that require a noise-free atmosphere.
In summary, the Allied Telesis AT-FS750/24, AT-FS750/16, FS750/16, and FS750/24 switches are designed with reliability and efficiency in mind. With advanced Ethernet technologies, extensive management features, and a focus on security and performance, these switches cater to businesses looking for scalable networking solutions that grow with their evolving needs.