Using Dolby Surround
5
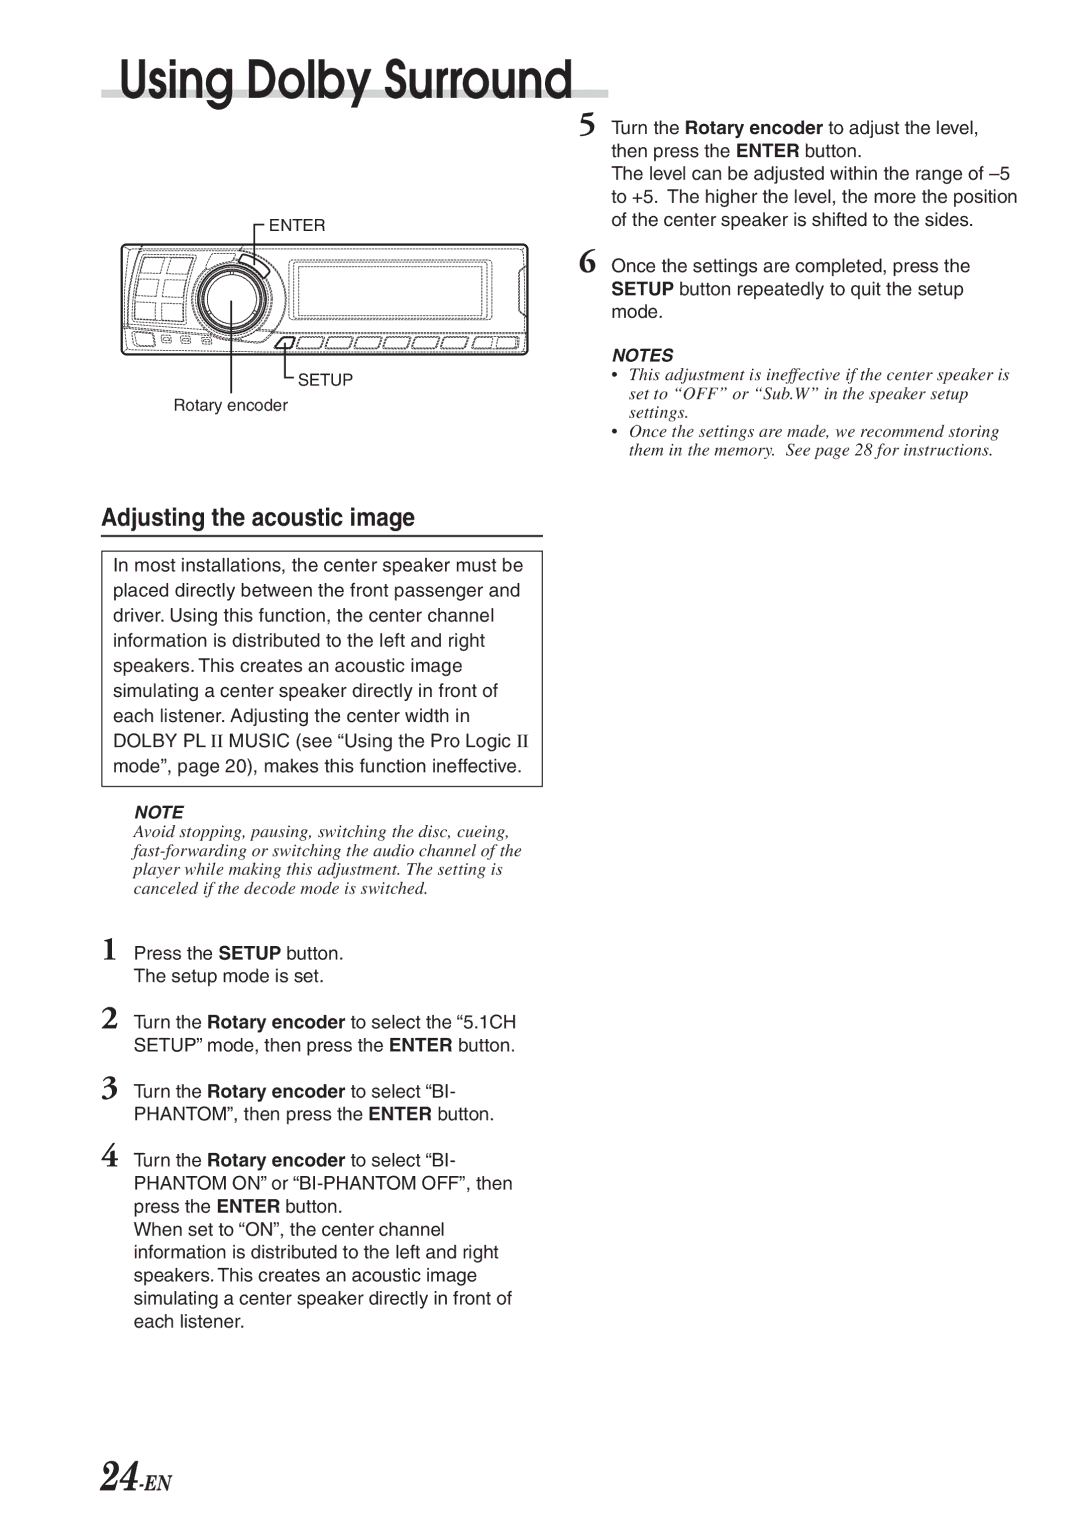
ENTER
6
Turn the Rotary encoder to adjust the level, then press the ENTER button.
The level can be adjusted within the range of
Once the settings are completed, press the SETUP button repeatedly to quit the setup mode.
SETUP
Rotary encoder
NOTES
•This adjustment is ineffective if the center speaker is set to “OFF” or “Sub.W” in the speaker setup settings.
•Once the settings are made, we recommend storing them in the memory. See page 28 for instructions.
Adjusting the acoustic image
In most installations, the center speaker must be placed directly between the front passenger and driver. Using this function, the center channel information is distributed to the left and right speakers. This creates an acoustic image simulating a center speaker directly in front of each listener. Adjusting the center width in DOLBY PL II MUSIC (see “Using the Pro Logic II mode”, page 20), makes this function ineffective.
NOTE
Avoid stopping, pausing, switching the disc, cueing,
1 Press the SETUP button. The setup mode is set.
2 Turn the Rotary encoder to select the “5.1CH SETUP” mode, then press the ENTER button.
3 Turn the Rotary encoder to select “BI- PHANTOM”, then press the ENTER button.
4 Turn the Rotary encoder to select “BI- PHANTOM ON” or
When set to “ON”, the center channel information is distributed to the left and right speakers. This creates an acoustic image simulating a center speaker directly in front of each listener.
