Installing Your Refrigerator

How to Connect the Water Supply continued

3 Confirm secure attachment by pulling on 4 Turn on water supply and

tubing.correct any leaks.

• Create service loop with remaining tubing and attach to unit with "P"

clamp as illustrated. Avoid kinks.

How to Level Your Refrigerator

!CAUTION

To avoid damage to walls and flooring, protect soft vinyl or other flooring with cardboard, rugs, or other protective material.

To avoid damage or breakage to adjusting bolt, do not use power tools to correct leveling.

DO NOT adjust unit to be any shorter than 68 ½" inches tall (minus hinge and cap). Doing so may damage underside components.

Materials Needed

3/ " hex head driver

• Level


8


1Remove toe grille and bottom hinge covers.

(see previous instructions)

2Turn both front adjustment screws (A) clockwise to raise

and counterclockwise to lower.

What if my doors are not aligned?

Locate the higher door, and turn front adjustment screw counterclockwise. Continue until doors are level.

If bottom of adjustment range is reached, and doors are not level–raise opposite door by turning front adjustment screw clockwise.

Replace toe grille

3Turn both rear adjustment screws (B) clockwise to raise

and counterclockwise to lower.

4Check with level to verify 1/4" tilt to the back for proper door closure.

If unit is aligned and stable, replace toe grille.

What if my unit rocks?

Turn rear adjustment screw clockwise to raise rocking corner.

Replace toe grille.

How to Adjust the Temperature Controls

This refrigerator is designed to operate at a household temperature of 55° to 110°F (13° to 43° C).

r

1Locate refrigerator and freezer controls on upper left wall of fresh food section, and

set both controls to 4.

IMPORTANT: Neither section will cool if freezer control is set to Off.


r


e

r

Check to see that fresh food section

R


4 is 38° to 40° F (3° to 4° C).


Turn control to next highest number if too warm.

Turn control to next lowest number if too cold.

Allow 5 to 8 hours for adjustments to take effect.

2Allow 24 hours for temperatures to stabilize.

IMPORTANT: Due to design of unit, always start temperature adjustments with freezer section.

3Check to see if freezer temperature is 0° to 2° F (-17° to -16° C).

Turn control to next highest number if too warm.

Turn control to next lowest number if too cold.

Allow 5 to 8 hours for adjustments to take effect.

5 Repeat process, as necessary.

How do I perform a temperature test?

Materials needed

2 thermometers measuring -5° to 50°F (-21° to 10°C)

• 2 drinking glasses

For Freezer

For Refrigerator

• Place thermometer in glass

• Place thermometer in glass

of vegetable oil in middle

of water in middle of unit

of freezer and continue

and continue with step 3

with step 3 of Temperature

of Temperature Adjustment

Adjustment section.

section.

7

Page 7
Image 7
Amana DRS246RBB, DRSE663BC manual How to Level Your Refrigerator, What if my doors are not aligned?, What if my unit rocks?

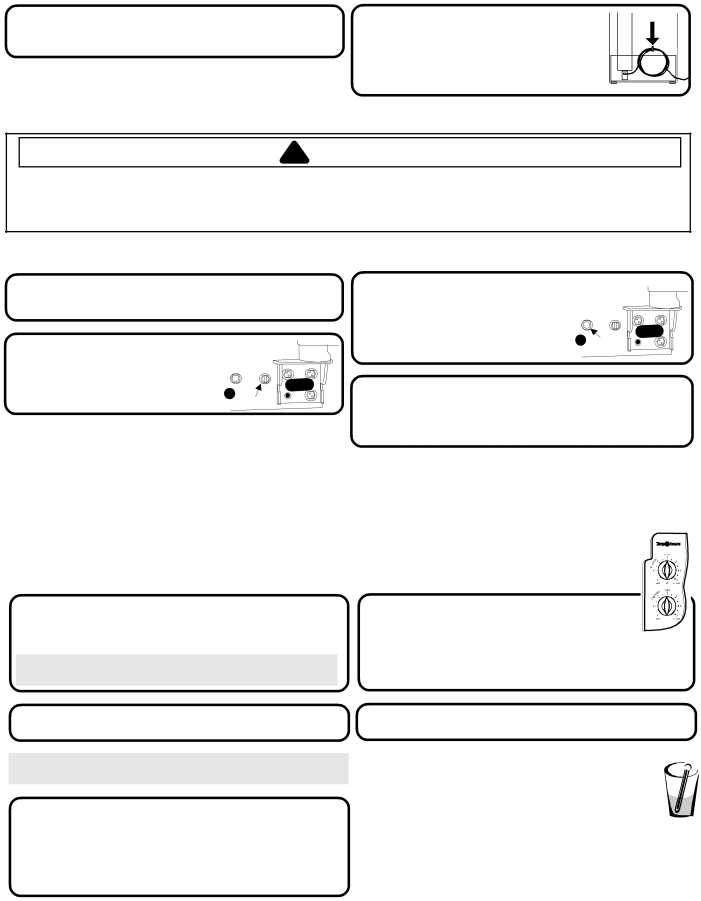
DRS2462BW, DRS246RBC, DRS2462BB, DRS2462BC, DRS246RBB specifications

The Amana DRSE663BC, DRSE663BW, DRS2663BB, DRS2663BW, and DRS246RBW are part of Amana's innovative line of dryer models, embodying the brand’s commitment to efficiency, performance, and user-friendly features. Each model has been thoughtfully designed to meet the varying needs of households while providing excellent drying results and convenience.

One of the main features across these models is the use of advanced drying technologies. The dryers incorporate Energy Star certifications, ensuring they are energy-efficient, which translates to savings on utility bills without sacrificing drying performance. The dryers use moisture sensing technology to monitor the humidity levels in the drum during cycles, adjusting the drying time automatically. This ensures that laundry is not only dried efficiently but also prevents over-drying, which can lead to shrinking and fabric damage.

The Amana DRSE663BC and DRSE663BW feature a large capacity, making them suitable for families with higher laundry demands. These models come with a variety of drying cycle options, including heavy-duty, delicates, and quick-dry options, allowing users to choose the perfect setting for each load. The intuitive control panel makes it easy for anyone to customize drying cycles and settings, enhancing the user experience.

Similar features can be found in the DRS2663BB and DRS2663BW models, which also come equipped with a user-friendly interface and adjustable drying times. Their robust build quality stands out, ensuring durability over time. For those concerned about lint buildup, these dryers come with a removable lint screen, making maintenance a breeze and ensuring optimal performance.

The DRS246RBW model emphasizes compactness without sacrificing capability. This appliance is ideal for smaller spaces while still providing ample drying capacity. With the same moisture sensing technology and multiple drying options, it appeals to users looking for space-saving solutions.

All these models feature a sleek design that can blend seamlessly into any laundry space. With a focus on ease of use, durability, and energy efficiency, the Amana DRSE663BC, DRSE663BW, DRS2663BB, DRS2663BW, and DRS246RBW are excellent choices for consumers seeking reliable, high-performance dryers. Whether your laundry needs are vast or compact, Amana has tailored solutions to fit your requirements, emphasizing both functionality and style.