BASIC OPERATIONS (CONT.)
To recall these points when a disk has been removed:
1)When the PRO DJ3 is on, open the transport tray.
2)Place the disc that has your stored cue points onto the transport tray. Do not close the CD tray!
3)With the CD tray open, and disc loaded on the transport tray, push the MEMORY CUE BUTTON (1). The MEMORY CUE BUTTON (1). red ”LED will Light”
4)Close the CD transport tray .
5) The word “Store” should flash in the LCD DISPLAY (21).
6) The LCD DISPLAY (21) and the CUE BUTTON S (2) will now indicate the samples or cue points programmed on the disk. The CUE BUTTONS (2) will indicate programmed cues and the NUMBER INDICATORS (41) in the LCD DISPLAY (21) will indicate stored samples.
19. Creating a BOP Effect: |
| |
The Bop Effect is a stutter effect that is similar to turntable scratching. You can use |
| |
this effect to create tricks in your mixing. Creating a BOP effect is a simple process: |
| |
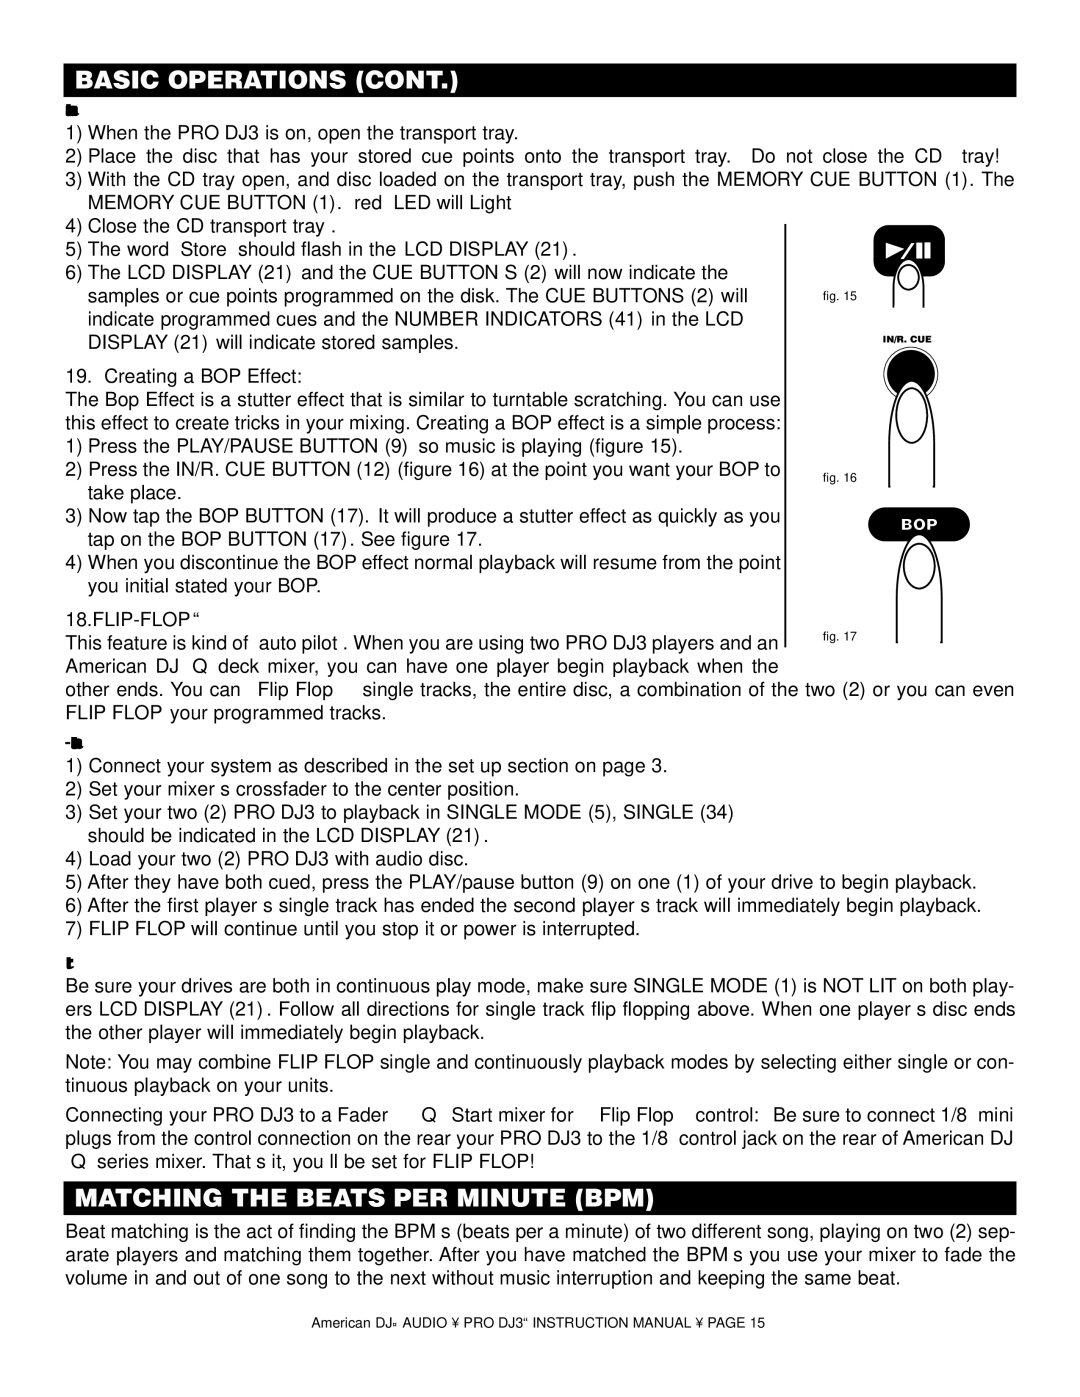
1) Press the PLAY/PAUSE BUTTON (9) so music is playing (figure 15). |
| |
2) Press the IN/R. CUE BUTTON (12) (figure 16) at the point you want your BOP to | fig. 16 | |
take place. | ||
| ||
3) Now tap the BOP BUTTON (17). It will produce a stutter effect as quickly as you | BOP | |
tap on the BOP BUTTON (17). See figure 17. | ||
|
4)When you discontinue the BOP effect normal playback will resume from the point you initial stated your BOP.
18.FLIP-FLOP™
This feature is kind of “auto pilot”. When you are using two PRO DJ3 players and an American DJ “Q” deck mixer, you can have one player begin playback when the
other ends. You can “Flip Flop” single tracks, the entire disc, a combination of the two (2) or you can even FLIP FLOP your programmed tracks.
To Flip-FLOP single tracks or programmed tracks:
1)Connect your system as described in the set up section on page 3.
2)Set your mixer’s crossfader to the center position.
3)Set your two (2) PRO DJ3 to playback in SINGLE MODE (5), SINGLE (34) should be indicated in the LCD DISPLAY (21).
4)Load your two (2) PRO DJ3 with audio disc.
5)After they have both cued, press the PLAY/pause button (9) on one (1) of your drive to begin playback.
6)After the first player’s single track has ended the second player’s track will immediately begin playback.
7)FLIP FLOP will continue until you stop it or power is interrupted.
To Flip Flop entire CDs:
Be sure your drives are both in continuous play mode, make sure SINGLE MODE (1) is NOT LIT on both play- ers LCD DISPLAY (21). Follow all directions for single track flip flopping above. When one player’s disc ends the other player will immediately begin playback.
Note: You may combine FLIP FLOP single and continuously playback modes by selecting either single or con- tinuous playback on your units.
Connecting your PRO DJ3 to a Fader “Q” Start mixer for “Flip Flop” control: Be sure to connect 1/8” mini plugs from the control connection on the rear your PRO DJ3 to the 1/8” control jack on the rear of American DJ “Q” series mixer. That’s it, you’ll be set for FLIP FLOP!
MATCHING THE BEATS PER MINUTE (BPM)
Beat matching is the act of finding the BPM’s (beats per a minute) of two different song, playing on two (2) sep- arate players and matching them together. After you have matched the BPM’s you use your mixer to fade the volume in and out of one song to the next without music interruption and keeping the same beat.
American DJ® AUDIO • PRO DJ3™ INSTRUCTION MANUAL • PAGE 15