Adjusting your LCD arm | Page 10 |
|
|
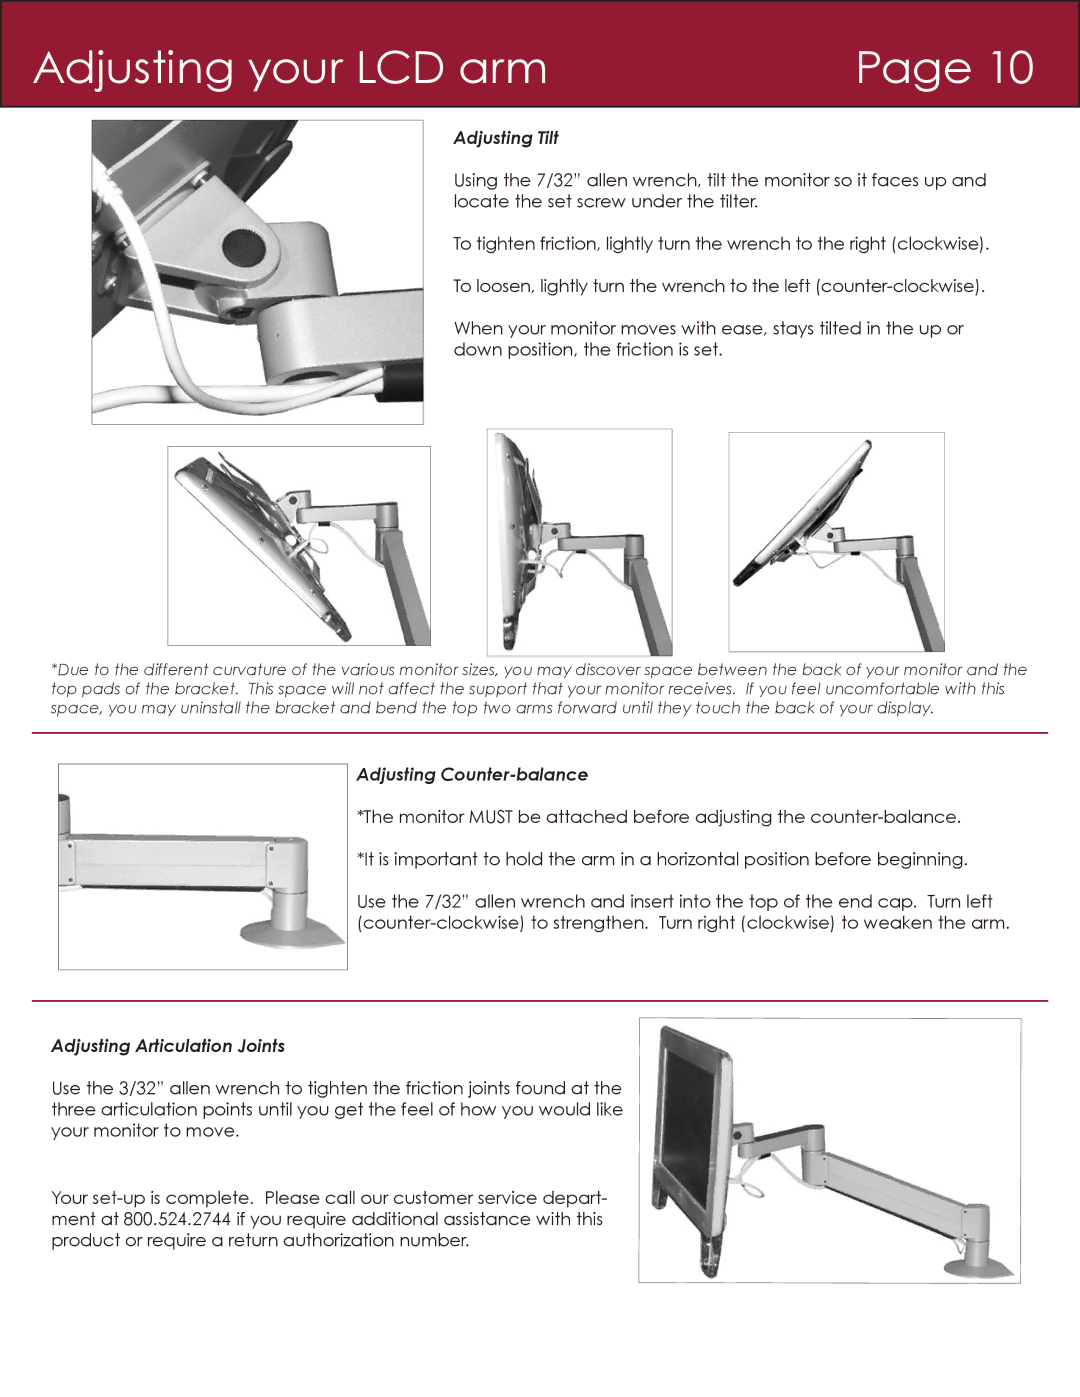
Adjusting Tilt
Using the 7/32” allen wrench, tilt the monitor so it faces up and locate the set screw under the tilter.
To tighten friction, lightly turn the wrench to the right (clockwise).
To loosen, lightly turn the wrench to the left
When your monitor moves with ease, stays tilted in the up or down position, the friction is set.
*Due to the different curvature of the various monitor sizes, you may discover space between the back of your monitor and the top pads of the bracket. This space will not affect the support that your monitor receives. If you feel uncomfortable with this space, you may uninstall the bracket and bend the top two arms forward until they touch the back of your display.
Adjusting Counter-balance
*The monitor MUST be attached before adjusting the
*It is important to hold the arm in a horizontal position before beginning.
Use the 7/32” allen wrench and insert into the top of the end cap. Turn left
Adjusting Articulation Joints
Use the 3/32” allen wrench to tighten the friction joints found at the three articulation points until you get the feel of how you would like your monitor to move.
Your