Installing MasterSwitch VM
Mounting in a | MasterSwitch VM comes with |
NetShelter | mounting in an APC NetShelter enclosure or other standard |
enclosure |
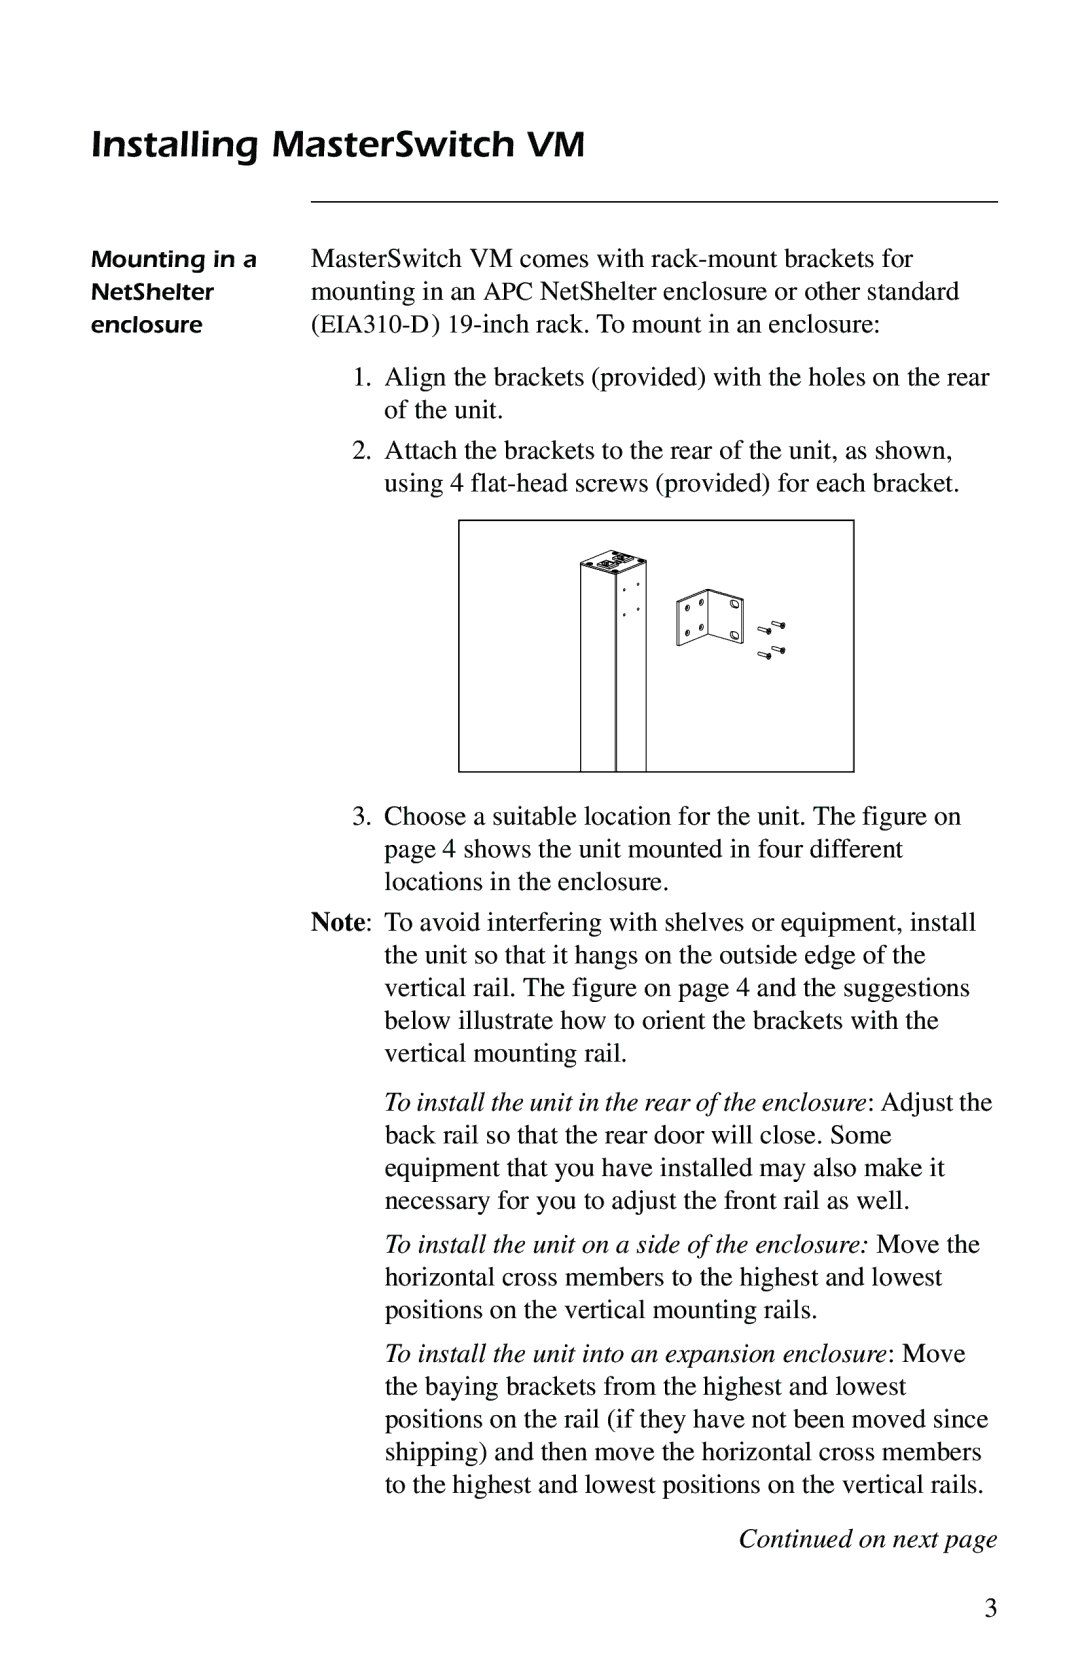
1. Align the brackets (provided) with the holes on the rear of the unit.
2. Attach the brackets to the rear of the unit, as shown, using 4
3.Choose a suitable location for the unit. The figure on page 4 shows the unit mounted in four different locations in the enclosure.
Note: To avoid interfering with shelves or equipment, install the unit so that it hangs on the outside edge of the vertical rail. The figure on page 4 and the suggestions below illustrate how to orient the brackets with the vertical mounting rail.
To install the unit in the rear of the enclosure: Adjust the back rail so that the rear door will close. Some equipment that you have installed may also make it necessary for you to adjust the front rail as well.
To install the unit on a side of the enclosure: Move the horizontal cross members to the highest and lowest positions on the vertical mounting rails.
To install the unit into an expansion enclosure: Move the baying brackets from the highest and lowest positions on the rail (if they have not been moved since shipping) and then move the horizontal cross members to the highest and lowest positions on the vertical rails.
Continued on next page
3
