Installation and Wiring
Using RS-422
When communicating via
GND |
RX |
TX |
+12V |
GND
| RX - |
AXCB- | RX + |
232++ | TX - |
TX- TX+ RX-
Device
TX + |
FIG. 3 RS-422 wiring
RX+
Using RS-485
When communicating via
GND
| RX |
| TX |
| +12V |
| RX - |
AXC- | RX + |
AXB- | TX - |
2232++ | |
| TX + |
Device
FIG. 4 RS-485 wiring
To enable
Using Hardware Handshaking
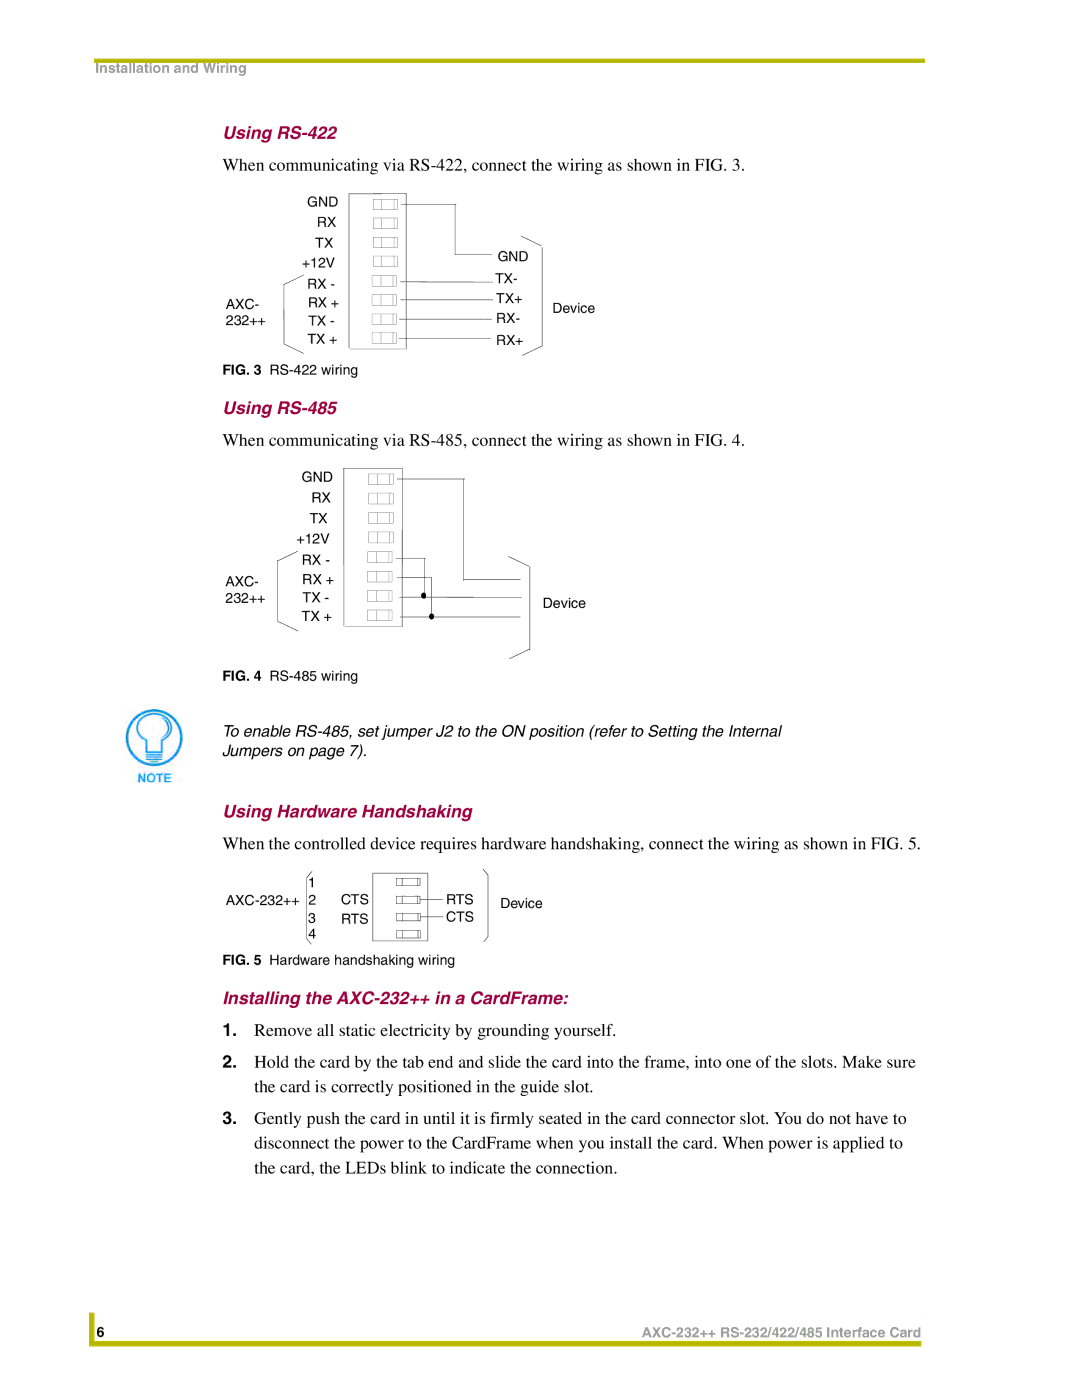
When the controlled device requires hardware handshaking, connect the wiring as shown in FIG. 5.
1 |
|
CTS | |
3 | RTS |
4 |
|
![]()
![]()
![]()
![]() RTS Device
RTS Device
![]()
![]()
![]()
![]() CTS
CTS
FIG. 5 Hardware handshaking wiring
Installing the AXC-232++ in a CardFrame:
1.Remove all static electricity by grounding yourself.
2.Hold the card by the tab end and slide the card into the frame, into one of the slots. Make sure the card is correctly positioned in the guide slot.
3.Gently push the card in until it is firmly seated in the card connector slot. You do not have to disconnect the power to the CardFrame when you install the card. When power is applied to the card, the LEDs blink to indicate the connection.
| 6 |
|
|
|
|