|
|
|
Quick Start Guide |
| EN |
|
|
|
Once all connections are made, follow this Quick Start Guide to begin viewing digital channels immediately. It is recommended that you read the entire manual to familiarize yourself with all of the functions avail- able to you.
Installation Guide (Initial Setup Menu)
When the converter box is turned on for the first time or has been reset to factory default, the Installation Guide will be displayed automatically. User can follow the Installation Guide to set the following:
•OSD (On Screen Display) Language
•Time Zone / Daylight Savings
•Scan Channels
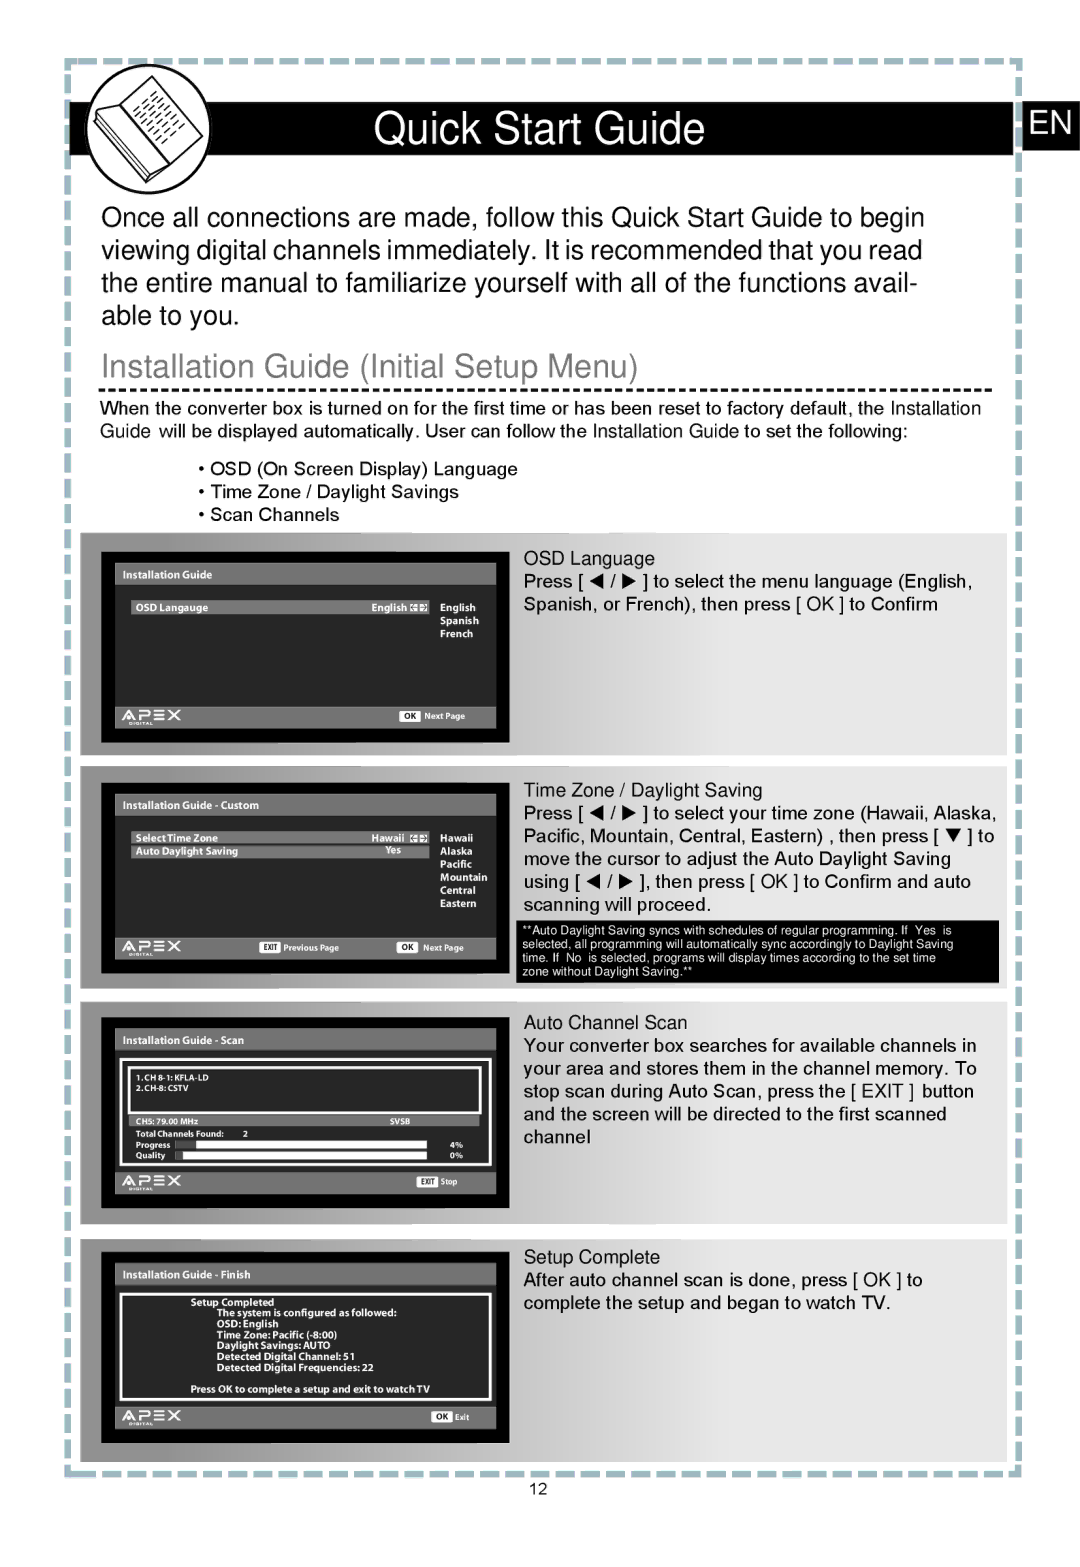
Installation Guide
OSD Langauge | English | English |
|
| Spanish |
|
| French |
OSD Language
Press [ t / u ] to select the menu language (English, Spanish, or French), then press [ OK ] to Confirm
OK Next Page
Installation Guide - Custom
|
|
| Hawaii |
| Select Time Zone | Hawaii | |
| Auto Daylight Saving | Yes | Alaska |
|
|
| Pacific |
|
|
| Mountain |
|
|
| Central |
|
|
| Eastern |
|
|
|
|
| EXIT Previous Page | OK | Next Page |
|
|
|
|
Time Zone / Daylight Saving
Press [ t / u ] to select your time zone (Hawaii, Alaska, Pacific, Mountain, Central, Eastern) , then press [ q ] to move the cursor to adjust the Auto Daylight Saving using [ t / u ], then press [ OK ] to Confirm and auto scanning will proceed.
**Auto Daylight Saving syncs with schedules of regular programming. If “Yes” is selected, all programming will automatically sync accordingly to Daylight Saving time. If “No” is selected, programs will display times according to the set time zone without Daylight Saving.**
Installation Guide - Scan
1. CH
2.
CH5: 79.00 MHz | SVSB | ||
Total Channels Found: | 2 | ||
Progress |
|
| 4% |
Quality | 0% | ||
EXIT Stop
Installation Guide - Finish
Setup Completed
The system is configured as followed:
OSD: English
Time Zone: Pacific
Daylight Savings: AUTO
Detected Digital Channel: 51
Detected Digital Frequencies: 22
Press OK to complete a setup and exit to watch TV
Auto Channel Scan
Your converter box searches for available channels in your area and stores them in the channel memory. To stop scan during Auto Scan, press the [ EXIT ] button and the screen will be directed to the first scanned channel
Setup Complete
After auto channel scan is done, press [ OK ] to complete the setup and began to watch TV.
OK Exit
12