Menu Adjustments
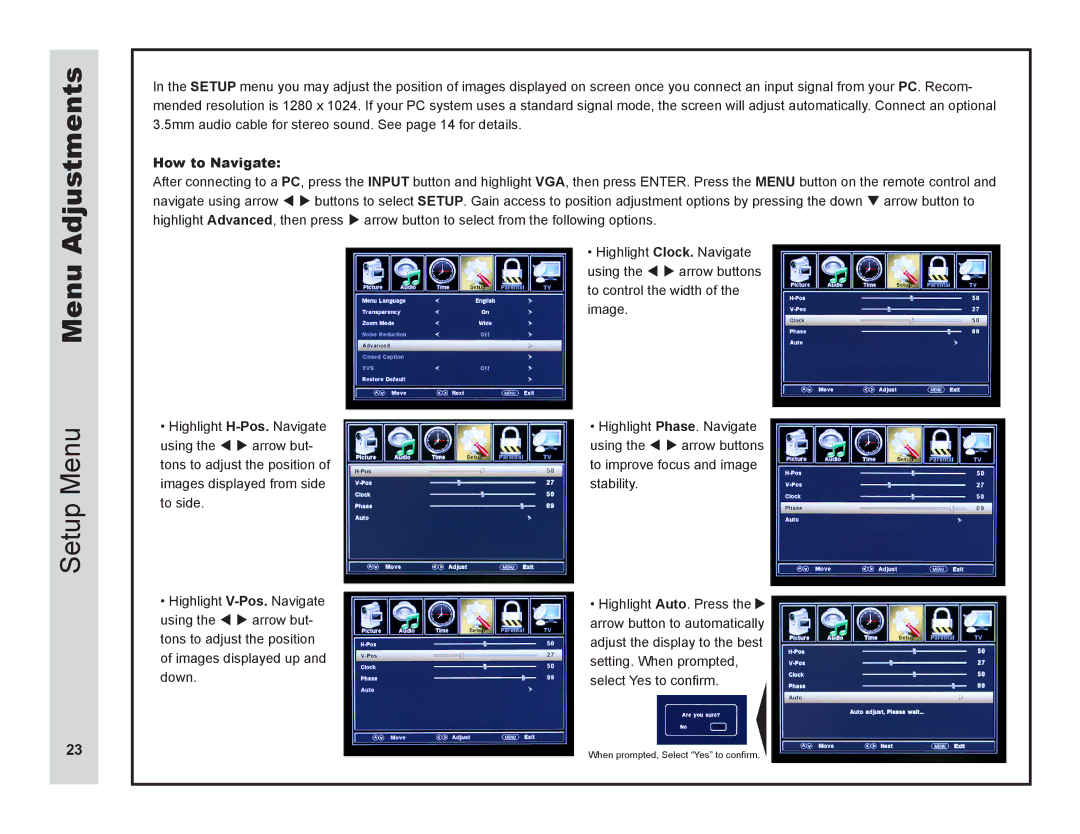
In the SETUP menu you may adjust the position of images displayed on screen once you connect an input signal from your PC. Recom- mended resolution is 1280 x 1024. If your PC system uses a standard signal mode, the screen will adjust automatically. Connect an optional 3.5mm audio cable for stereo sound. See page 14 for details.
How to Navigate:
After connecting to a PC, press the INPUT button and highlight VGA, then press ENTER. Press the MENU button on the remote control and navigate using arrow t u buttons to select SETUP. Gain access to position adjustment options by pressing the down q arrow button to highlight Advanced, then press u arrow button to select from the following options.
• Highlight Clock. Navigate using the t u arrow buttons to control the width of the image.
Setup Menu
•Highlight
•Highlight
•Highlight Phase. Navigate using the t u arrow buttons to improve focus and image stability.
•Highlight Auto. Press the u arrow button to automatically adjust the display to the best setting. When prompted, select Yes to confirm.
23
When prompted, Select “Yes” to confirm.