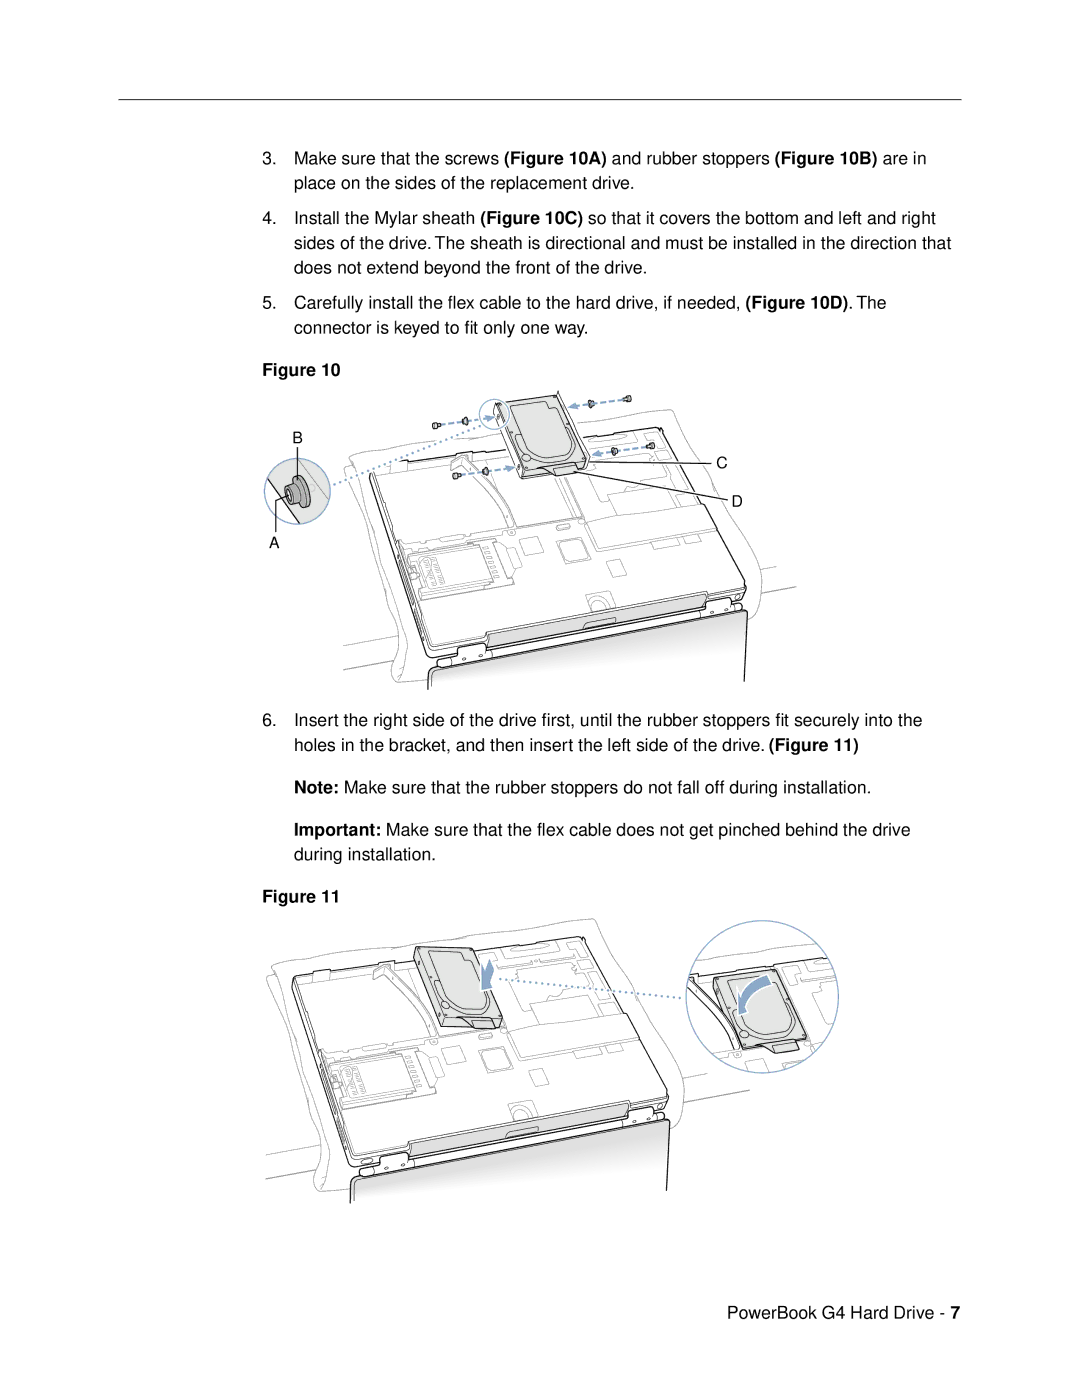
3.Make sure that the screws (Figure 10A) and rubber stoppers (Figure 10B) are in place on the sides of the replacement drive.
4.Install the Mylar sheath (Figure 10C) so that it covers the bottom and left and right sides of the drive. The sheath is directional and must be installed in the direction that does not extend beyond the front of the drive.
5.Carefully install the flex cable to the hard drive, if needed, (Figure 10D). The connector is keyed to fit only one way.
Figure 10
B
![]() C
C
![]() D
D
A
6.Insert the right side of the drive first, until the rubber stoppers fit securely into the holes in the bracket, and then insert the left side of the drive. (Figure 11)
Note: Make sure that the rubber stoppers do not fall off during installation.
Important: Make sure that the flex cable does not get pinched behind the drive during installation.
Figure 11
PowerBook G4 Hard Drive - 7