7. Creating MPEG 4 Movies
The Jukebox Multimedia is delivered with a
on the
8. Viewing Photos
The Jukebox Multimedia & AV series support the viewing of .jpg and
.bmp image formats. The Jukebox will resize the image to fit on the
1)Click Play to view your image file
•The Jukebox will only list image files of type .jpg and .bmp
•Click on PLAY to view the highlighted file
•Click the F1 button to change settings between single photo view and
•Click the F2 button to remove text
•Click the F3 button to get file information or delete the picture
•Click Left or Right to go forward or back one picture in the directory
•Click Up or Down to rotate a picture
2)Magnify the image with play button
•Press the PLAY button again once viewing a photo. The image will enlarge to double size. Click once on OFF to escape back to normal view.
3)Create a slide show by adding images to the play list
•As with music files, hold down the play button while a file is highlighted in the browser view. The photo icon in front of the file name will change to green indicating that it is in the Playlist.
•Do this with different photos to create your slideshow
•Save the Playlist (slideshow) or to view instantly do File [F2]: Playlist: File[F2]:Start Playlist
•Save slideshow in order to play at another time
4)Use an ARCHOS card reader
•ARCHOS makes
•See the last section of this Quick Start Guide for specific
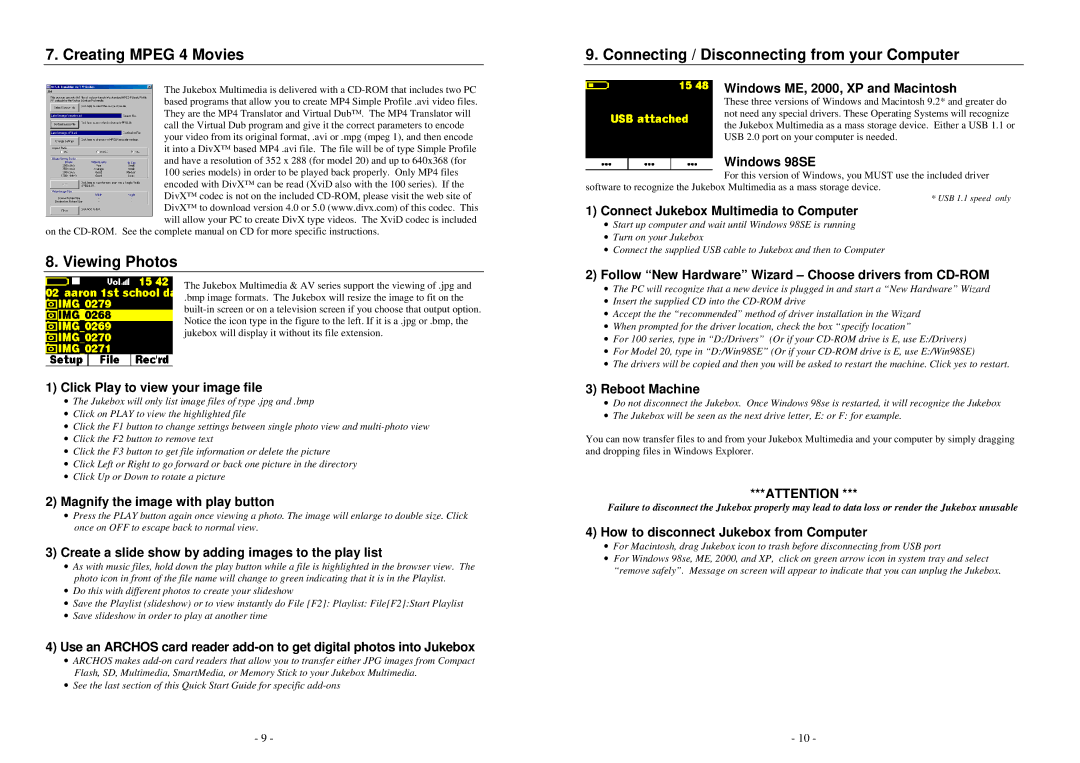
9. Connecting / Disconnecting from your Computer
Windows ME, 2000, XP and Macintosh
These three versions of Windows and Macintosh 9.2* and greater do not need any special drivers. These Operating Systems will recognize the Jukebox Multimedia as a mass storage device. Either a USB 1.1 or USB 2.0 port on your computer is needed.
Windows 98SE
For this version of Windows, you MUST use the included driver
software to recognize the Jukebox Multimedia as a mass storage device.
* USB 1.1 speed only
1)Connect Jukebox Multimedia to Computer
•Start up computer and wait until Windows 98SE is running
•Turn on your Jukebox
•Connect the supplied USB cable to Jukebox and then to Computer
2)Follow “New Hardware” Wizard – Choose drivers from CD-ROM
•The PC will recognize that a new device is plugged in and start a “New Hardware” Wizard
•Insert the supplied CD into the
•Accept the the “recommended” method of driver installation in the Wizard
•When prompted for the driver location, check the box “specify location”
•For 100 series, type in “D:/Drivers” (Or if your
•For Model 20, type in “D:/Win98SE” (Or if your
•The drivers will be copied and then you will be asked to restart the machine. Click yes to restart.
3)Reboot Machine
•Do not disconnect the Jukebox. Once Windows 98se is restarted, it will recognize the Jukebox
•The Jukebox will be seen as the next drive letter, E: or F: for example.
You can now transfer files to and from your Jukebox Multimedia and your computer by simply dragging and dropping files in Windows Explorer.
***ATTENTION ***
Failure to disconnect the Jukebox properly may lead to data loss or render the Jukebox unusable
4)How to disconnect Jukebox from Computer
•For Macintosh, drag Jukebox icon to trash before disconnecting from USB port
•For Windows 98se, ME, 2000, and XP, click on green arrow icon in system tray and select “remove safely”. Message on screen will appear to indicate that you can unplug the Jukebox.
- 9 - | - 10 - |