Operating Manual - FR-8 and FR-16 Remote Level Controller
Using Proteane Software
Protea NE Software version 5.10 or greater is required for the FR Remotes. Load it from the supplied CD or Ashly website to a PC running Microsoft® Windows 7/Vista/XP, 32 & 64 bit.
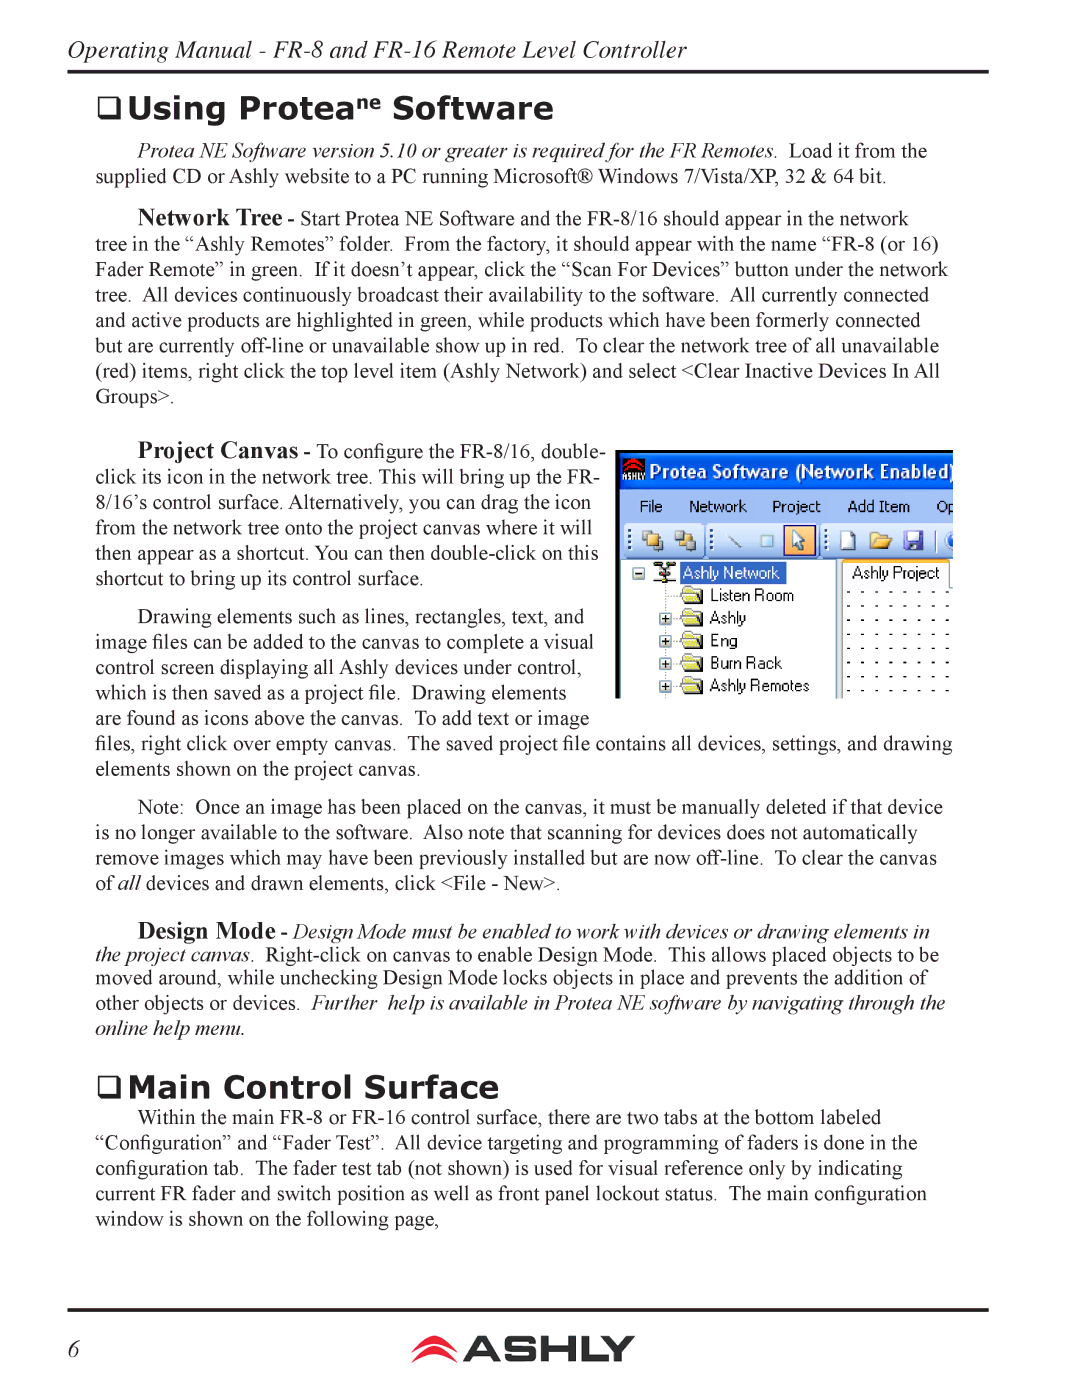
Network Tree - Start Protea NE Software and the FR-8/16 should appear in the network tree in the “Ashly Remotes” folder. From the factory, it should appear with the name “FR-8 (or 16) Fader Remote” in green. If it doesn’t appear, click the “Scan For Devices” button under the network tree. All devices continuously broadcast their availability to the software. All currently connected and active products are highlighted in green, while products which have been formerly connected but are currently off-line or unavailable show up in red. To clear the network tree of all unavailable (red) items, right click the top level item (Ashly Network) and select <Clear Inactive Devices In All Groups>.
Project Canvas - To configure the FR-8/16, double- click its icon in the network tree. This will bring up the FR- 8/16’s control surface. Alternatively, you can drag the icon from the network tree onto the project canvas where it will then appear as a shortcut. You can then double-click on this shortcut to bring up its control surface.
Drawing elements such as lines, rectangles, text, and image files can be added to the canvas to complete a visual control screen displaying all Ashly devices under control, which is then saved as a project file. Drawing elements are found as icons above the canvas. To add text or image
files, right click over empty canvas. The saved project file contains all devices, settings, and drawing elements shown on the project canvas.
Note: Once an image has been placed on the canvas, it must be manually deleted if that device is no longer available to the software. Also note that scanning for devices does not automatically remove images which may have been previously installed but are now off-line. To clear the canvas of all devices and drawn elements, click <File - New>.
Design Mode - Design Mode must be enabled to work with devices or drawing elements in the project canvas. Right-click on canvas to enable Design Mode. This allows placed objects to be moved around, while unchecking Design Mode locks objects in place and prevents the addition of other objects or devices. Further help is available in Protea NE software by navigating through the online help menu.
Main Control Surface
Within the main FR-8 or FR-16 control surface, there are two tabs at the bottom labeled “Configuration” and “Fader Test”. All device targeting and programming of faders is done in the configuration tab. The fader test tab (not shown) is used for visual reference only by indicating current FR fader and switch position as well as front panel lockout status. The main configuration window is shown on the following page,
6