Installation
STEP 1: Install the Driver and Configuration Utility
1Do NOT install adapter first. Insert the enclosed
2Your CD
3When the adapter menu screen appears, click on Install Software from the menu on the left side of the screen.
4The InstallShield Wizard will appear.
5Different versions of Windows® will present different screens. Press Next at each screen until the Wizard driver installation has completed. IMPORTANT: Remove
6Some versions will present a screen that asks about restarting your computer. Choose Yes, I will restart my computer now.
7Click Finish, if necessary. A new icon will appear on your Windows® desktop. You can
Proceed to Step 2 only after the software has been correctly installed.
If correctly installed, a Utility icon (four vertical bars) should appear next to your computer’s time display. An “X” indicates that software installation was successful, but the wireless adapter is not yet activated.
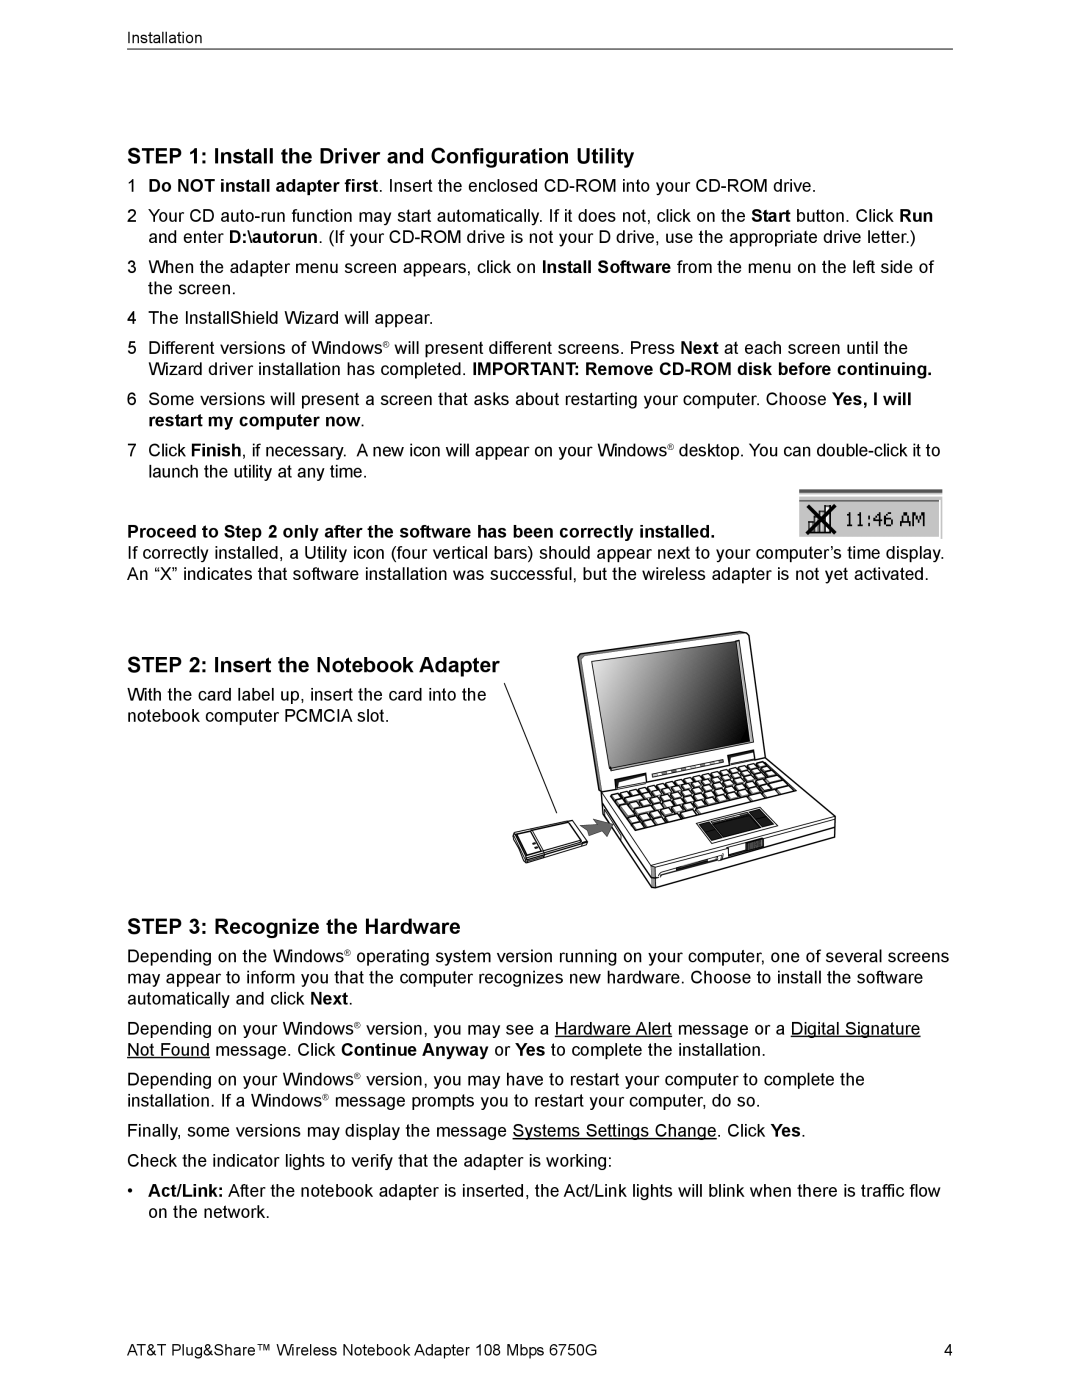
STEP 2: Insert the Notebook Adapter
With the card label up, insert the card into the notebook computer PCMCIA slot.
STEP 3: Recognize the Hardware
Depending on the Windows® operating system version running on your computer, one of several screens may appear to inform you that the computer recognizes new hardware. Choose to install the software automatically and click Next.
Depending on your Windows® version, you may see a Hardware Alert message or a Digital Signature Not Found message. Click Continue Anyway or Yes to complete the installation.
Depending on your Windows® version, you may have to restart your computer to complete the installation. If a Windows® message prompts you to restart your computer, do so.
Finally, some versions may display the message Systems Settings Change. Click Yes. Check the indicator lights to verify that the adapter is working:
•Act/Link: After the notebook adapter is inserted, the Act/Link lights will blink when there is traffic flow on the network.
AT&T Plug&Share™ Wireless Notebook Adapter 108 Mbps 6750G | 4 |