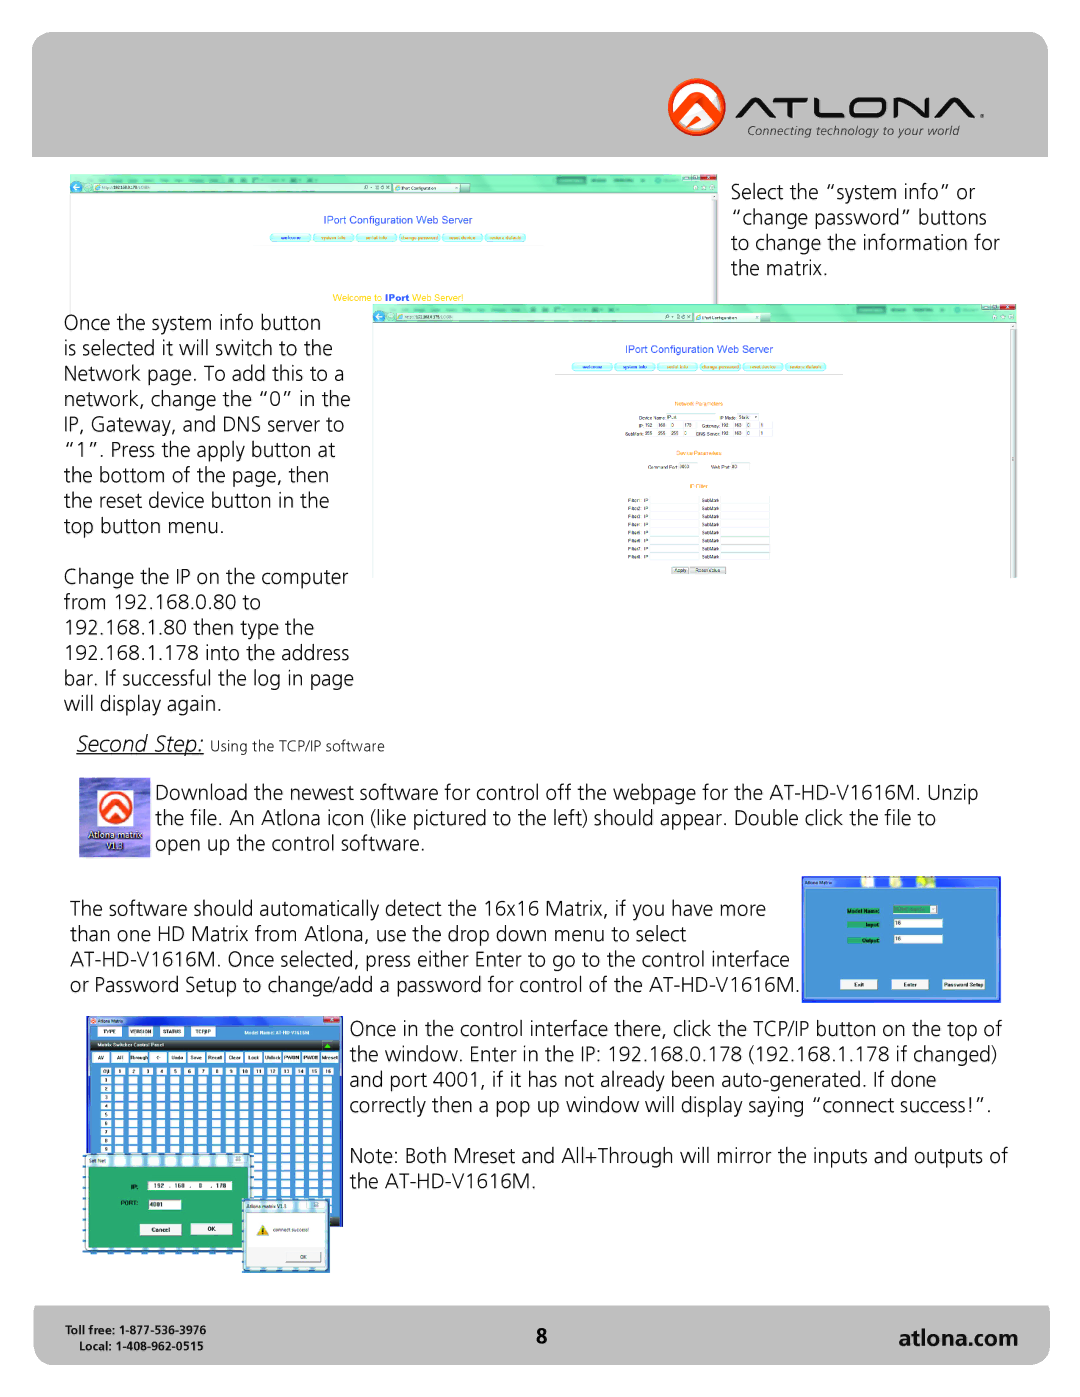
Once the system info button is selected it will switch to the Network page. To add this to a network, change the “0” in the IP, Gateway, and DNS server to “1”. Press the apply button at the bottom of the page, then the reset device button in the top button menu.
Change the IP on the computer from 192.168.0.80 to 192.168.1.80 then type the 192.168.1.178 into the address bar. If successful the log in page will display again.
Second Step: Using the TCP/IP software
Select the “system info” or “change password” buttons to change the information for the matrix.
Download the newest software for control off the webpage for the
The software should automatically detect the 16x16 Matrix, if you have more than one HD Matrix from Atlona, use the drop down menu to select
Once in the control interface there, click the TCP/IP button on the top of the window. Enter in the IP: 192.168.0.178 (192.168.1.178 if changed) and port 4001, if it has not already been
Note: Both Mreset and All+Through will mirror the inputs and outputs of the
Toll free: | 8 | atlona.com |
Local: |