GX2401c I/B version 09050A-1
The symbol CW indicates that CIDCW is ON mode. |
| |
NOTE: In CIDCW OFF mode, Call Waiting function will not operate. |
| |
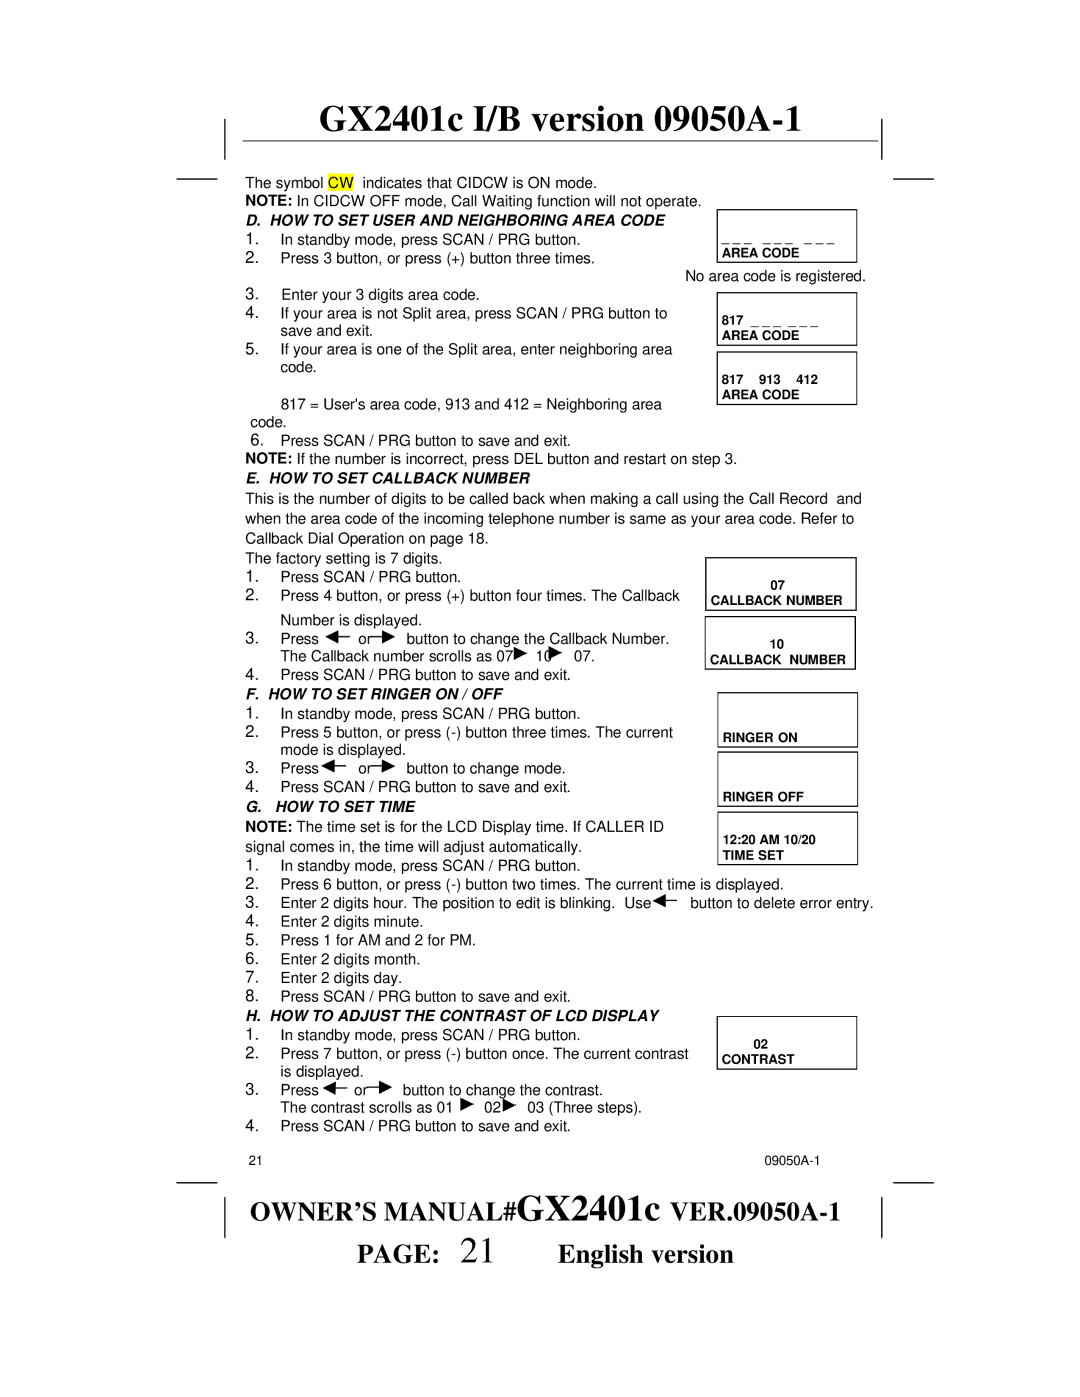
D. HOW TO SET USER AND NEIGHBORING AREA CODE |
| |
1. | In standby mode, press SCAN / PRG button. | _ _ _ _ _ _ _ _ _ |
2. | Press 3 button, or press (+) button three times. | AREA CODE |
3.Enter your 3 digits area code.
4. If your area is not Split area, press SCAN / PRG button to save and exit.
5. If your area is one of the Split area, enter neighboring area code.
817 = User's area code, 913 and 412 = Neighboring area code.
6.Press SCAN / PRG button to save and exit.
NOTE: If the number is incorrect, press DEL button and restart on step 3.
E. HOW TO SET CALLBACK NUMBER
This is the number of digits to be called back when making a call using the Call Record and when the area code of the incoming telephone number is same as your area code. Refer to Callback Dial Operation on page 18.
The factory setting is 7 digits.
1. | Press SCAN / PRG button. | 07 | |||||
2. | Press 4 button, or press (+) button four times. The Callback | ||||||
CALLBACK NUMBER | |||||||
3. | Number is displayed. |
| |||||
| |||||||
| |||||||
Press |
| or |
| button to change the Callback Number. | 10 | ||
|
| ||||||
| The Callback number scrolls as 07 10 07. | ||||||
| CALLBACK NUMBER | ||||||
4.Press SCAN / PRG button to save and exit.
F. HOW TO SET RINGER ON / OFF
1.In standby mode, press SCAN / PRG button.
2. | Press 5 button, or press |
| RINGER ON | |||||||
| mode is displayed. |
|
|
| ||||||
3. |
|
|
|
|
| |||||
Press |
| or |
|
| button to change mode. |
|
|
| ||
|
|
|
|
| ||||||
4. | Press SCAN / PRG button to save and exit. |
| RINGER OFF |
| ||||||
G. HOW TO SET TIME |
|
| ||||||||
|
|
| ||||||||
NOTE: The time set is for the LCD Display time. If CALLER ID |
| 12:20 AM 10/20 |
| |||||||
signal comes in, the time will adjust automatically. |
|
| ||||||||
| TIME SET |
| ||||||||
1. | In standby mode, press SCAN / PRG button. |
|
| |||||||
|
|
| ||||||||
2. | Press 6 button, or press | |||||||||
3. | Enter 2 digits hour. The position to edit is blinking. Use |
| button to delete error entry. | |||||||
| ||||||||||
4.Enter 2 digits minute.
5.Press 1 for AM and 2 for PM.
6.Enter 2 digits month.
7.Enter 2 digits day.
8.Press SCAN / PRG button to save and exit.
H. HOW TO ADJUST THE CONTRAST OF LCD DISPLAY
1.In standby mode, press SCAN / PRG button.
2.Press 7 button, or press
3.Press ![]() or
or![]() button to change the contrast.
button to change the contrast.
The contrast scrolls as 01 ![]() 02
02![]() 03 (Three steps).
03 (Three steps).
4.Press SCAN / PRG button to save and exit.
02
CONTRAST
21 |
OWNER’S MANUAL#GX2401c
PAGE: 21 | English version |