16
Manually Lighting the Grill
1.IMPORTANT: Make sure Control Knobs are turned “Off.” (Fig. 7 - P.14)
2.Turn the LP Gas Cylinder valve open counterclockwise until it stops. (Fig. 8- P.14)
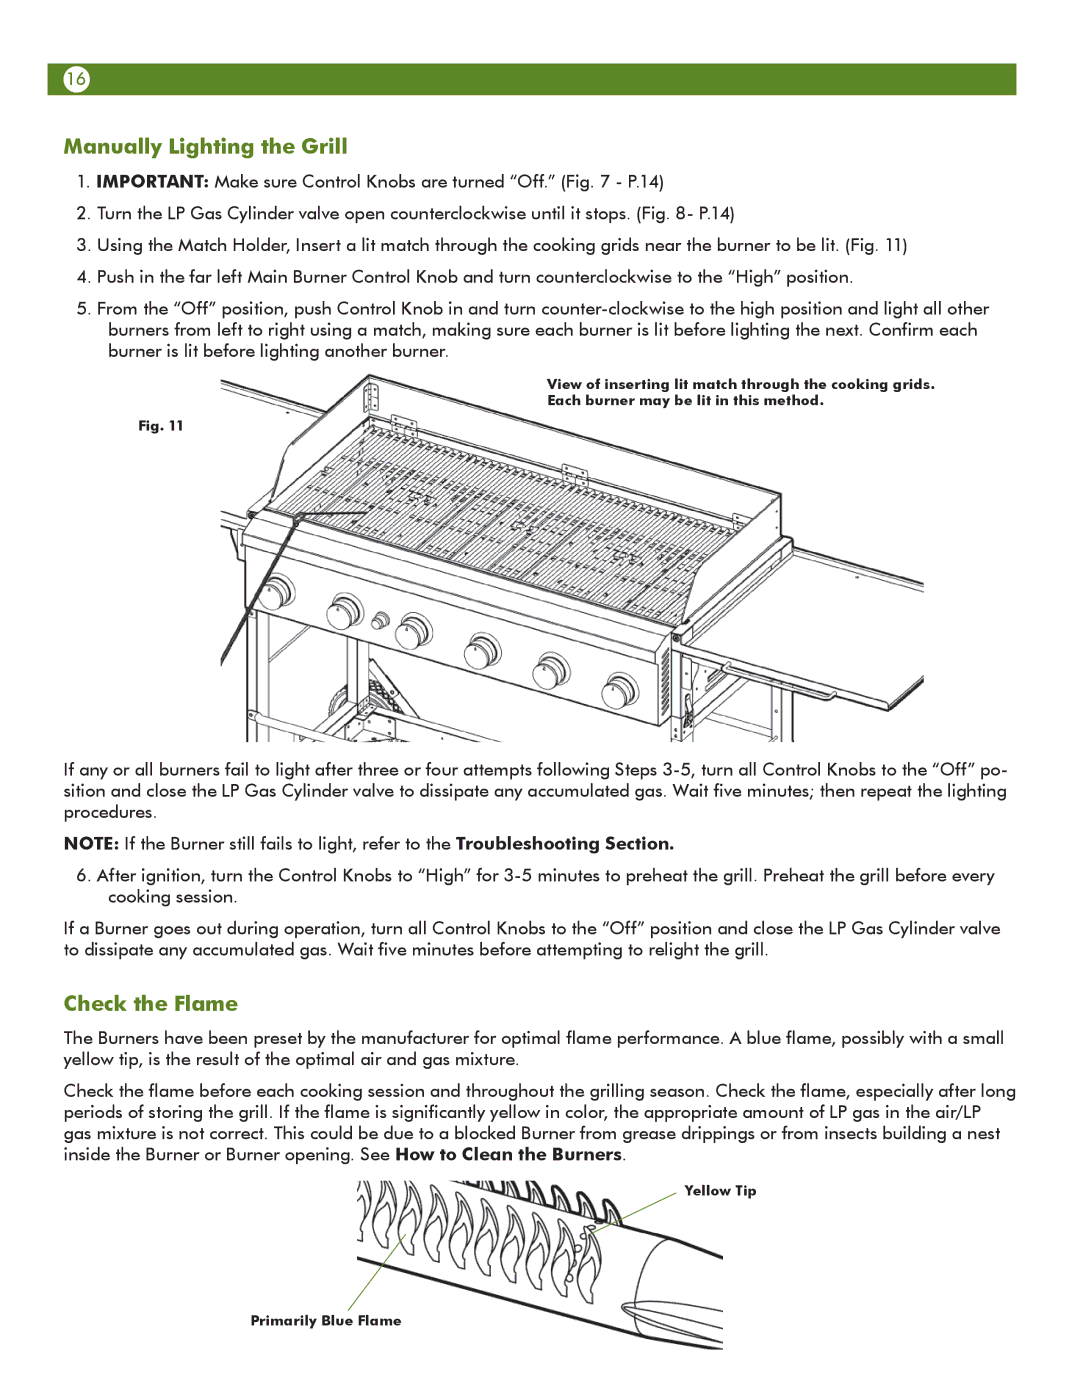
3.Using the Match Holder, Insert a lit match through the cooking grids near the burner to be lit. (Fig. 11)
4.Push in the far left Main Burner Control Knob and turn counterclockwise to the “High” position.
5.From the “Off” position, push Control Knob in and turn
View of inserting lit match through the cooking grids. Each burner may be lit in this method.
Fig. 11
If any or all burners fail to light after three or four attempts following Steps
NOTE: If the Burner still fails to light, refer to the Troubleshooting Section.
6.After ignition, turn the Control Knobs to “High” for
If a Burner goes out during operation, turn all Control Knobs to the “Off” position and close the LP Gas Cylinder valve to dissipate any accumulated gas. Wait five minutes before attempting to relight the grill.
Check the Flame
The Burners have been preset by the manufacturer for optimal flame performance. A blue flame, possibly with a small yellow tip, is the result of the optimal air and gas mixture.
Check the flame before each cooking session and throughout the grilling season. Check the flame, especially after long periods of storing the grill. If the flame is significantly yellow in color, the appropriate amount of LP gas in the air/LP gas mixture is not correct. This could be due to a blocked Burner from grease drippings or from insects building a nest inside the Burner or Burner opening. See How to Clean the Burners.
Yellow Tip
Primarily Blue Flame