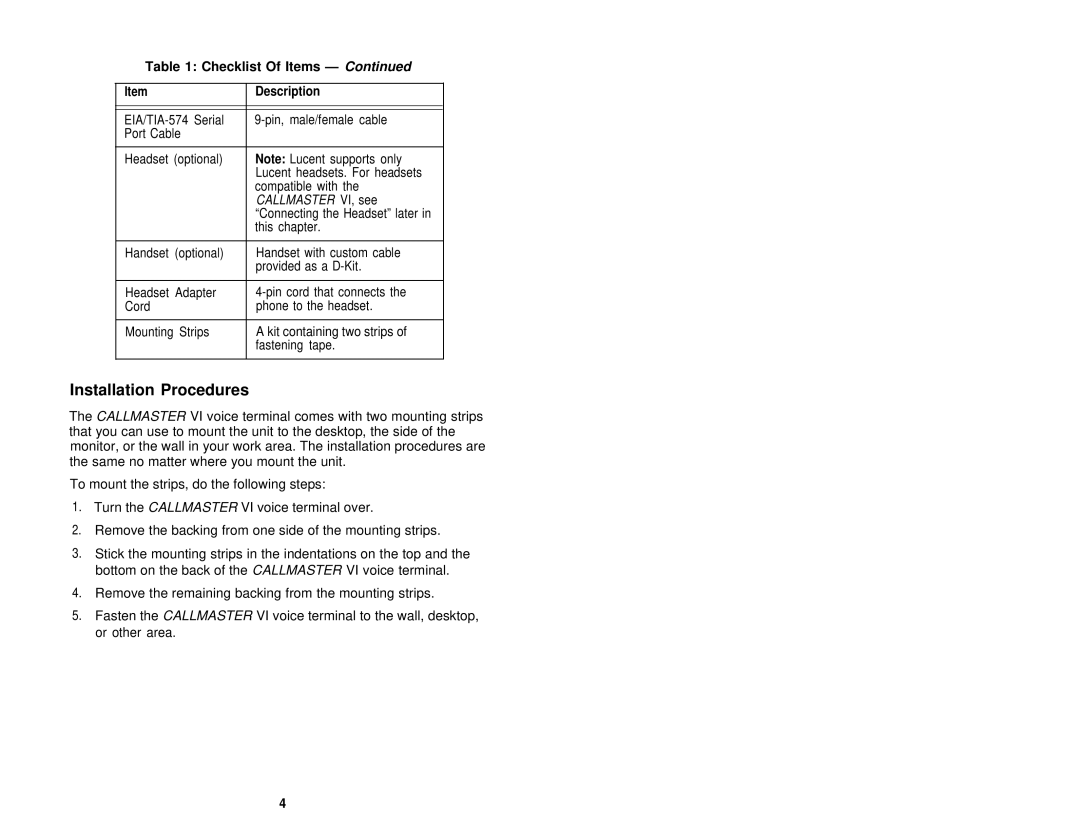
Table 1: Checklist Of Items — Continued
Item | Description |
|
|
|
|
Port Cable |
|
|
|
Headset (optional) | Note: Lucent supports only |
| Lucent headsets. For headsets |
| compatible with the |
| CALLMASTER VI, see |
| “Connecting the Headset” later in |
| this chapter. |
|
|
Handset (optional) | Handset with custom cable |
| provided as a |
|
|
Headset Adapter | |
Cord | phone to the headset. |
|
|
Mounting Strips | A kit containing two strips of |
| fastening tape. |
|
|
Installation Procedures
The CALLMASTER VI voice terminal comes with two mounting strips that you can use to mount the unit to the desktop, the side of the monitor, or the wall in your work area. The installation procedures are the same no matter where you mount the unit.
To mount the strips, do the following steps:
1.Turn the CALLMASTER VI voice terminal over.
2.Remove the backing from one side of the mounting strips.
3.Stick the mounting strips in the indentations on the top and the bottom on the back of the CALLMASTER VI voice terminal.
4.Remove the remaining backing from the mounting strips.
5.Fasten the CALLMASTER VI voice terminal to the wall, desktop, or other area.
4