Getting Started — Connecting the Printer
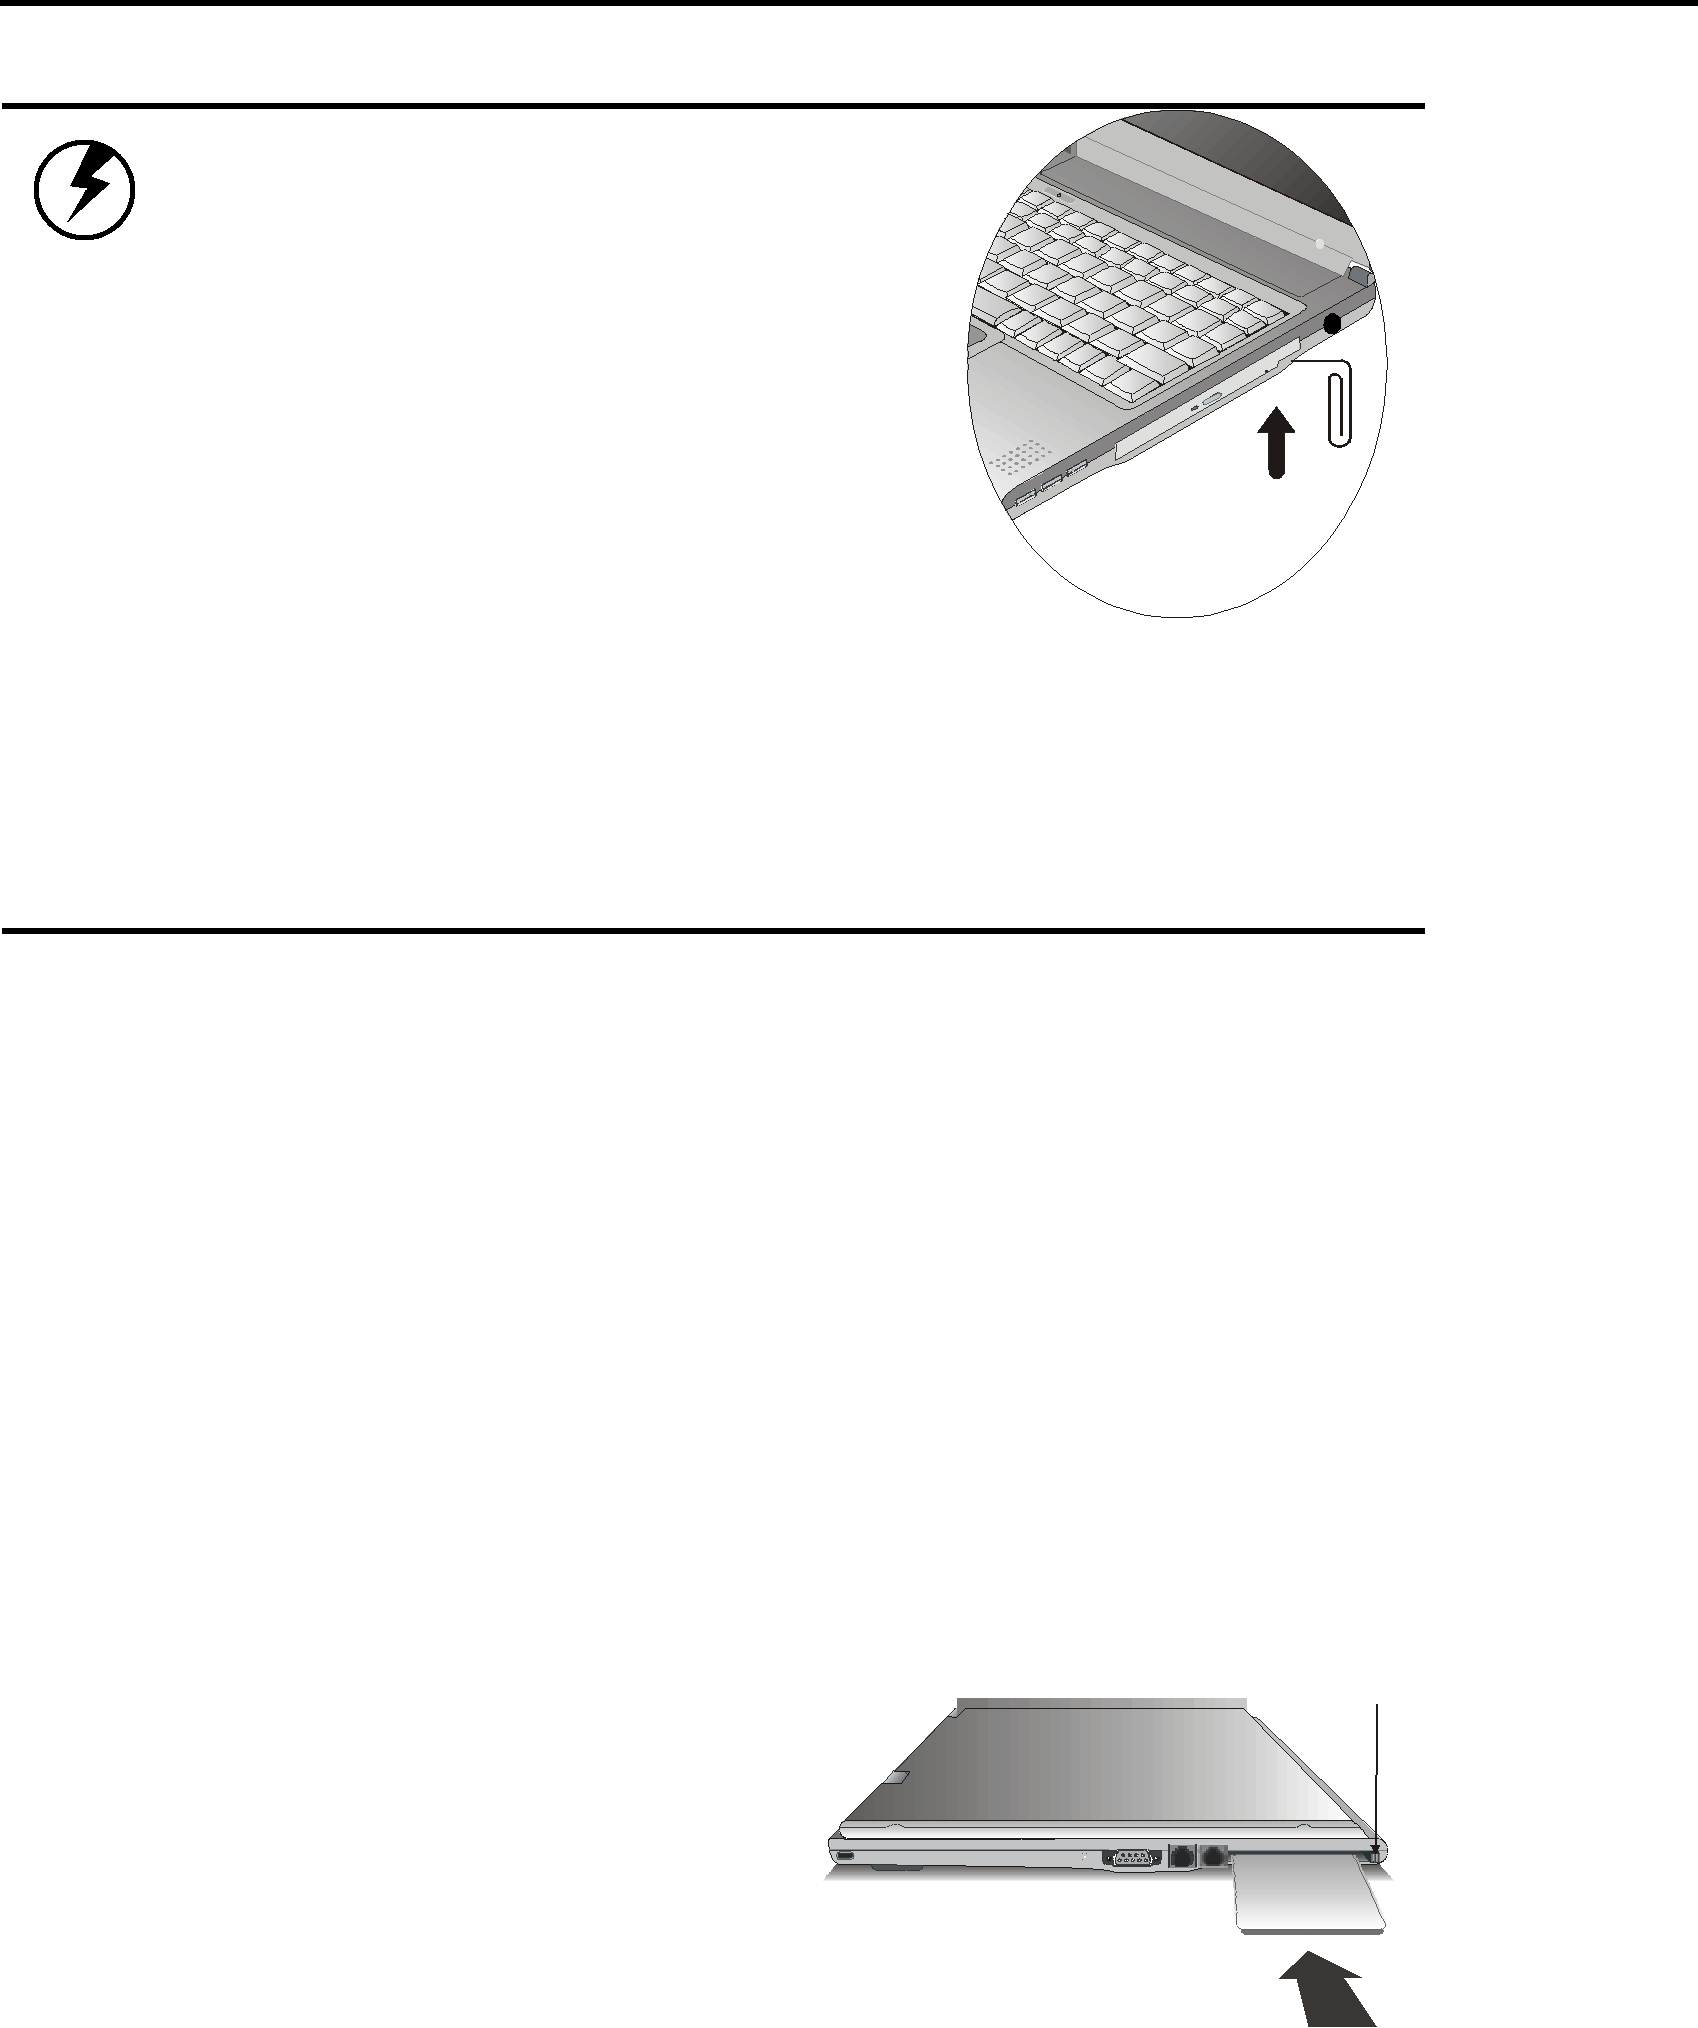
Warning: Do not insert any foreign objects into the disc tray. Do not force the tray to open or close manually. When not in use, keep the tray closed to prevent dust or dirt from entering the drive unit. If you experience difficulty when removing an optical media, stretch a paper clip (or use a pin or a thin metal rod) and insert it into the emergency eject hole located on the front panel:
The optical drive tray should eject immediately. This procedure can also be used to remove an optical media from the optical drive when the notebook is powered off.
Connecting the Printer
To connect a USB printer to your notebook via the USB port, use one of the available USB ports on the right side of your notebook.
The PC Card Slot
The PC card slot can be used as an interface between your computer and a variety of communications devices, such as network adapters, SCSI adapters, fax/modems, or provide additional data storage capacity. Your computer's PC card slot supports PCMCIA Type II and
Installing a Card
1.The top side of a PC card is usually identified with a label. Insert the card into the slot with the label side up and the edge with pinhole contacts going in first.
2.Insert the card into the slot. You will feel some resistance as the card slides into the back of the slot.
Push the button to eject the card.
Slide the card into the slot.
3.PC cards require drivers, or a program that allows the operating system to use a specific device. Many drivers are included with Windows, but if not, you will be prompted to install the driver included with your card.