22AXIS 241Q/241S - Video & image settings
1.Select an uploaded image from the Use image
2.Place the image at the required location by entering the x and y coordinates.
3.Click Save.
Note: The x and y coordinates, and the width and height of the overlay/mask are relative to the maximum avail- able resolution of the product.
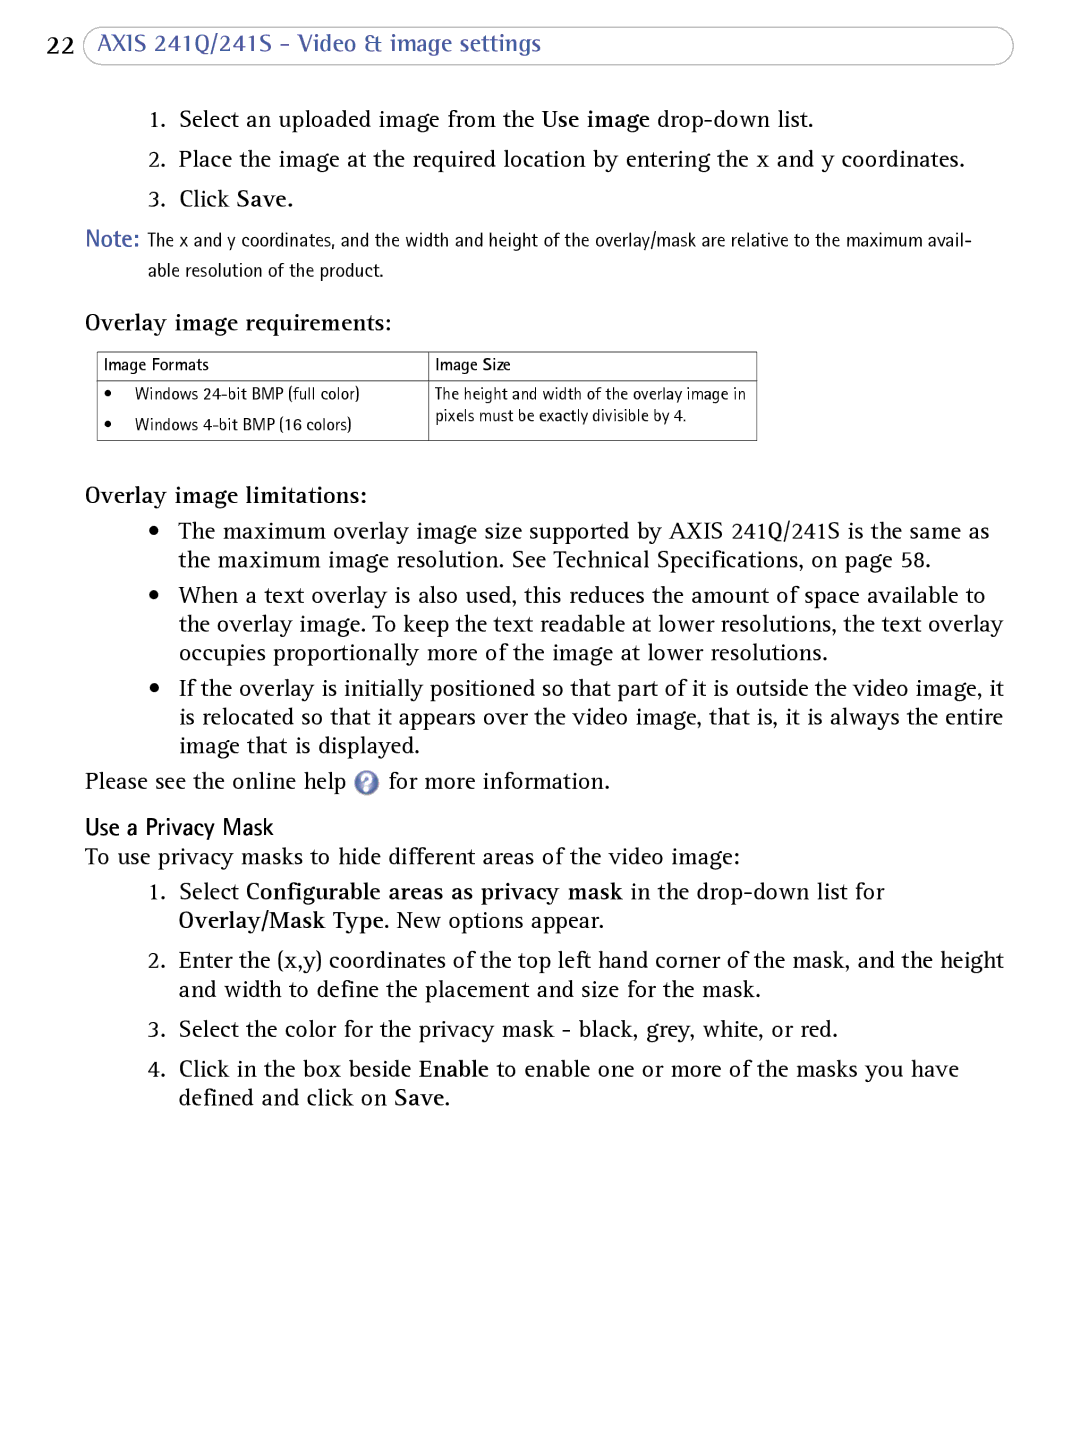
Overlay image requirements:
Image Formats | Image Size | |
|
|
|
• | Windows | The height and width of the overlay image in |
• | Windows | pixels must be exactly divisible by 4. |
| ||
|
|
|
Overlay image limitations:
•The maximum overlay image size supported by AXIS 241Q/241S is the same as the maximum image resolution. See Technical Specifications, on page 58.
•When a text overlay is also used, this reduces the amount of space available to the overlay image. To keep the text readable at lower resolutions, the text overlay occupies proportionally more of the image at lower resolutions.
•If the overlay is initially positioned so that part of it is outside the video image, it is relocated so that it appears over the video image, that is, it is always the entire image that is displayed.
Please see the online help ![]() for more information.
for more information.
Use a Privacy Mask
To use privacy masks to hide different areas of the video image:
1.Select Configurable areas as privacy mask in the
2.Enter the (x,y) coordinates of the top left hand corner of the mask, and the height and width to define the placement and size for the mask.
3.Select the color for the privacy mask - black, grey, white, or red.
4.Click in the box beside Enable to enable one or more of the masks you have defined and click on Save.
