AXIS Q1931–E Thermal Network Camera
Accessing the Product
Access from the Internet
Once connected, the Axis product is accessible on your local network (LAN). To access the product from the Internet you must configure your network router to allow incoming data traffic to the product. To do this, enable the
For more information, see NAT traversal (port mapping) for IPv4, on page 40. See also AXIS Internet Dynamic DNS Service at www.axiscam.net
For Technical notes on this and other topics, visit the Axis Support web at www.axis.com/techsup
Set the Root Password
To access the Axis product, you must set the password for the default administrator user root. This is done in the Configure Root Password dialog, which opens when the product is accessed for the first time.
To prevent network eavesdropping, the root password can be set via an encrypted HTTPS connection, which requires an HTTPS certificate. HTTPS (Hypertext Transfer Protocol over SSL) is a protocol used to encrypt traffic between web browsers and servers. The HTTPS certificate ensures encrypted exchange of information. See HTTPS, on page 35.
The default administrator user name root is permanent and cannot be deleted. If the password for root is lost, the product must be reset to the factory default settings. See Reset to Factory Default Settings, on page 46.
To set the password via a standard HTTP connection, enter it directly in the dialog.
To set the password via an encrypted HTTPS connection, follow these steps:
1.Click Use HTTPS.
A temporary certificate (valid for one year) is created, enabling encryption of all traffic to and from the product, and the password can now be set securely.
2.Enter a password and then
3.Click OK. The password has now been configured.
The Live View Page
The controls and layout of the Live View page may have been customized to meet specific installation requirements and user preferences. Consequently, some of the examples and functions featured here may differ from those displayed in your own Live View page. The following provides an overview of each available control.
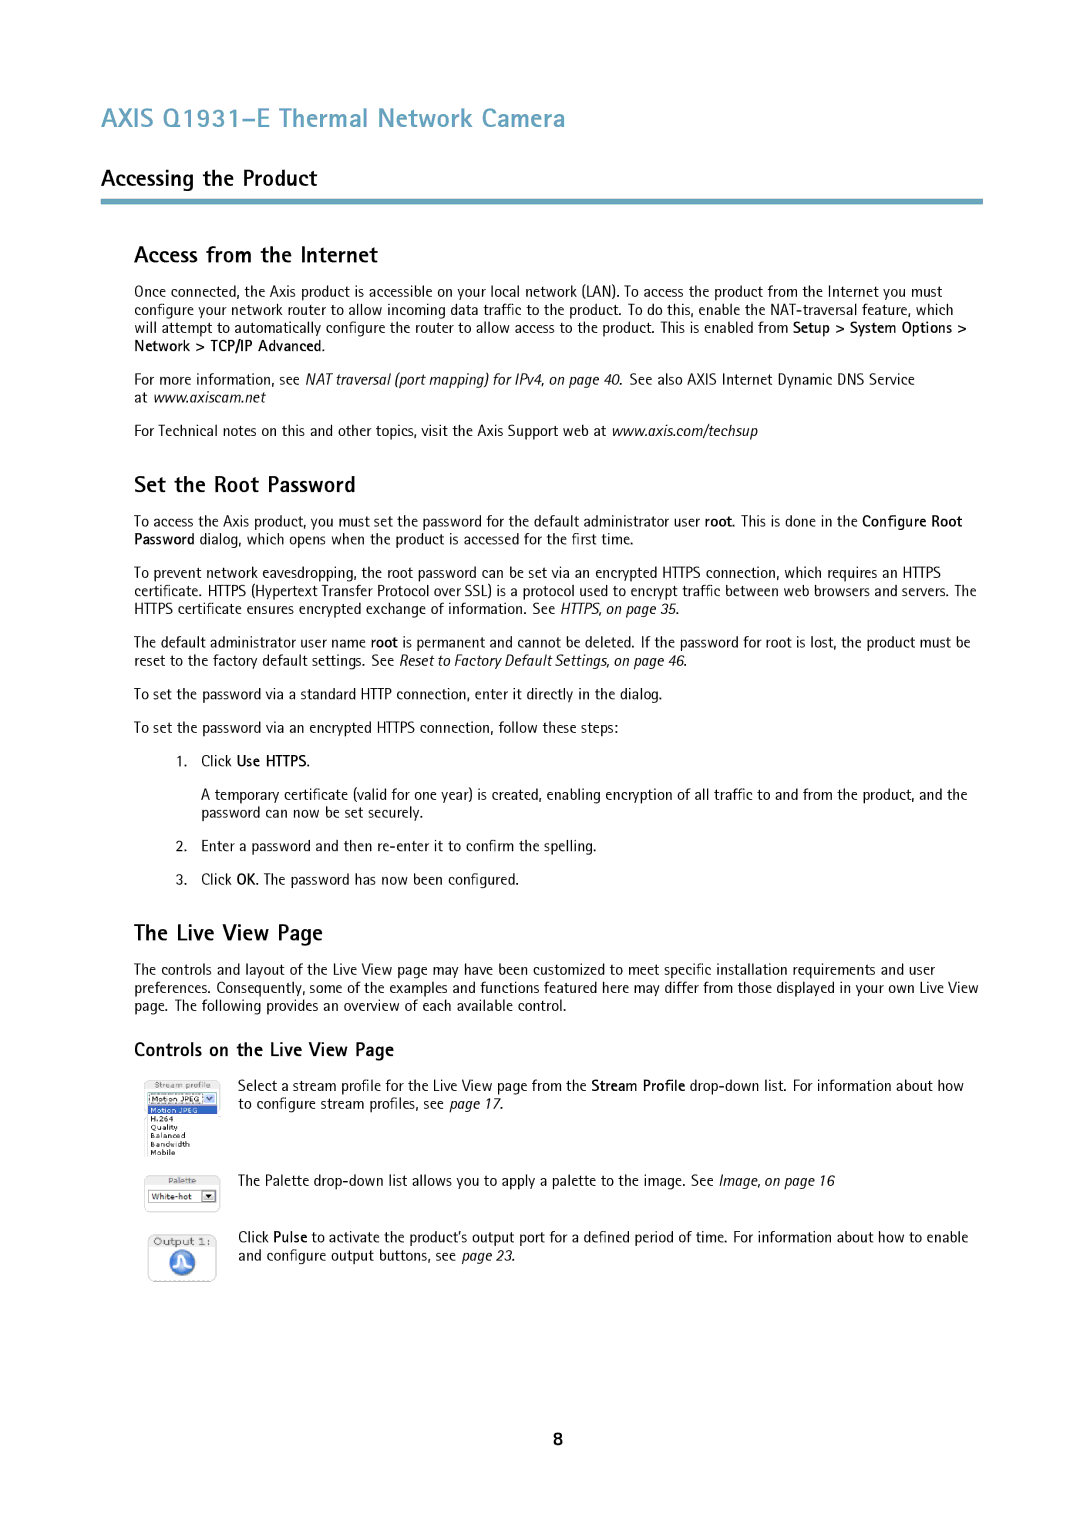
Controls on the Live View Page
Select a stream profile for the Live View page from the Stream Profile
The Palette
Click Pulse to activate the product’s output port for a defined period of time. For information about how to enable and configure output buttons, see page 23.
8