CONNECTING THE HARDWARE

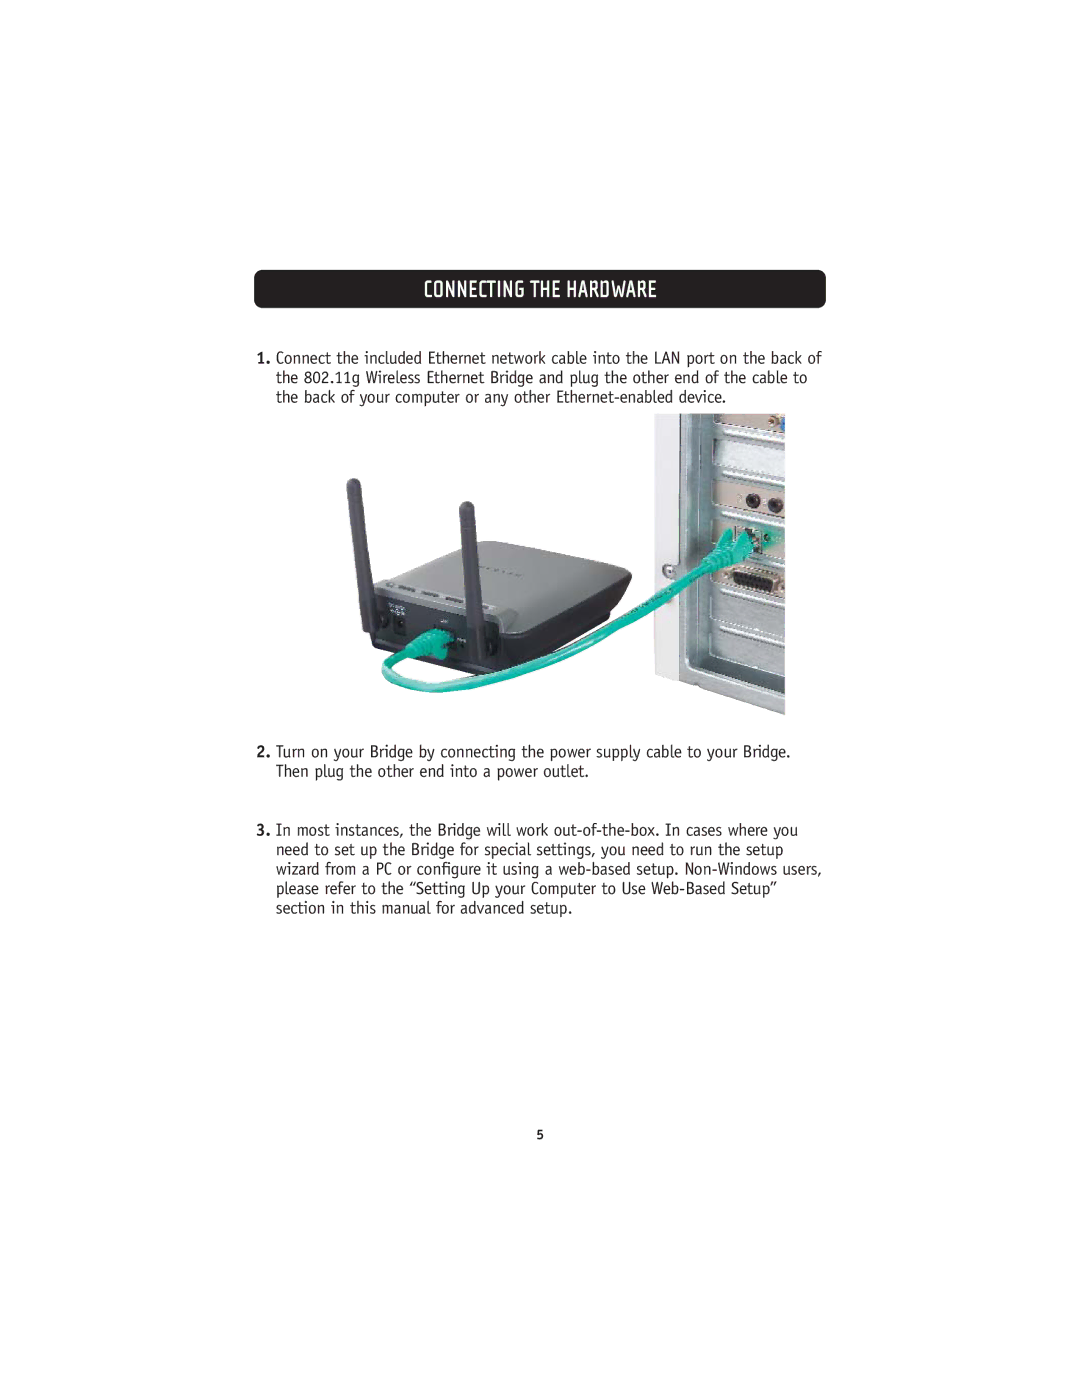
1.Connect the included Ethernet network cable into the LAN port on the back of the 802.11g Wireless Ethernet Bridge and plug the other end of the cable to the back of your computer or any other Ethernet-enabled device.

2.Turn on your Bridge by connecting the power supply cable to your Bridge. Then plug the other end into a power outlet.

3.In most instances, the Bridge will work out-of-the-box. In cases where you need to set up the Bridge for special settings, you need to run the setup wizard from a PC or configure it using a web-based setup. Non-Windows users, please refer to the “Setting Up your Computer to Use Web-Based Setup” section in this manual for advanced setup.

5

Page 8
Image 8
Belkin 802.11g manual Connecting the Hardware