REINSTALLING THE DESICCANT CARTRIDGE AD-1™ AND AD-2™ AIR DRYER
If the desiccant cartridge is to be replaced as an assembly rather than rebuilt (see desiccant cartridge rebuilding instructions), the cartridge removed from the air dryer.
The current revision replacement desiccant cartridge is shown in Figure 7. All prior revisions of the cartridge will interchange with no modifications to either air dryer.
Prior to installing the new replacement cartridge in the air dryer, the following steps must be followed:
1.Carefully remove the lock nut from the cartridge bolt using an 11/16 in. open end or box wrench. IMPORTANT: Care must be taken not to allow the cartridge bolt to slip out of the cartridge when the lock nut is removed. Loss of desiccant material will occur should this happen.
2.Install the previously rebuilt desiccant sealing plate on the cartridge bolt so that the ball check retaining clip remains visible (see Figure
3.While holding the cartridge bolt reinstall the lock nut on the cartridge bolt. IMPORTANT: Before tightening the lock nut down make certain that the shoulder (the unthreaded portion) of the cartridge bolt extends slightly above the perforated desiccant plate (see Figure 12).
4.By tightening the lock nut, draw the desiccant sealing plate down into the desiccant cartridge until the shoulder of the desiccant sealing plate is against the cartridge shell. (See Figure 15)
REBUILDING THE DESICCANT CARTRIDGE
IMPORTANT: Only the current revision desiccant cartridges (See Figure 7) can be rebuilt. Current revision desiccant cartridges are identified positively by the Bendix trademark BW stamped in the hex head of the cartridge bolt, and by the letters and number
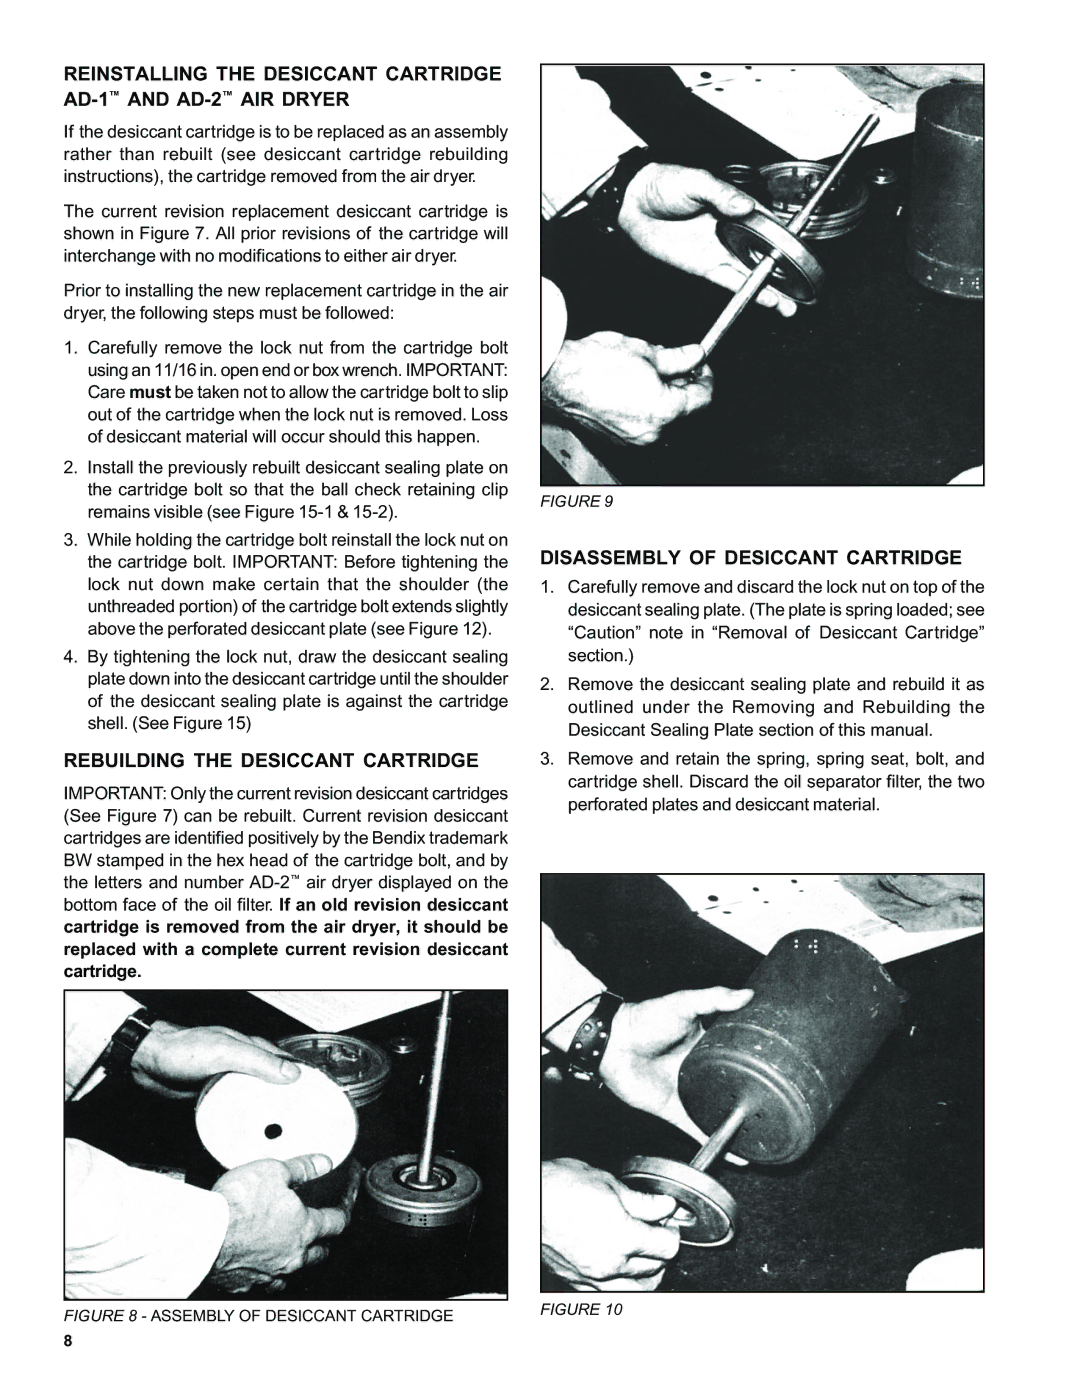
FIGURE 9
DISASSEMBLY OF DESICCANT CARTRIDGE
1.Carefully remove and discard the lock nut on top of the desiccant sealing plate. (The plate is spring loaded; see “Caution” note in “Removal of Desiccant Cartridge” section.)
2.Remove the desiccant sealing plate and rebuild it as outlined under the Removing and Rebuilding the Desiccant Sealing Plate section of this manual.
3.Remove and retain the spring, spring seat, bolt, and cartridge shell. Discard the oil separator filter, the two perforated plates and desiccant material.
FIGURE 8 - ASSEMBLY OF DESICCANT CARTRIDGE | FIGURE 10 |
|
8