End Cover Removal
1.Loosen the three cap screws on the end cover and turn the retaining clamps aside (cap screws may be left finger tight).
2.Locate the notch in the air dryer shell. While pushing the end cover up into the dryer, insert the blade of a screwdriver in the notch and slowly pry out the retaining ring. If the cartridge bolt has loosened the cartridge spring may exert a force on the end cover retaining ring making removal of the retaining ring and end cover difficult. This spring force will prohibit the end cover moving up into the dryer shell when pushed up. Warning: This same force can also cause the end cover to come out of the air dryer shell unexpectedly during the removal process. Exercise extreme caution to prevent bodily injury.
3.Do not stand or lay directly under the end cover while servicing. Assure adequate clearance between the end cover and other surfaces to prevent hand injury if the end cover dislodges rapidly during removal. NOTE: BE CERTAIN THE DESICCANT SEALING PLATE ASSEMBLY COMES OUT WITH THE CARTRIDGE.
CAUTION: Before attempting to remove the desiccant sealing plate, measure the cartridge bolt from the top of the desiccant plate lock nut to the end of the bolt threads. If that measurement is approximately
If the bolt measures approximately
REMOVING AND REBUILDING THE
Before the desiccant cartridge can be replaced or rebuilt the desiccant sealing plate must be removed. It is recommended that all
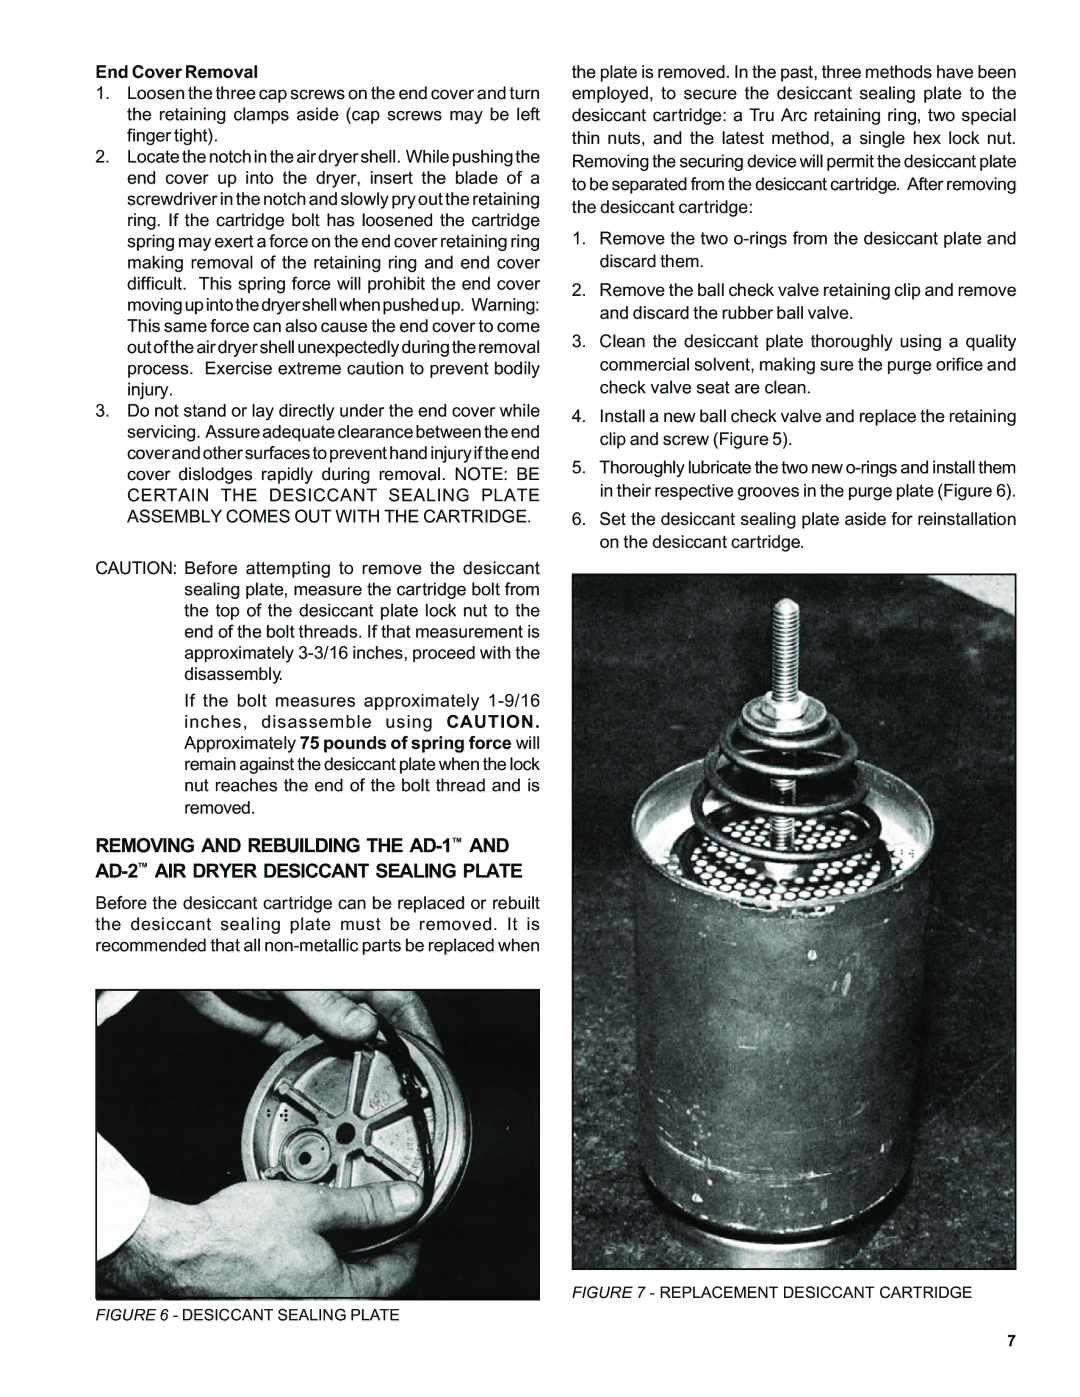
the plate is removed. In the past, three methods have been employed, to secure the desiccant sealing plate to the desiccant cartridge: a Tru Arc retaining ring, two special thin nuts, and the latest method, a single hex lock nut. Removing the securing device will permit the desiccant plate to be separated from the desiccant cartridge. After removing the desiccant cartridge:
1.Remove the two
2.Remove the ball check valve retaining clip and remove and discard the rubber ball valve.
3.Clean the desiccant plate thoroughly using a quality commercial solvent, making sure the purge orifice and check valve seat are clean.
4.Install a new ball check valve and replace the retaining clip and screw (Figure 5).
5.Thoroughly lubricate the two new
6.Set the desiccant sealing plate aside for reinstallation on the desiccant cartridge.
FIGURE 7 - REPLACEMENT DESICCANT CARTRIDGE
FIGURE 6 - DESICCANT SEALING PLATE
7