REMOVAL FROM VEHICLE
1.Disconnect the hydraulic line from the delivery port of the master cylinder and plug the line. Allow the hydraulic fluid from the master cylinder to drain into a suitable container. Remove reservoir cover to facilitate drainage.
2.Disconnect the air line from the air actuator and cover the end of the air line.
3.Remove the electrical connection from the low level indicator on the reservoir cover.
4.Remove the hardware that secures the mounting bracket of the
INSTALLING ON VEHICLE
1.Install the hardware which secures the
2.Reconnect the air line to the actuator. Use a small amount of thread sealant.
3.Reconnect the hydraulic line to the master cylinder.
4.Connect the electrical terminal from the low fluid indicator onto the terminal on the cap of the reservoir.
5.Fill the master cylinder fluid reservoir using the type and grade fluid specified by the vehicle manufacturer.
6.Bleed the hydraulic brakes following the vehicle manufacturer’s recommended procedure.
7.Refill the master cylinder fluid reservoir to replace fluid lost during the bleeding procedure.
DISASSEMBLY
General
The following procedure is presented for reference only. Disassembly of the
FIGURE 7
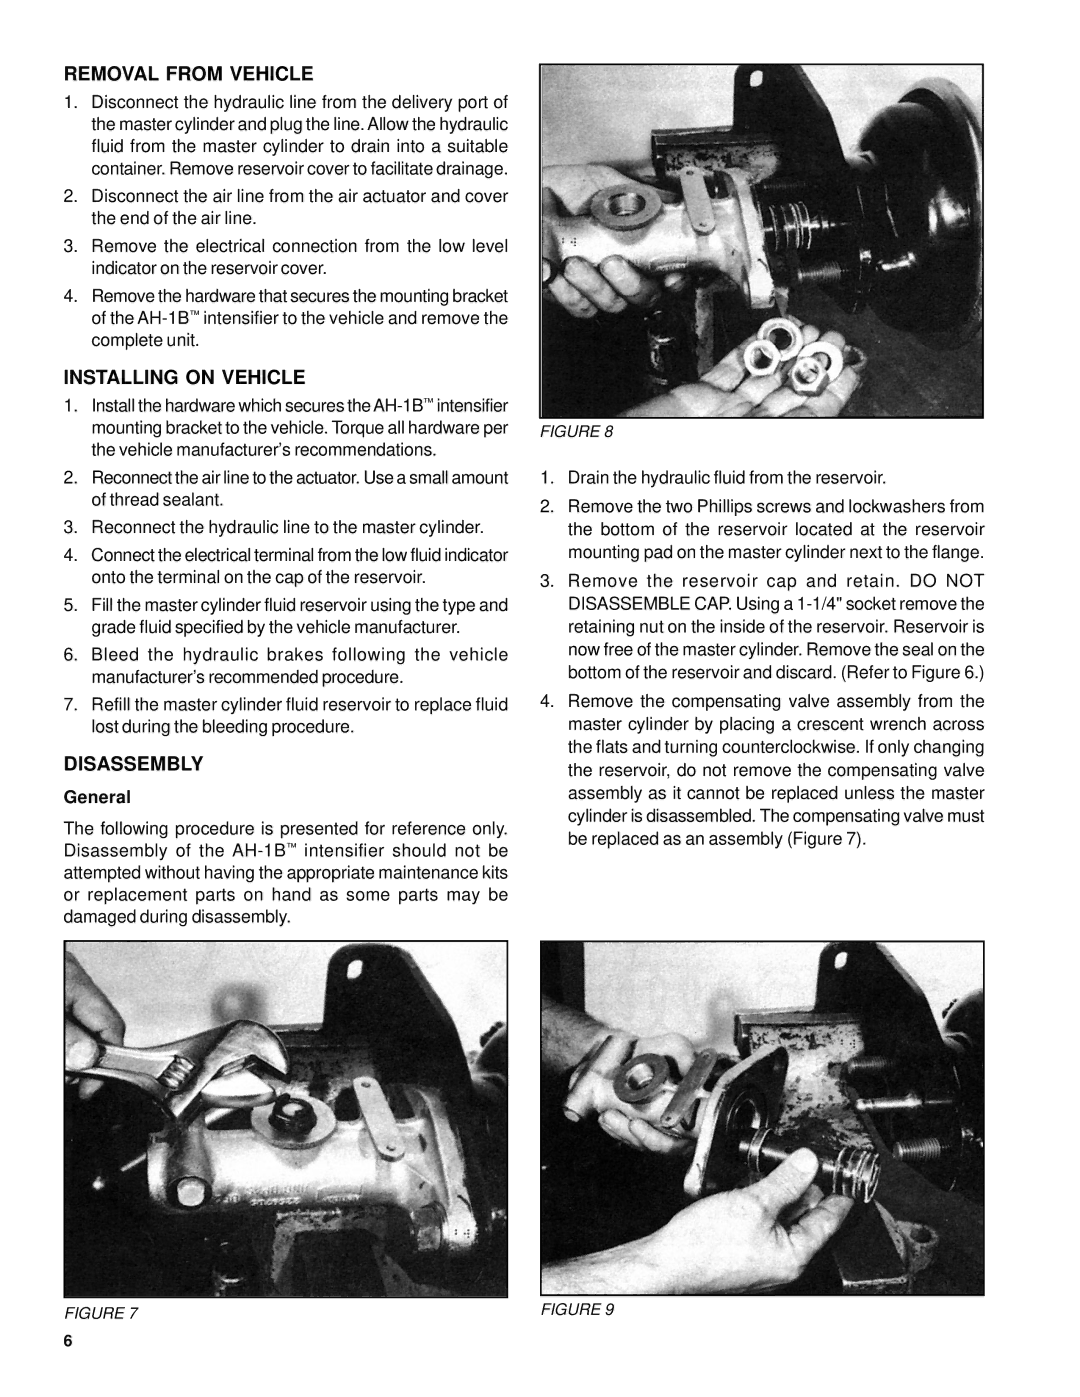
FIGURE 8
1.Drain the hydraulic fluid from the reservoir.
2.Remove the two Phillips screws and lockwashers from the bottom of the reservoir located at the reservoir mounting pad on the master cylinder next to the flange.
3.Remove the reservoir cap and retain. DO NOT DISASSEMBLE CAP. Using a
4.Remove the compensating valve assembly from the master cylinder by placing a crescent wrench across the flats and turning counterclockwise. If only changing the reservoir, do not remove the compensating valve assembly as it cannot be replaced unless the master cylinder is disassembled. The compensating valve must be replaced as an assembly (Figure 7).
FIGURE 9
6