909A, 919A specifications
The Berkel 919A and 909A slicers are renowned for their precision cutting and robust construction, making them essential tools in commercial kitchens and delicatessens. Designed to accommodate the varying demands of high-volume slicing, these machines blend traditional craftsmanship with modern technology to ensure optimal performance and reliability.One of the main features of the Berkel 919A and 909A is their powerful motor. Both models are equipped with a high-performance, energy-efficient motor that provides consistent slicing power, enabling chefs and operators to slice a variety of products, from delicate meats to harder cheeses with ease. This ensures that food preparation is both efficient and effective, reducing preparation time while maintaining high-quality results.
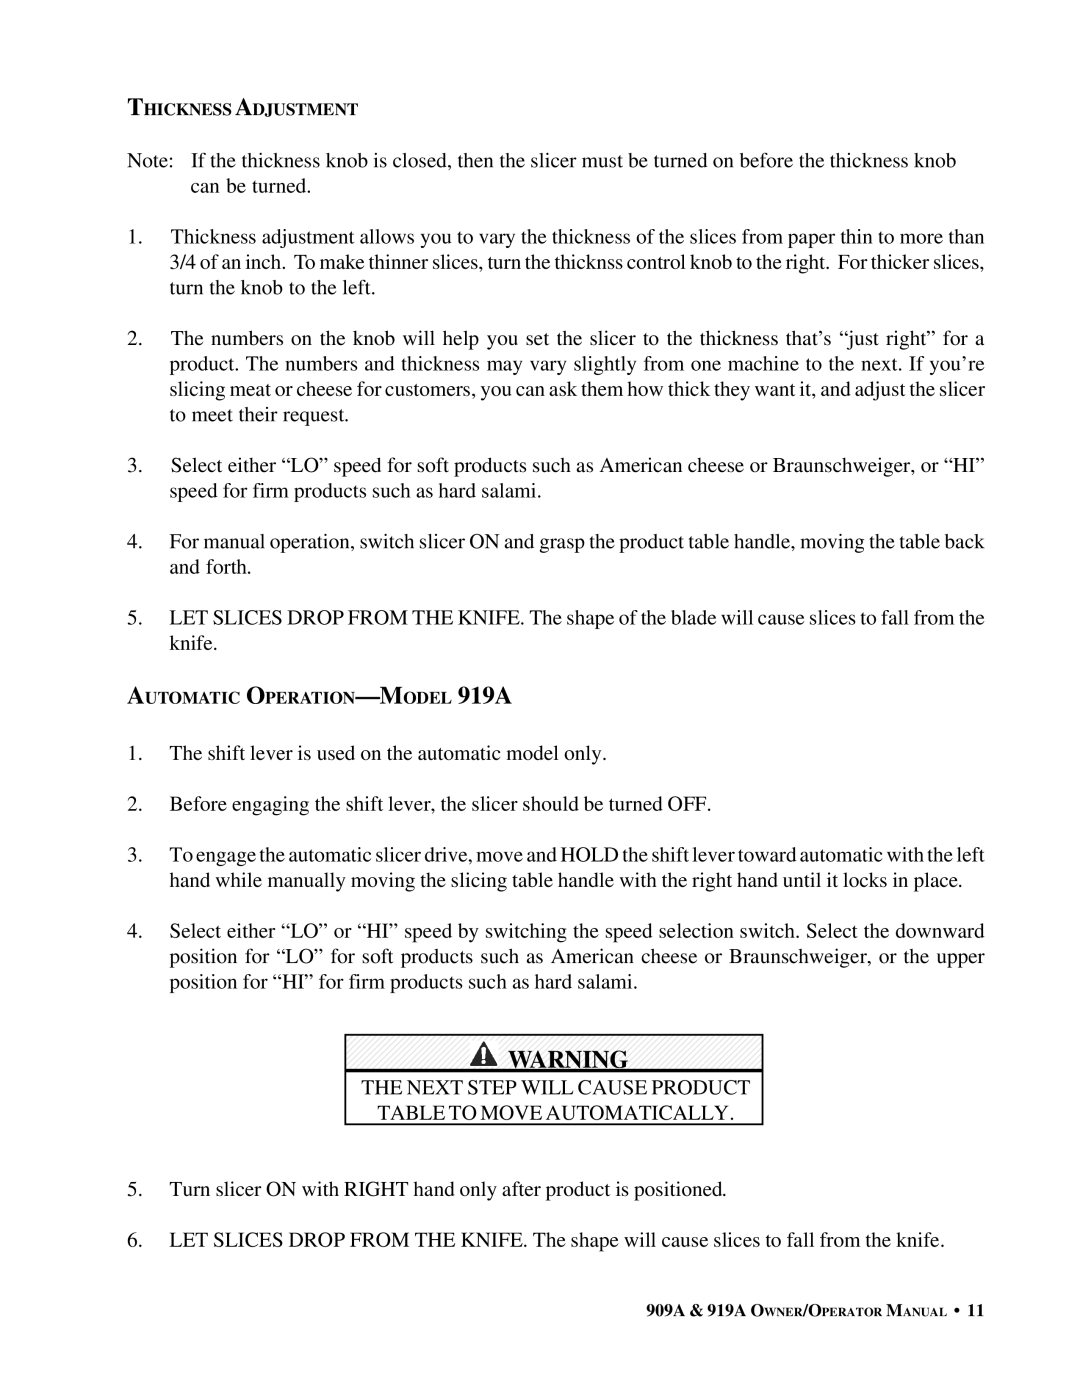
The slicers boast an adjustable slice thickness control, allowing users to customize the thickness of their cuts with precision. Whether required for thick sandwich slices or thin charcuterie cuts, the Berkel 919A and 909A can accommodate diverse slicing needs effortlessly. Their user-friendly operation allows for quick adjustments, making them particularly suited for busy kitchen environments.
Additionally, the Berkel 919A and 909A feature a durable stainless-steel construction, providing both aesthetic appeal and exceptional hygiene standards. Stainless steel is not only easy to clean but also resistant to corrosion, ensuring longevity and reducing maintenance efforts over time. The robust design of these slicers means they can withstand the rigors of daily use in a high-demand setting.
Safety is another priority in the design of Berkel 919A and 909A slicers. They are equipped with safety features such as a handguard and an automatic shutdown system, which enhances user safety during operation. These safeguards help minimize the risk of accidents, making it easier for operators to focus on their tasks.
Furthermore, both models come with a large, easy-to-use food tray that holds products securely while slicing. This feature enhances stability during the slicing process, allowing for smooth and accurate cuts. The ergonomic design of the slicers reduces operator fatigue, allowing for extended periods of use without discomfort.
In conclusion, the Berkel 919A and 909A slicers stand out for their combination of powerful performance, adjustable cutting capabilities, durable construction, and enhanced safety features. These machines represent an invaluable investment for any establishment looking to streamline food preparation while ensuring top-tier quality in their presentations, epitomizing the perfect blend of tradition and technology in the culinary world.

