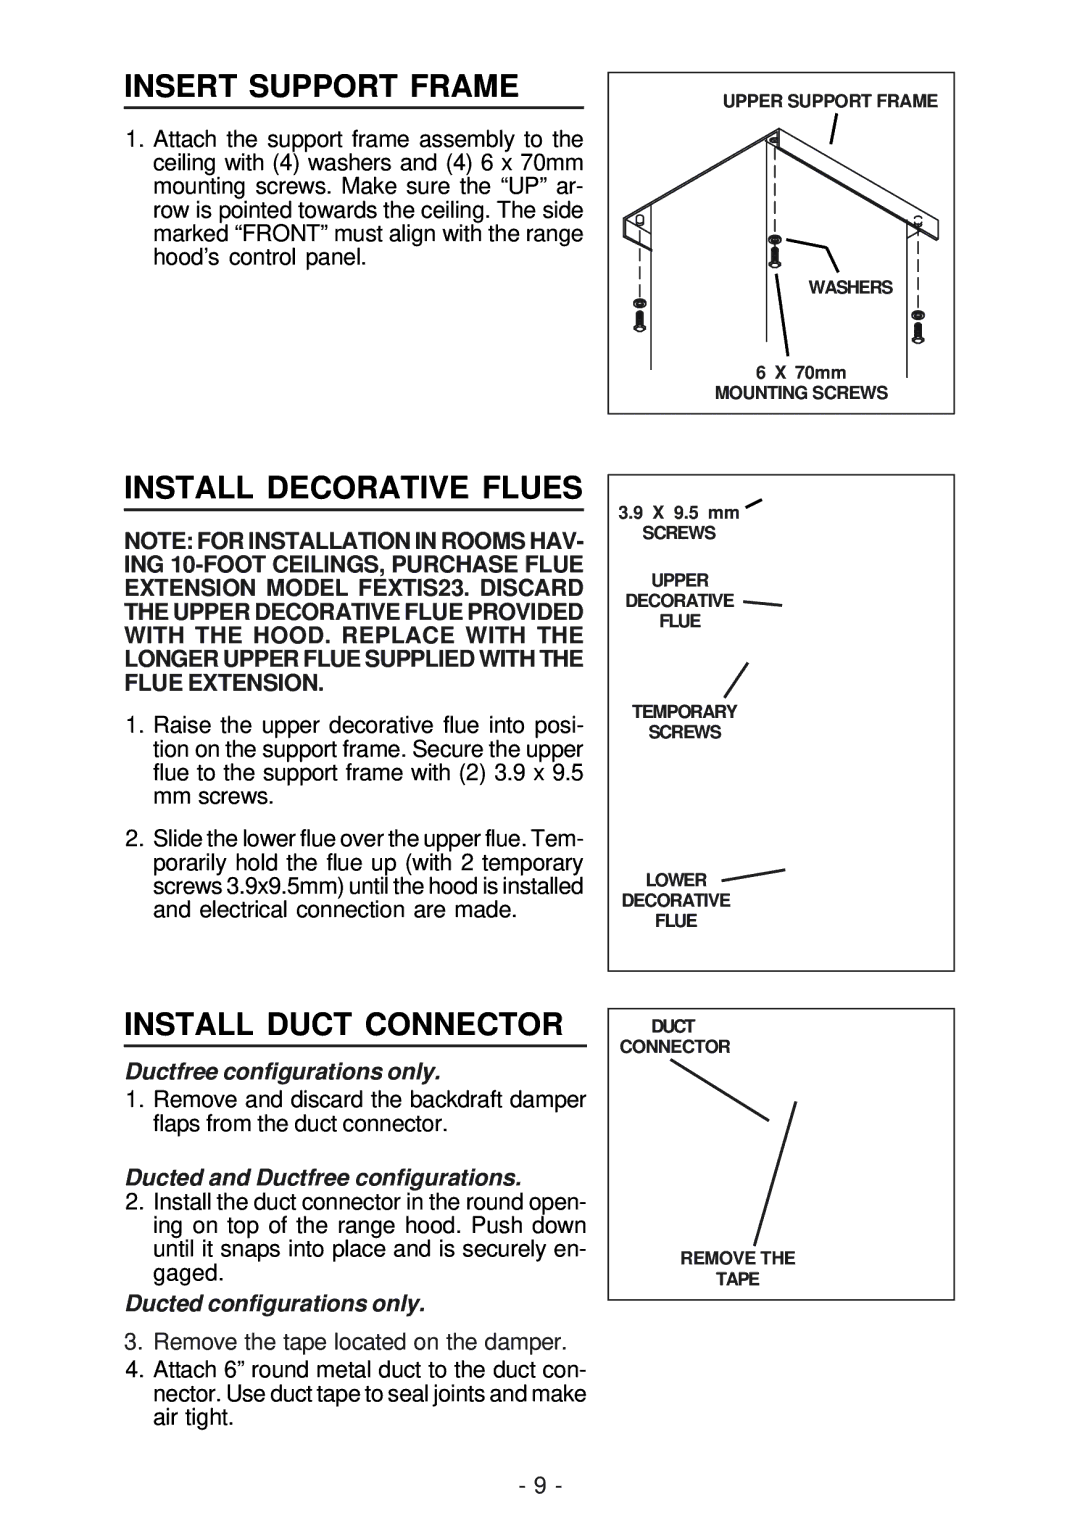
INSERT SUPPORT FRAME
1.Attach the support frame assembly to the ceiling with (4) washers and (4) 6 x 70mm mounting screws. Make sure the “UP” ar- row is pointed towards the ceiling. The side marked “FRONT” must align with the range hood’s control panel.
UPPER SUPPORT FRAME |
WASHERS |
6 X 70mm |
MOUNTING SCREWS |
INSTALL DECORATIVE FLUES
NOTE: FOR INSTALLATION IN ROOMS HAV- ING
1.Raise the upper decorative flue into posi- tion on the support frame. Secure the upper flue to the support frame with (2) 3.9 x 9.5 mm screws.
2.Slide the lower flue over the upper flue. Tem- porarily hold the flue up (with 2 temporary screws 3.9x9.5mm) until the hood is installed and electrical connection are made.
INSTALL DUCT CONNECTOR
Ductfree configurations only.
1.Remove and discard the backdraft damper flaps from the duct connector.
Ducted and Ductfree configurations.
2.Install the duct connector in the round open- ing on top of the range hood. Push down until it snaps into place and is securely en- gaged.
Ducted configurations only.
3.Remove the tape located on the damper.
4.Attach 6” round metal duct to the duct con- nector. Use duct tape to seal joints and make air tight.
-9 -
3.9X 9.5 mm
SCREWS
UPPER DECORATIVE ![]()
FLUE
TEMPORARY
SCREWS
LOWER ![]() DECORATIVE
DECORATIVE
FLUE
DUCT
CONNECTOR
REMOVE THE
TAPE