
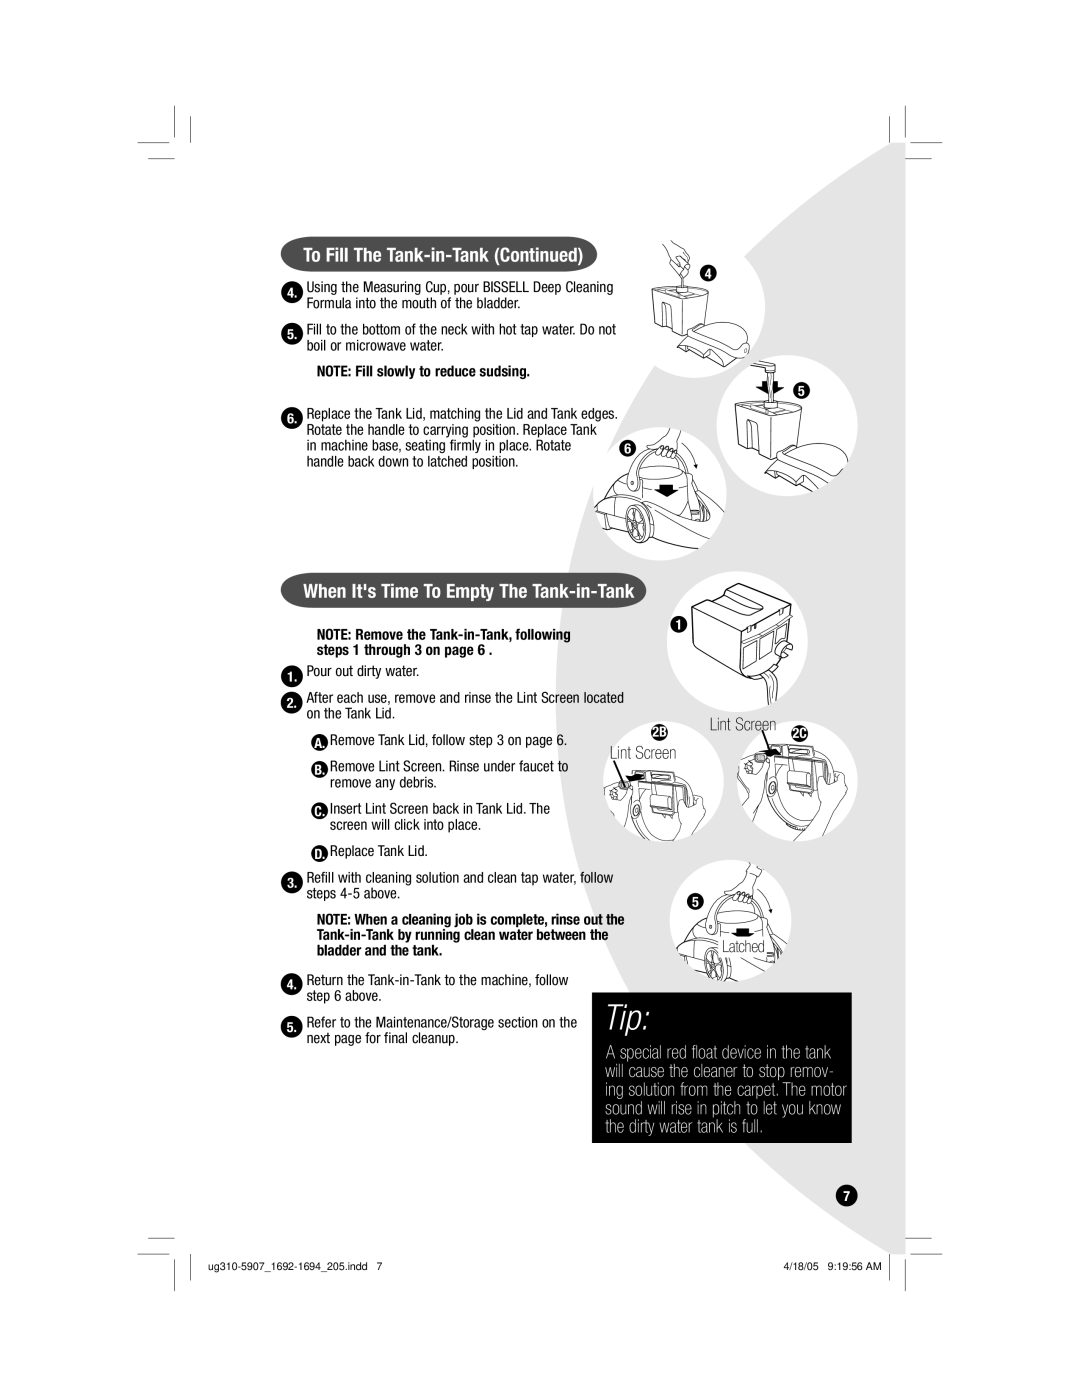
1692, 8805, 8806, 1693 specifications
Bissell is a well-known brand in the home cleaning industry, and its range of carpet cleaners includes models such as Bissell 8805, 1693, 8806, and 1692. Each of these machines offers unique features and technologies that cater to a variety of cleaning needs.The Bissell 8805, also known as the Little Green Multi-Purpose Cleaner, is designed for tackling tough stains on carpets, upholstery, and even on car interiors. This compact and portable cleaner features a powerful suction, ensuring that dirt and liquid are effectively removed from surfaces. Its large 48-ounce tank allows for extended cleaning sessions without the need for frequent refills, making it ideal for larger projects. The built-in heater helps to maintain hot water temperatures, enhancing the machine’s cleaning power and stain removal capabilities.
The model 1693, or the Bissell SpotClean ProHeat, is another excellent option for tackling stubborn stains. With its heatwave technology, it maintains water temperature throughout the cleaning process, ensuring optimal cleaning effectiveness. This model is equipped with a professional-grade cleaning formula, specifically designed to penetrate deep into carpet fibers and lift away tough dirt and stains. The SpotClean ProHeat features a portable design that allows for easy maneuverability, enabling users to reach areas that are typically hard to clean.
The Bissell 8806 stands out with its strong suction capability, combined with a lightweight design that enhances portability. This model is particularly effective at extracting embedded dirt and allergens from carpets and upholstery, making it a popular choice for households with pets. Its nozzle is designed for versatility, allowing users to switch between different cleaning modes depending on the task at hand.
Lastly, the Bissell 1692, known as the Little Green Deep Cleaner, shares many characteristics with the 8805 but is tailored more for everyday cleaning needs. It comes with a rinse and a cleaning solution that ensures a thorough cleaning without leaving behind residue. Furthermore, it features a long power cord for added convenience, enabling users to cover larger areas without having to switch outlets.
Each of these Bissell models provides essential features like powerful suction, portable designs, and advanced technologies that make them effective in removing tough stains and allergens. Whether you need a machine for deep cleaning carpets or addressing everyday spills, Bissell’s range of carpet cleaners has a model to meet your cleaning demands. With their innovative approaches and user-friendly designs, these machines help maintain a clean and healthy home.