90514937 BDBN1202 1/18/07 9:14 AM Page 8
Operating Instructions
LED Status Indicator (Figure 3)
The electronic indicator tracks the status and condition of the nailer. There are two basic indicators:
•A flashing RED light indicates that the nailer has a jammed nail.
•A permanent RED light indicates that the battery is low or out of power and needs to be charged.
3
Using the | 4 | |
The nailer is equipped with a |
| |
tool from actuating. To engage, push the |
| |
rearward position as shown in figure 4. |
| |
Loading the Tool (Figure 5) |
| |
CAUTION: Keep tool pointed in a safe direction when loading |
| |
nails. | 5 | |
CAUTION: Never load nails with the contact trip or trigger |
| |
activated. |
| |
CAUTION: Always engage lock off and remove battery |
| |
pack before loading or unloading nails. |
| |
To load fasteners: |
| |
1. | Read all “Safety Warnings” before using tool. |
|
2. | Engage lock off. |
|
3. Remove battery. |
| |
4. | Depress pusher release and pull magazine back. |
|
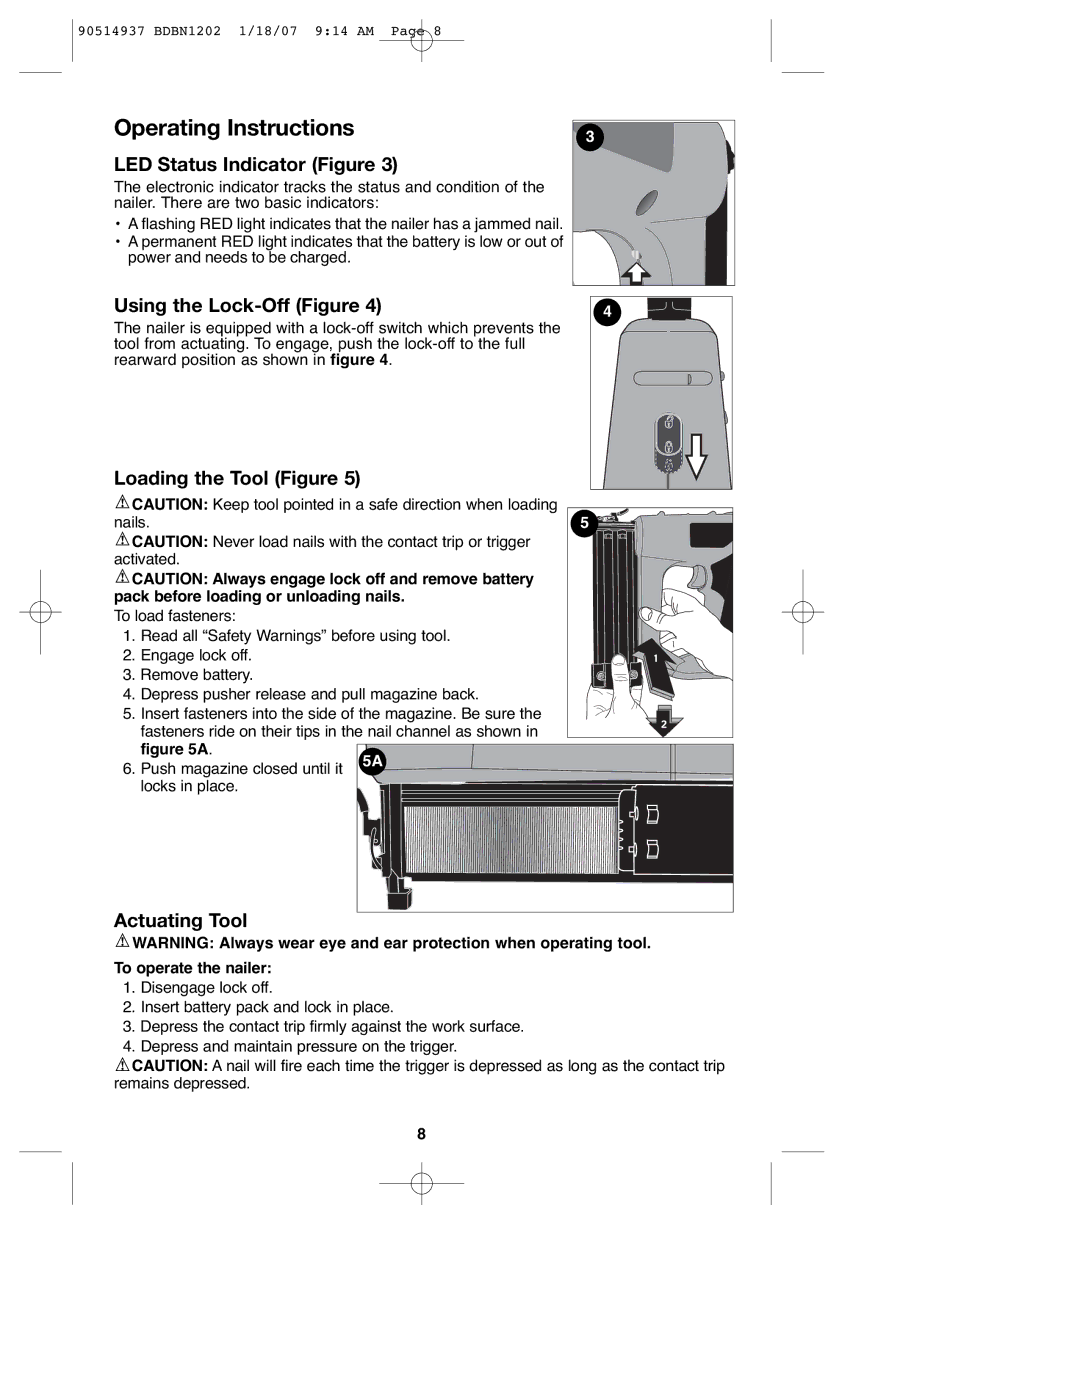
5. | Insert fasteners into the side of the magazine. Be sure the |
|
| fasteners ride on their tips in the nail channel as shown in |
|
| figure 5A. |
|
6. Push magazine closed until it 5A locks in place.
Actuating Tool
![]() WARNING: Always wear eye and ear protection when operating tool. To operate the nailer:
WARNING: Always wear eye and ear protection when operating tool. To operate the nailer:
1.Disengage lock off.
2.Insert battery pack and lock in place.
3.Depress the contact trip firmly against the work surface.
4.Depress and maintain pressure on the trigger.
![]() CAUTION: A nail will fire each time the trigger is depressed as long as the contact trip remains depressed.
CAUTION: A nail will fire each time the trigger is depressed as long as the contact trip remains depressed.
8
