How to Use
This product is for household use only.
$ "65*0/CAUTION
THIS OVENTHIS OVENTSGGETSHOTHOT. WHEN.
WHENIN USE,IN USE,ALWALWAYSS USEUSEOVOVENN
MITTS OR POT HOLDERS WHEN
MITTS OR POT HOLDERS
TOUCHING ANY OUTER OR INNER
CONVECTION BAKING
Convection uses a fan to circulate heat evenly for consistently better cooking.
Important: The oven top and side surfaces get hot.
Note: This oven has been designed with preset temperatures to accommodate convection baking.
1. Consult the Convection Baking Guide (page 9) for the type of food you want to cook.
Note: For best results, when baking or cooking, always preheat the oven at least 10 minutes at the desired temperature setting.
2.Open oven door. Insert the slide rack into the upper or lower rack position.
3.Set the temperature control to the desired temperature setting.
4.Set the cooking FUNCTION (MODE) selector to Conv. Bake.
Important: You must set the timer or select Stay On for the oven to function.
ENGLISH
WHEN TOUCHING ANY OUTER
SURFACE OF THE OVEN.
OR INNER SURFACE OF THE
OVEN
GETTING STARTED
• | Remove all packing material and any stickers. |
• Please go to www.prodprotect.com/applica to register your warranty. | |
• Wash all removable parts as instructed in Care and Cleaning section of this manual. | |
• | Replace slide rack in oven. |
| Tourner |
C | le bouton jusqu’à |
dépasser la position 20 | |
puis régler le temps désiré |
5.Turn timer past 20 and then turn back or forward to desired baking time, including preheat time.
Tip: To set the timer to the Stay On setting, if you want to control cooking time or need to cook your food longer than 60 minutes, turn the timer counterclockwise (C).
• Select a location where this unit is to be used, allowing enough space between back of the unit |
and the wall to allow heat to flow without damage to cabinets and walls. |
TOASTING
Important: The oven top and side surfaces get hot.
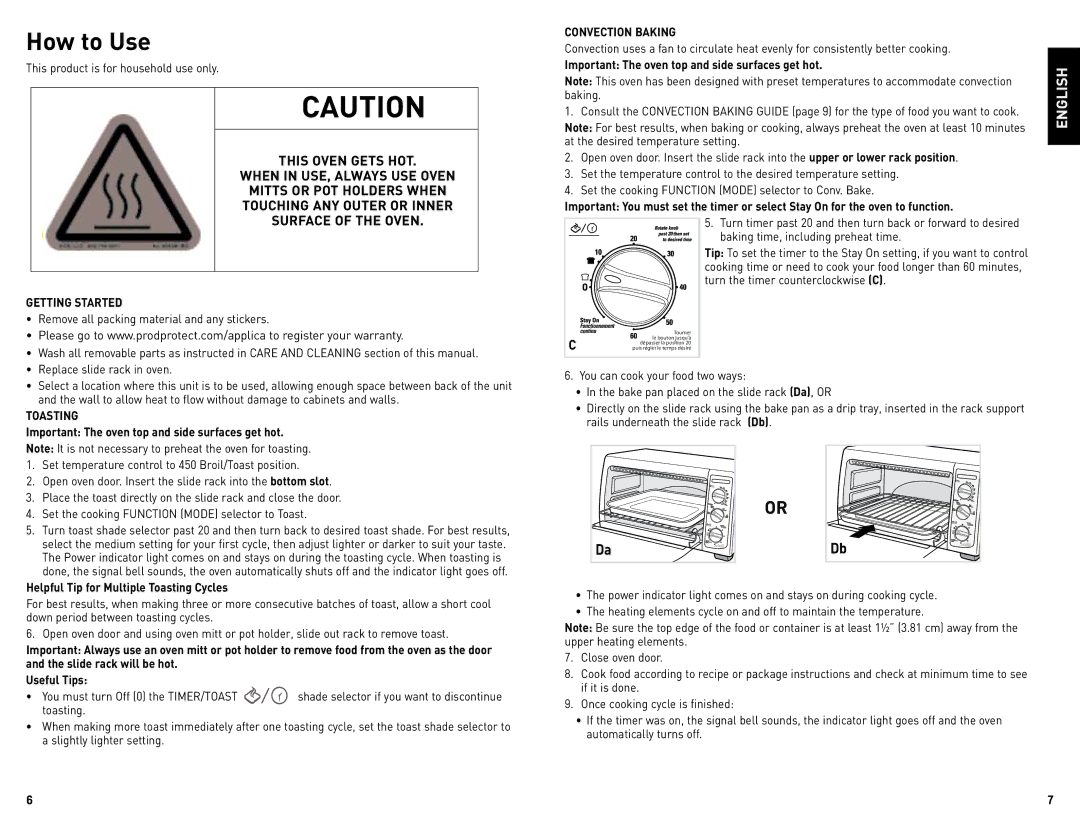
6.You can cook your food two ways:
•In the bake pan placed on the slide rack (Da), OR
•Directly on the slide rack using the bake pan as a drip tray, inserted in the rack support rails underneath the slide rack (Db).
Note: It is not necessary to preheat the oven for toasting.
1.Set temperature control to 450 Broil/Toast position.
2.Open oven door. Insert the slide rack into the bottom slot.
3.Place the toast directly on the slide rack and close the door.
4.Set the cooking FUNCTION (MODE) selector to Toast.
5.Turn toast shade selector past 20 and then turn back to desired toast shade. For best results, select the medium setting for your first cycle, then adjust lighter or darker to suit your taste. The Power indicator light comes on and stays on during the toasting cycle. When toasting is done, the signal bell sounds, the oven automatically shuts off and the indicator light goes off.
OR
Da
Db |
Helpful Tip for Multiple Toasting Cycles
For best results, when making three or more consecutive batches of toast, allow a short cool down period between toasting cycles.
6. Open oven door and using oven mitt or pot holder, slide out rack to remove toast.
Important: Always use an oven mitt or pot holder to remove food from the oven as the door and the slide rack will be hot.
Useful Tips:
• You must turn Off (0) the TIMER/TOAST | shade selector if you want to discontinue |
toasting. |
|
•When making more toast immediately after one toasting cycle, set the toast shade selector to a slightly lighter setting.
•The power indicator light comes on and stays on during cooking cycle.
•The heating elements cycle on and off to maintain the temperature.
Note: Be sure the top edge of the food or container is at least 1½” (3.81 cm) away from the upper heating elements.
7.Close oven door.
8.Cook food according to recipe or package instructions and check at minimum time to see if it is done.
9.Once cooking cycle is finished:
•If the timer was on, the signal bell sounds, the indicator light goes off and the oven automatically turns off.
