KV1500A specifications
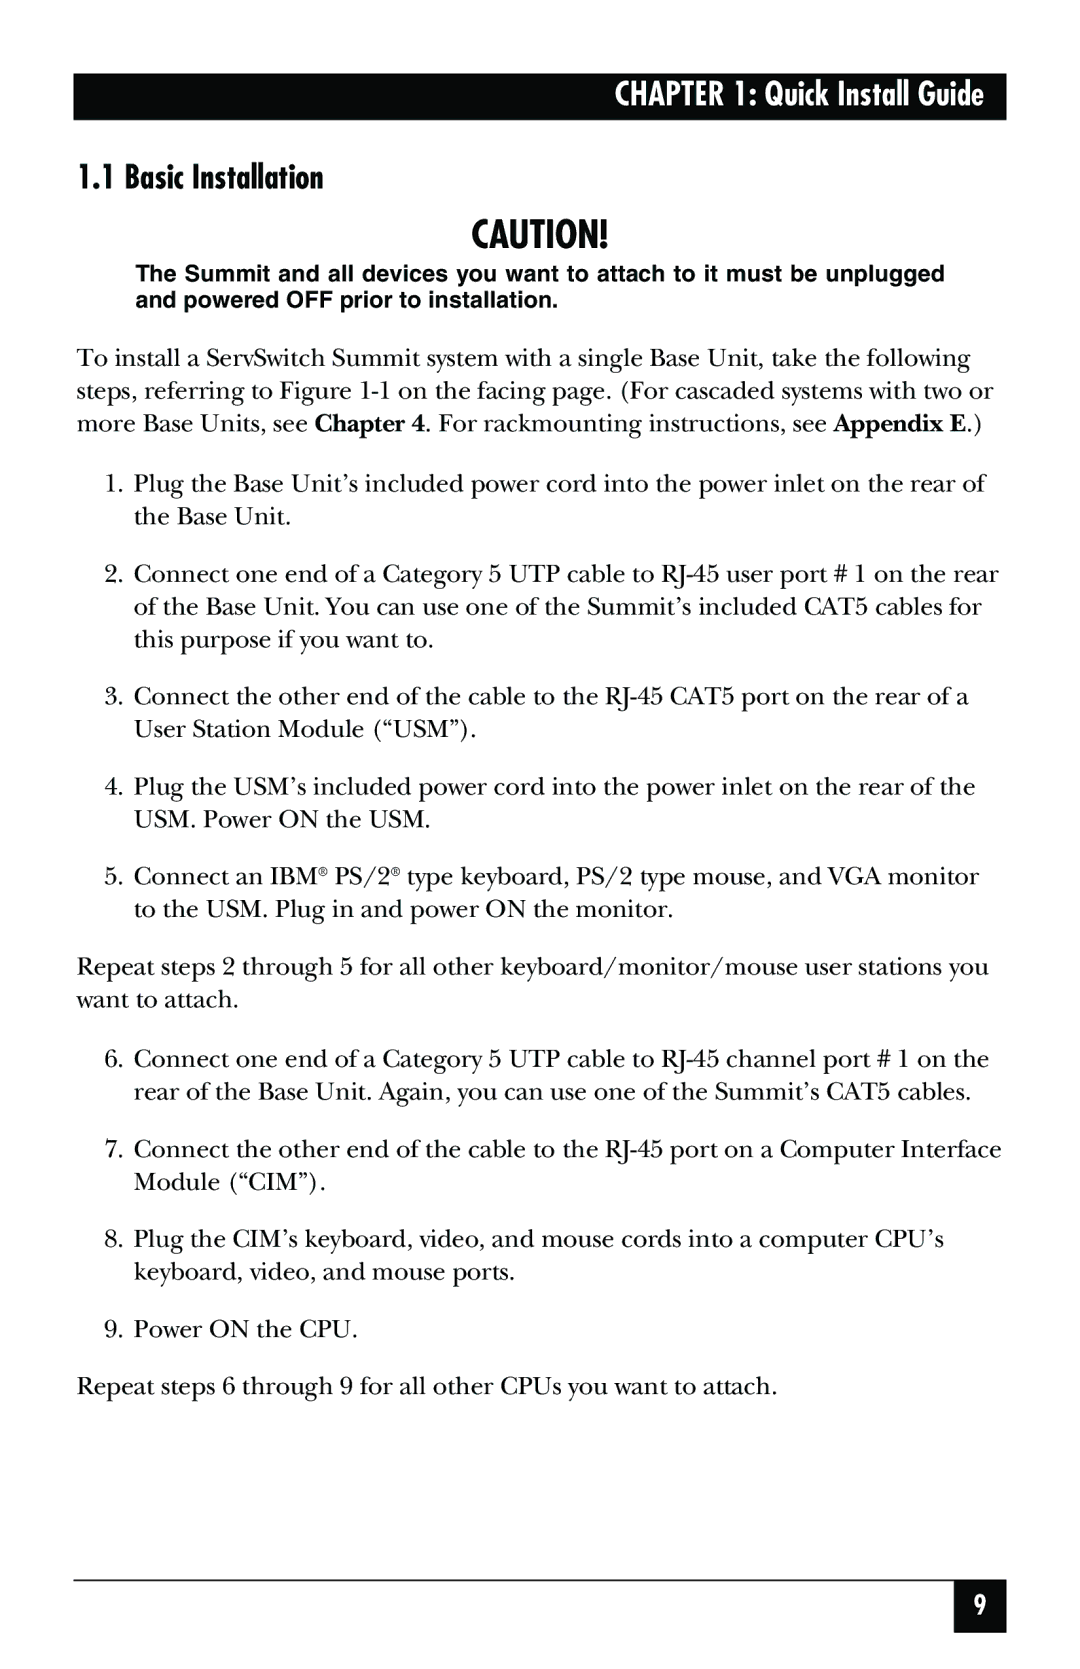
The Black Box KV1500A is an advanced video and audio switcher designed for seamless integration into various multimedia environments. This device serves as an essential tool for professionals working in broadcast, presentation, and monitoring settings, allowing users to control multiple video and audio sources efficiently.One of the standout features of the KV1500A is its ability to support high-definition resolutions, including 1080p and 4K UHD, ensuring that content is delivered with outstanding clarity and detail. This capability makes it ideal for applications where visual quality is paramount, such as in live events, corporate presentations, and broadcasting studios.
The KV1500A is equipped with multiple input and output options. It can handle a variety of formats, including HDMI, VGA, and composite video, making it a versatile choice for integrating older equipment with modern displays. The inclusion of multiple outputs allows for simultaneous broadcasting to different screens or recording devices, enhancing flexibility in various settings.
Another remarkable aspect of the KV1500A is its user-friendly interface. Its intuitive menu navigation and clear display make it easy for operators to manage settings and switch between sources quickly. The device also features programmable presets, enabling users to save and recall custom configurations effortlessly. This feature is particularly useful in environments where rapid changes to the program feed are often required.
The KV1500A utilizes advanced audio processing technology, allowing for high-quality audio mixing and embedding. This ensures that the audio signals are perfectly synchronized with the video, providing a cohesive viewing experience. The device also supports various audio formats, which further enhances its versatility in different operational environments.
In terms of reliability, the KV1500A is built with durable materials and components engineered for long-lasting performance. It is designed to operate efficiently in demanding situations, making it a dependable choice for professional use. Additionally, the device includes built-in cooling mechanisms to prevent overheating during extended operation.
In conclusion, the Black Box KV1500A is a powerful and versatile video and audio switcher that meets the needs of professionals in various multimedia fields. Its combination of high-definition support, multiple input/output options, user-friendly interface, and robust audio processing technology makes it a valuable tool for anyone looking to elevate their multimedia presentations and broadcasts. The KV1500A stands out as a reliable choice for those seeking uncompromising quality and performance in their audio-visual setups.

