You may now install the printer in its permanent location. Adequate room should be provided behind the printer for the smooth feeding of stock.
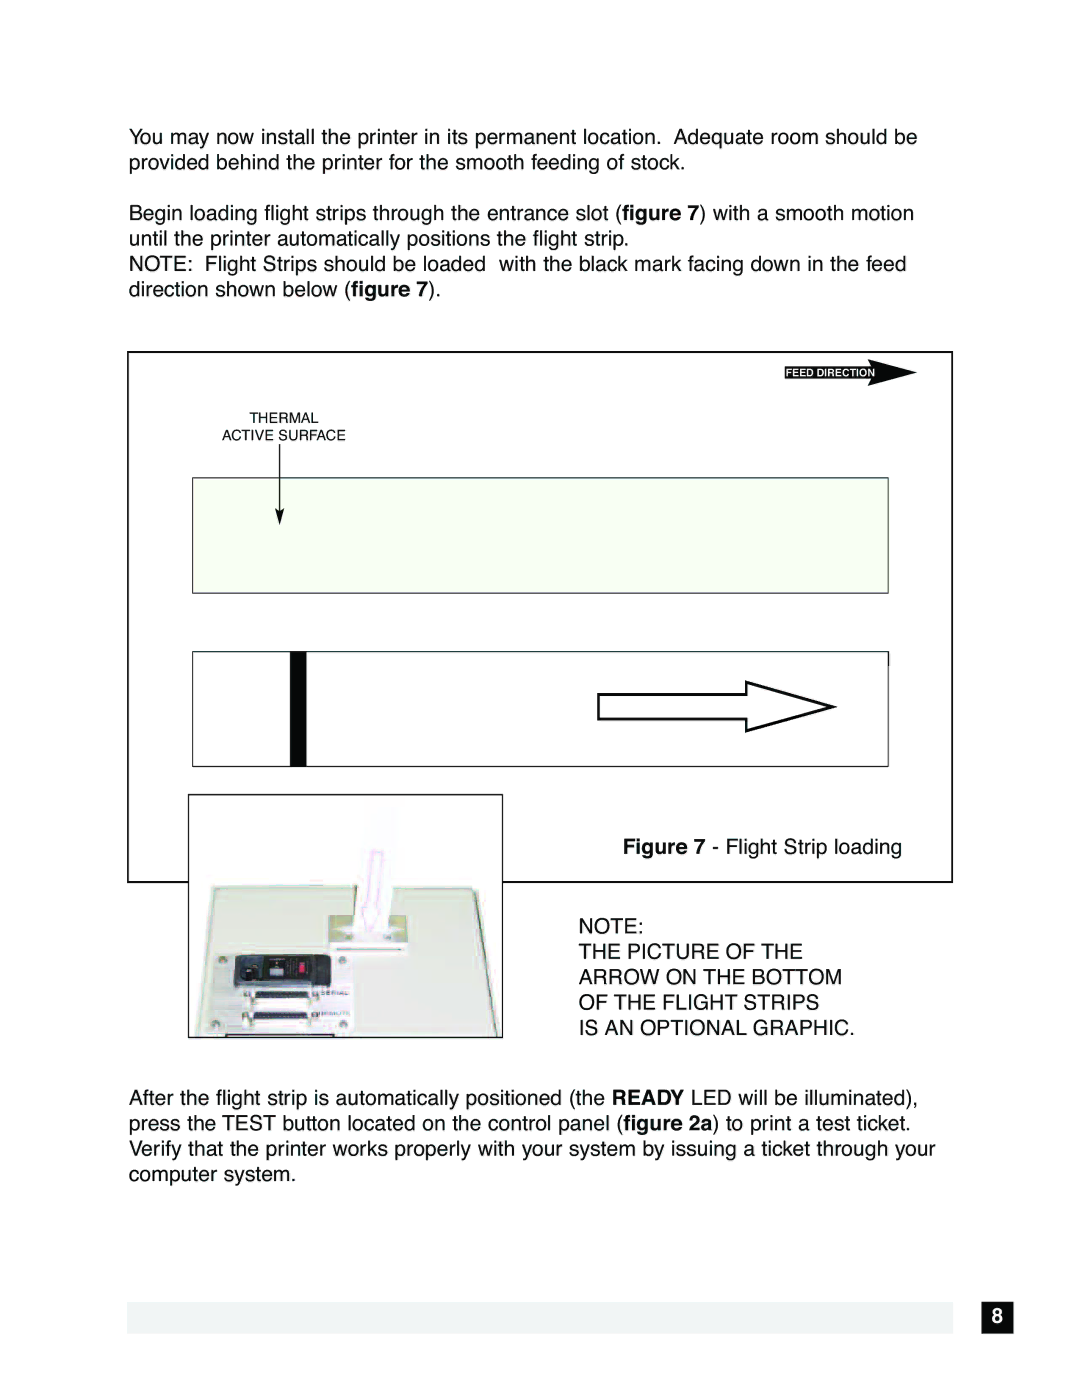
Begin loading flight strips through the entrance slot (figure 7) with a smooth motion until the printer automatically positions the flight strip.
NOTE: Flight Strips should be loaded with the black mark facing down in the feed direction shown below (figure 7).
FEED DIRECTION |
THERMAL |
ACTIVE SURFACE |
Figure 7 - Flight Strip loading |
NOTE:
THE PICTURE OF THE
ARROW ON THE BOTTOM
OF THE FLIGHT STRIPS
IS AN OPTIONAL GRAPHIC.
After the flight strip is automatically positioned (the READY LED will be illuminated), press the TEST button located on the control panel (figure 2a) to print a test ticket. Verify that the printer works properly with your system by issuing a ticket through your computer system.
8
