•Any insulation on the ground wire should be stripped back about ¾ inch. The ground lead must be connected to the pillar terminal marked “GR.”
•Make sure the terminal block screws are tightened securely. Loose connections can cause wires to heat up.
•Make sure that the ground wire is wrapped around its terminal stud and into the saddle washer. The nut should be tightened securely.
•Attach the front cover and tighten the retaining screws.
Spare Parts
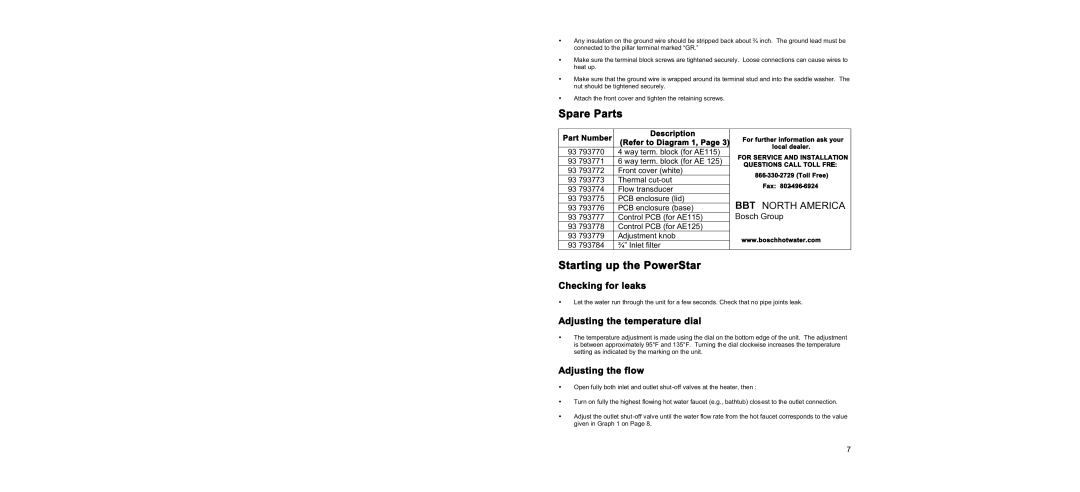
Part Number | Description |
| For further information ask your |
(Refer to Diagram 1, Page 3) |
| ||
|
| local dealer. | |
93 793770 | 4 way term. block (for AE115) |
| |
| FOR SERVICE AND INSTALLATION | ||
93 793771 | 6 way term. block (for AE 125) |
| |
| QUESTIONS CALL TOLL FRE: | ||
93 793772 | Front cover (white) |
| |
| |||
93 793773 | Thermal |
| |
| Fax: | ||
93 793774 | Flow transducer |
| |
|
| ||
93 793775 | PCB enclosure (lid) |
| BBT NORTH AMERICA |
93 793776 | PCB enclosure (base) |
| |
93 793777 | Control PCB (for AE115) |
| Bosch Group |
93 793778 | Control PCB (for AE125) |
|
|
93 793779 | Adjustment knob |
|
|
| www.boschhotwater.com | ||
93 793784 | ¾” Inlet filter |
| |
|
|
Starting up the PowerStar
Checking for leaks
•Let the water run through the unit for a few seconds. Check that no pipe joints leak.
Adjusting the temperature dial
•The temperature adjustment is made using the dial on the bottom edge of the unit. The adjustment is between approximately 95°F and 135°F. Turning the dial clockwise increases the temperature setting as indicated by the marking on the unit.
Adjusting the flow
•Open fully both inlet and outlet
•Turn on fully the highest flowing hot water faucet (e.g., bathtub) closest to the outlet connection.
•Adjust the outlet
7
