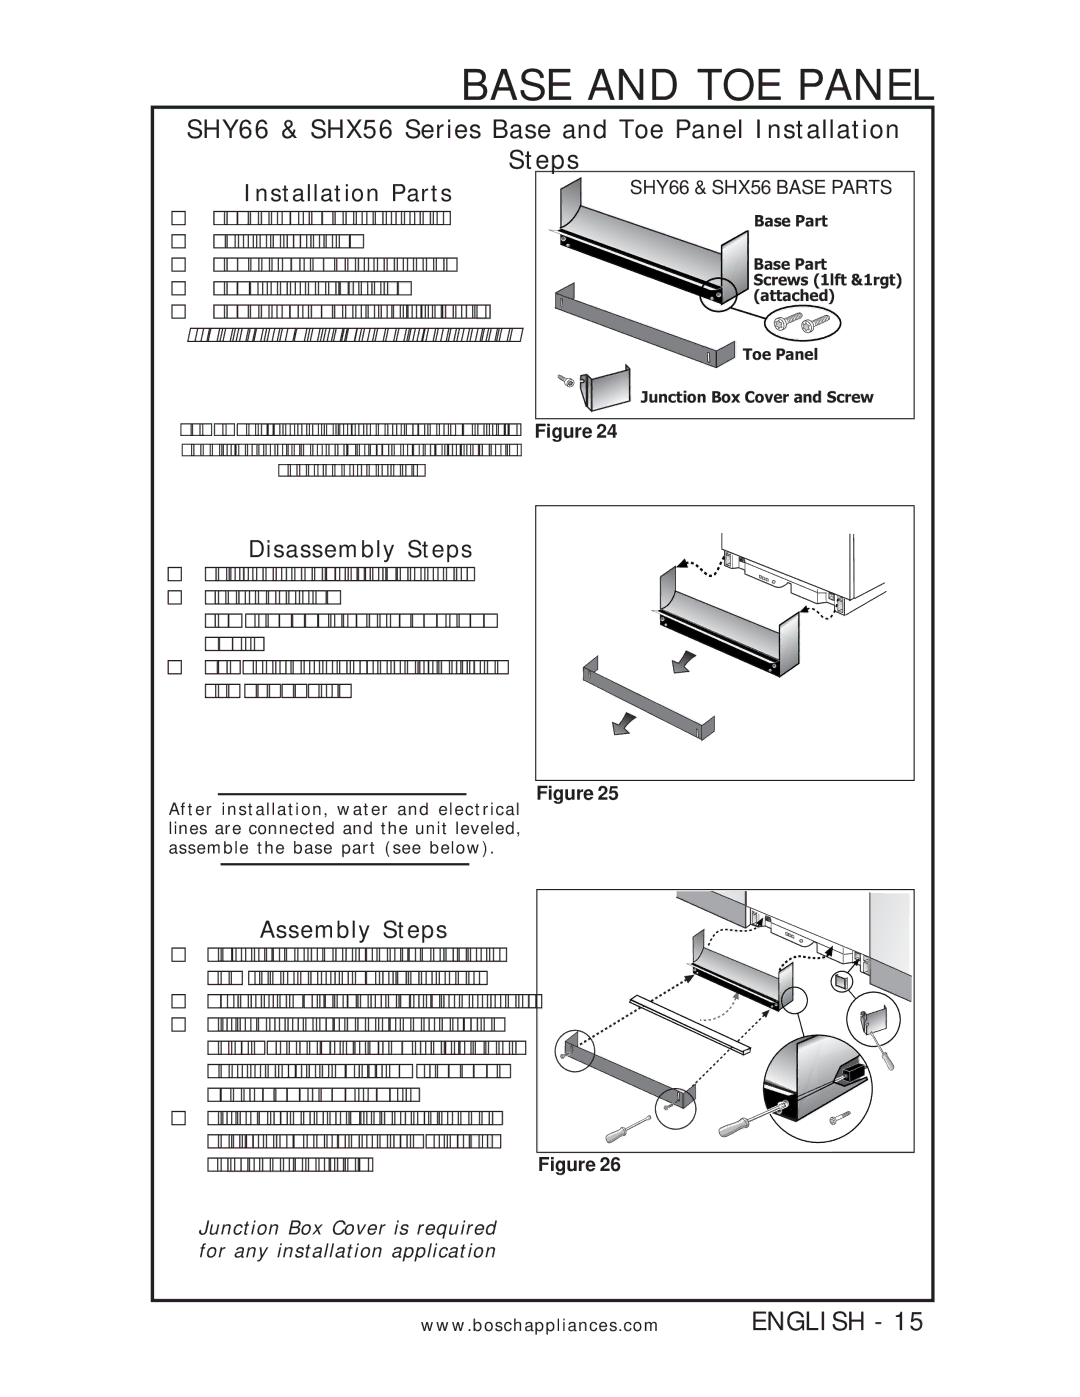
SHV56A, SHU43E, SHU53, SHU6E specifications
Bosch Appliances has long been synonymous with quality and innovation in home appliances, particularly in the realm of dishwashers. The SHV56A, SHU6E, SHU43E, and SHU53 models stand out in their lineup, each offering unique features, advanced technologies, and dependable performance that cater to a variety of user needs.Starting with the Bosch SHV56A, this model is notable for its ultra-quiet operation, rated at just 44 dBA, making it one of the quietest dishwashers available. It incorporates the PrecisionWash technology, which uses intelligent sensors to determine how much cleaning power is required and adjusts accordingly. Stainless steel tall tub construction enhances durability and adds a touch of elegance. With a flexible third rack, it allows for better organization and maximizes loading capacity, catering to larger households.
Moving on to the SHU6E, this model is designed with efficiency in mind. Its Energy Star certification not only signifies its eco-friendly operation but also helps reduce energy costs. The 3-level wash system ensures thorough cleaning by directing water to the right places inside the machine. Additionally, the SHU6E’s sleek design and user-friendly controls make it an excellent choice for any modern kitchen.
The Bosch SHU43E model offers great performance at an affordable price. With a stainless steel interior and multiple wash cycles, including an eco mode, it strikes a balance between efficiency and cost-effectiveness. Its smart rack design maximizes space and ensures effective washing of both large and small items. The model operates quietly, providing a peaceful environment in the home.
Lastly, the SHU53 compact dishwasher features a space-saving design that is perfect for smaller kitchens. Despite its compact size, it doesn’t compromise on capacity, offering enough space for up to 9 place settings. The model uses a full-wrap stainless steel interior for optimum heat retention, enhancing drying performance. With a variety of wash options and a user-friendly control panel, the SHU53 delivers versatility and convenience.
Together, these Bosch dishwasher models demonstrate the brand's commitment to quality, efficiency, and user-friendly functionality. Whether you need a quiet, high-capacity machine or a compact model for small spaces, Bosch Appliances has a solution that meets the modern consumer's demand for performance and sustainability in home care.

