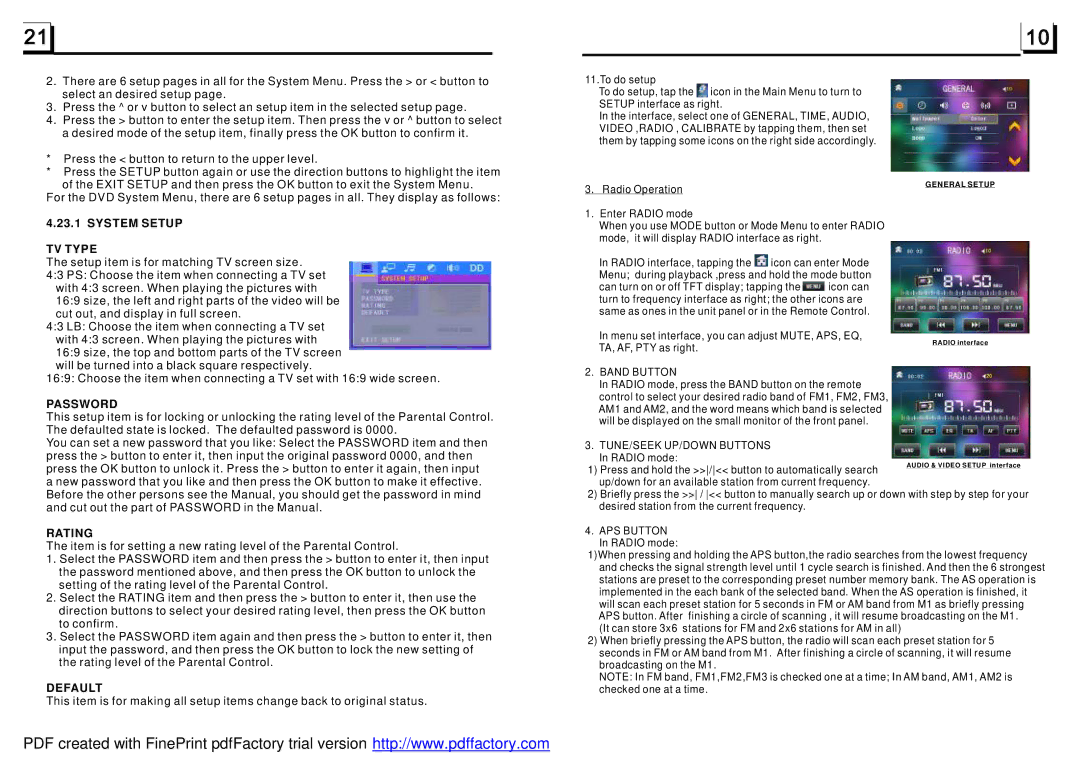
2.There are 6 setup pages in all for the System Menu. Press the > or < button to select an desired setup page.
3.Press the ^ or v button to select an setup item in the selected setup page.
4.Press the > button to enter the setup item. Then press the v or ^ button to select a desired mode of the setup item, finally press the OK button to confirm it.
*Press the < button to return to the upper level.
*Press the SETUP button again or use the direction buttons to highlight the item of the EXIT SETUP and then press the OK button to exit the System Menu.
For the DVD System Menu, there are 6 setup pages in all. They display as follows:
4.23.1 SYSTEM SETUP
TV TYPE
The setup item is for matching TV screen size. 4:3 PS: Choose the item when connecting a TV set
with 4:3 screen. When playing the pictures with 16:9 size, the left and right parts of the video will be cut out, and display in full screen.
4:3 LB: Choose the item when connecting a TV set with 4:3 screen. When playing the pictures with 16:9 size, the top and bottom parts of the TV screen will be turned into a black square respectively.
16:9: Choose the item when connecting a TV set with 16:9 wide screen.
PASSWORD
This setup item is for locking or unlocking the rating level of the Parental Control. The defaulted state is locked. The defaulted password is 0000.
You can set a new password that you like: Select the PASSWORD item and then press the > button to enter it, then input the original password 0000, and then press the OK button to unlock it. Press the > button to enter it again, then input a new password that you like and then press the OK button to make it effective. Before the other persons see the Manual, you should get the password in mind and cut out the part of PASSWORD in the Manual.
RATING
The item is for setting a new rating level of the Parental Control.
1.Select the PASSWORD item and then press the > button to enter it, then input the password mentioned above, and then press the OK button to unlock the setting of the rating level of the Parental Control.
2.Select the RATING item and then press the > button to enter it, then use the direction buttons to select your desired rating level, then press the OK button to confirm.
3.Select the PASSWORD item again and then press the > button to enter it, then input the password, and then press the OK button to lock the new setting of the rating level of the Parental Control.
DEFAULT
This item is for making all setup items change back to original status.
11.To do setup
To do setup, tap the ![]() icon in the Main Menu to turn to SETUP interface as right.
icon in the Main Menu to turn to SETUP interface as right.
In the interface, select one of GENERAL, TIME, AUDIO, VIDEO ,RADIO , CALIBRATE by tapping them, then set them by tapping some icons on the right side accordingly.
3. Radio Operation
1.Enter RADIO mode
When you use MODE button or Mode Menu to enter RADIO mode, it will display RADIO interface as right.
In RADIO interface, tapping the ![]() icon can enter Mode Menu; during playback ,press and hold the mode button can turn on or off TFT display; tapping the
icon can enter Mode Menu; during playback ,press and hold the mode button can turn on or off TFT display; tapping the ![]() icon can turn to frequency interface as right; the other icons are same as ones in the unit panel or in the Remote Control.
icon can turn to frequency interface as right; the other icons are same as ones in the unit panel or in the Remote Control.
In menu set interface, you can adjust MUTE, APS, EQ,
TA, AF, PTY as right.
2.BAND BUTTON
In RADIO mode, press the BAND button on the remote control to select your desired radio band of FM1, FM2, FM3, AM1 and AM2, and the word means which band is selected will be displayed on the small monitor of the front panel.
3.TUNE/SEEK UP/DOWN BUTTONS In RADIO mode:
1) Press and hold the >>/<< button to automatically search up/down for an available station from current frequency.
2)Briefly press the >> / << button to manually search up or down with step by step for your desired station from the current frequency.
4.APS BUTTON In RADIO mode:
1)When pressing and holding the APS button,the radio searches from the lowest frequency and checks the signal strength level until 1 cycle search is finished. And then the 6 strongest stations are preset to the corresponding preset number memory bank. The AS operation is implemented in the each bank of the selected band. When the AS operation is finished, it will scan each preset station for 5 seconds in FM or AM band from M1 as briefly pressing APS button. After finishing a circle of scanning , it will resume broadcasting on the M1.
(It can store 3x6 stations for FM and 2x6 stations for AM in all)
2)When briefly pressing the APS button, the radio will scan each preset station for 5 seconds in FM or AM band from M1. After finishing a circle of scanning, it will resume broadcasting on the M1.
NOTE: In FM band, FM1,FM2,FM3 is checked one at a time; In AM band, AM1, AM2 is checked one at a time.
PDF created with FinePrint pdfFactory trial version http://www.pdffactory.com
